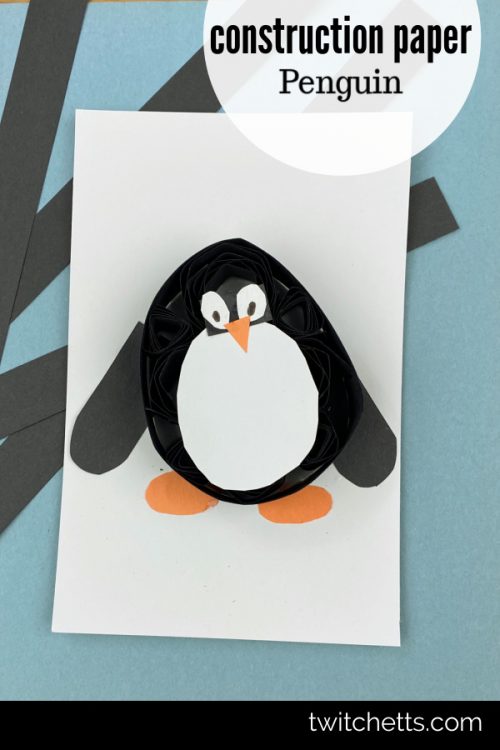

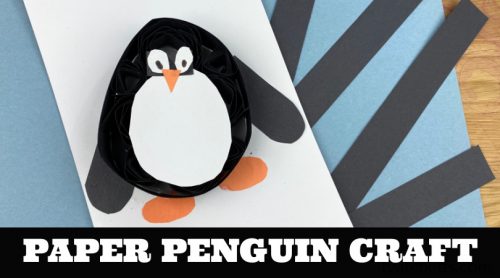
An easy penguin craft that uses a kid-friendly quilling technique to create a 3D effect. Kids will love creating such a fun construction paper craft.
Penguin Craft
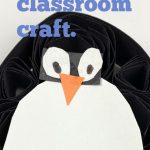
We love an easy craft that sneaks important skill-building. Create this simple penguin craft in your classroom or at your kitchen table.
Quilling is a fun paper craft technique. We wanted to create a method that was kid-friendly.
Kids wrap their construction paper strips around craft sticks before gluing them into place. This helps to give kids better control of each piece while building those important fine motor skills.
We’ve done this technique before with our paper turtles and quilled spiders.
Penguins are perfect for creating during your January lesson plans, or any other winter month. Or you can wait until World Penguin Day in April.
You can use these easy winter crafts in several ways.
- Hang your paper penguins in your playroom or classroom.
- Display several cute penguins on your classroom bulletin board.
- Put them on the front of a winter card.
- Decorate your front window.
- Add them to your fridge.
- Create them at your local library to go with some fun penguin books.
- Create them during a winter-themed unit or winter animals unit
Disclosure: Some of the links in this post are “affiliate links.” This means if you click on the link and purchase an item, we may receive an affiliate commission.
Why do we love crafting with construction paper?
Why do we love paper crafts? Because they secretly teach so many important skills for kids.
- Fine motor skills
- Cutting practice
- Following instructions
- Colors
- Counting
- and more!
If you’re looking for more ways to inspire your kids, check out our construction paper book!
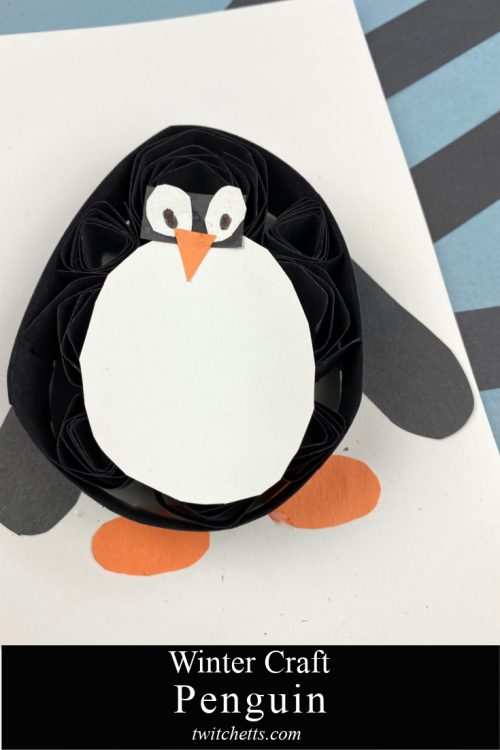
No time to make this construction paper penguin? Pin it for later!
If you’re currently in planning mode, that’s ok! Pin this to your favorite Pinterest board. That way you’ll be able to grab instructions when you’re ready!
Tips for creating this animal craft:
These birds are very simple. But here are some tips to help you along the way.
- If cutting out the eyes is too difficult for your little ones you can easily just draw them on with a black marker or using googly eyes.
- To speed up this craft, try to pre-cut your paper strips.
- Cutting the paper strips is great for building scissor skills. If you have time, let your child cut all the strips. It’s ok if they don’t all match perfectly.
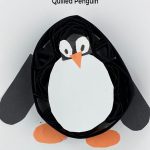
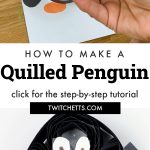
Quilled Paper Penguin
Get a beginners lesson on quilling while making this cute paper penguin craft!
Materials
- Paper- Sheet of Black and White. Scrap of orange.
- White Glue
Tools
- 2 Craft Sticks
- Pallet or Plate for Glue
- Scissors
- Pencil
- Paper Cutter
Instructions
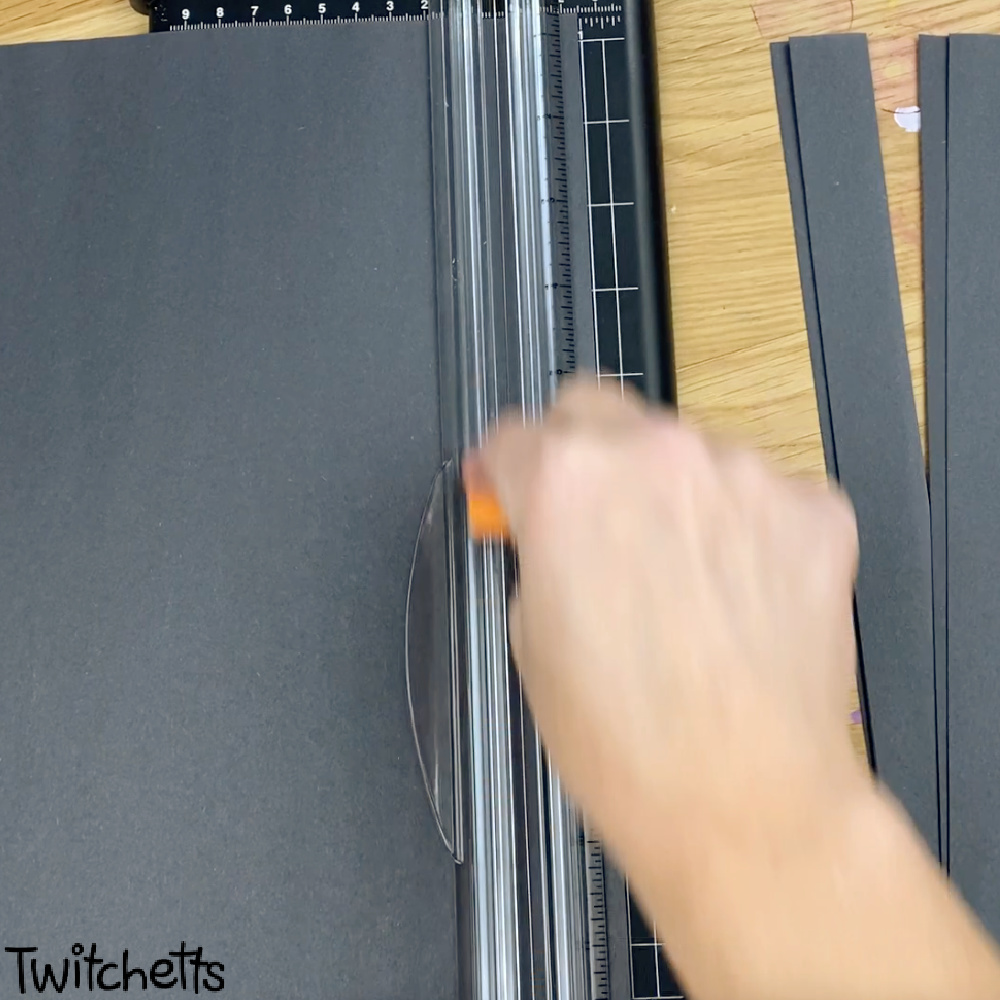
- Cut the black paper into 1" strips. Cut the white paper in half.

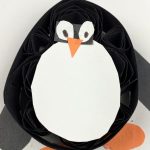
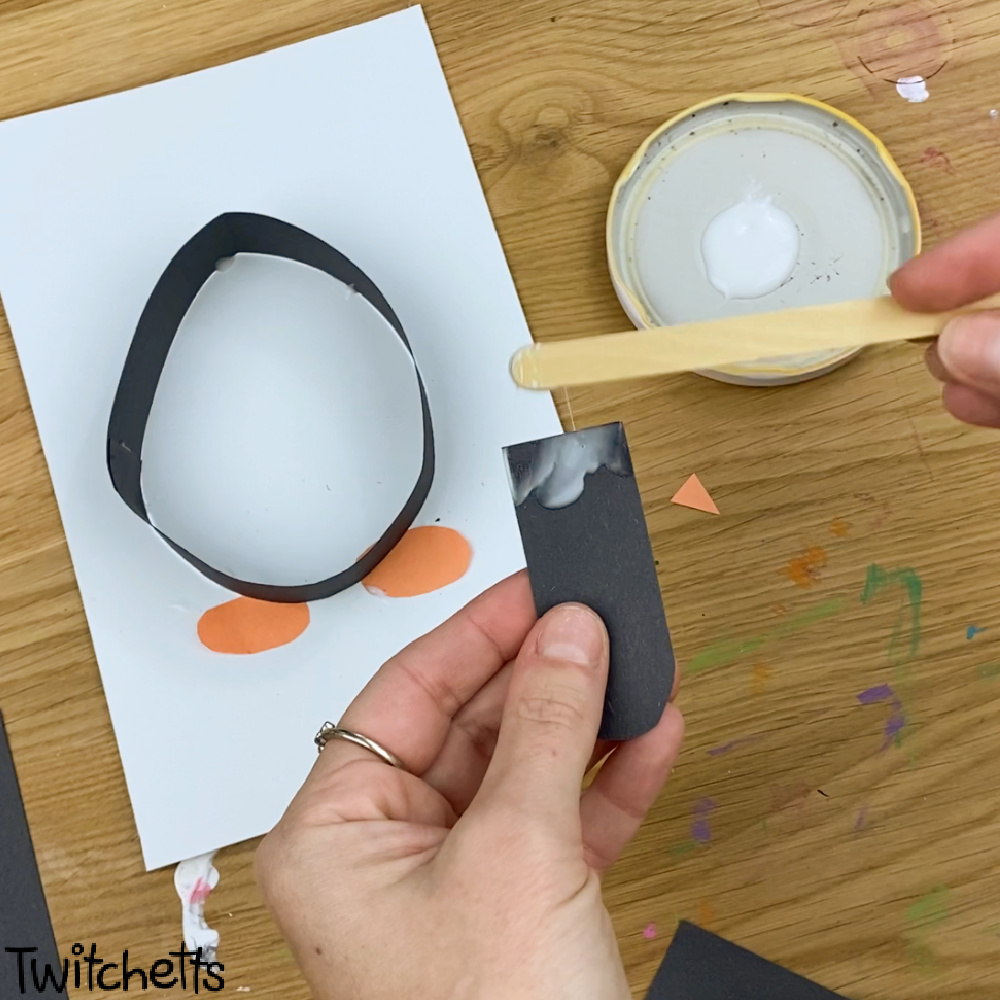
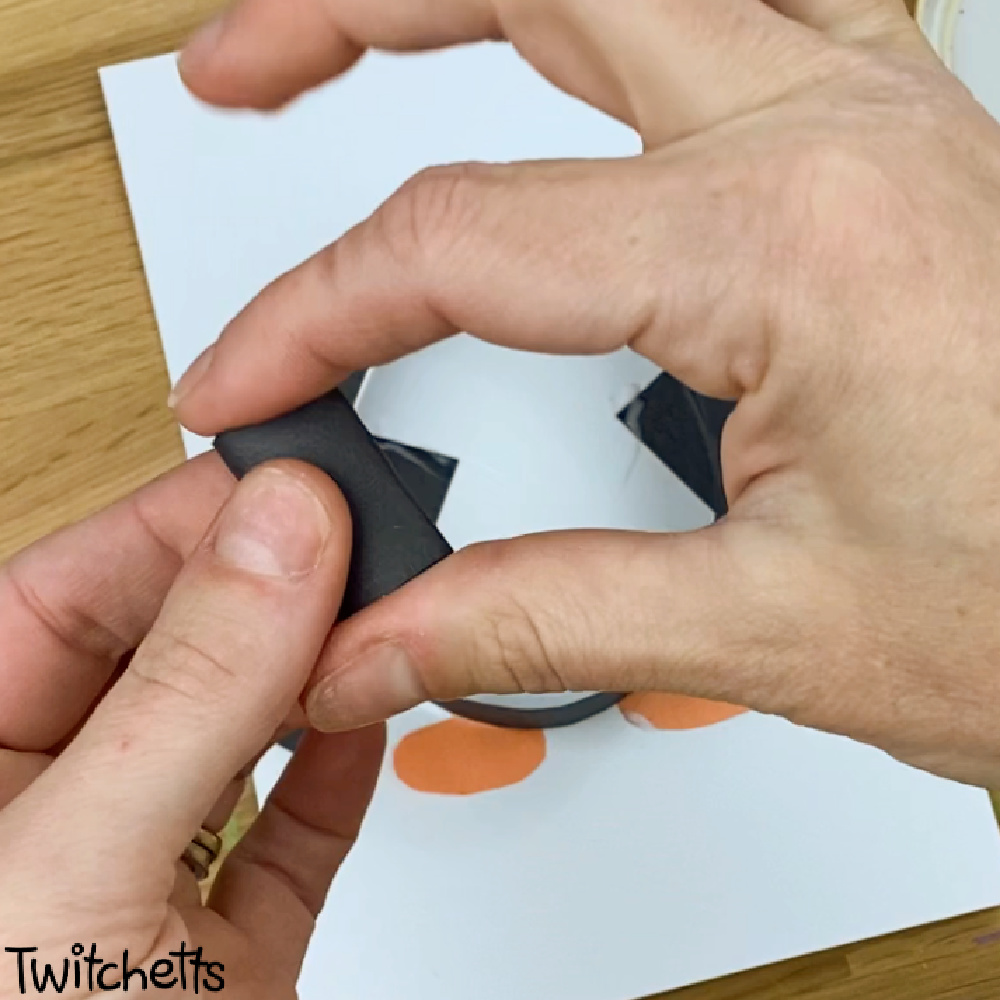
- Take one black strip and glue the ends together to create a circle. This will be the penguin's belly.
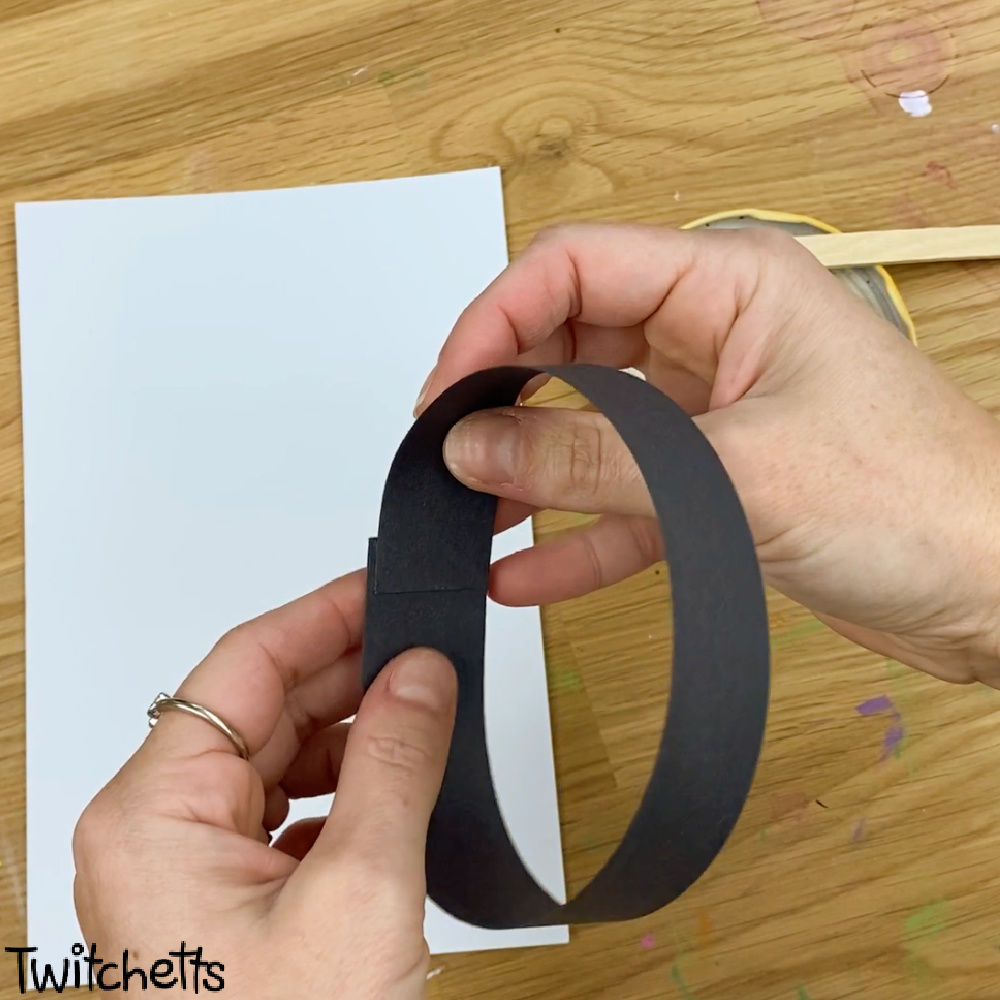
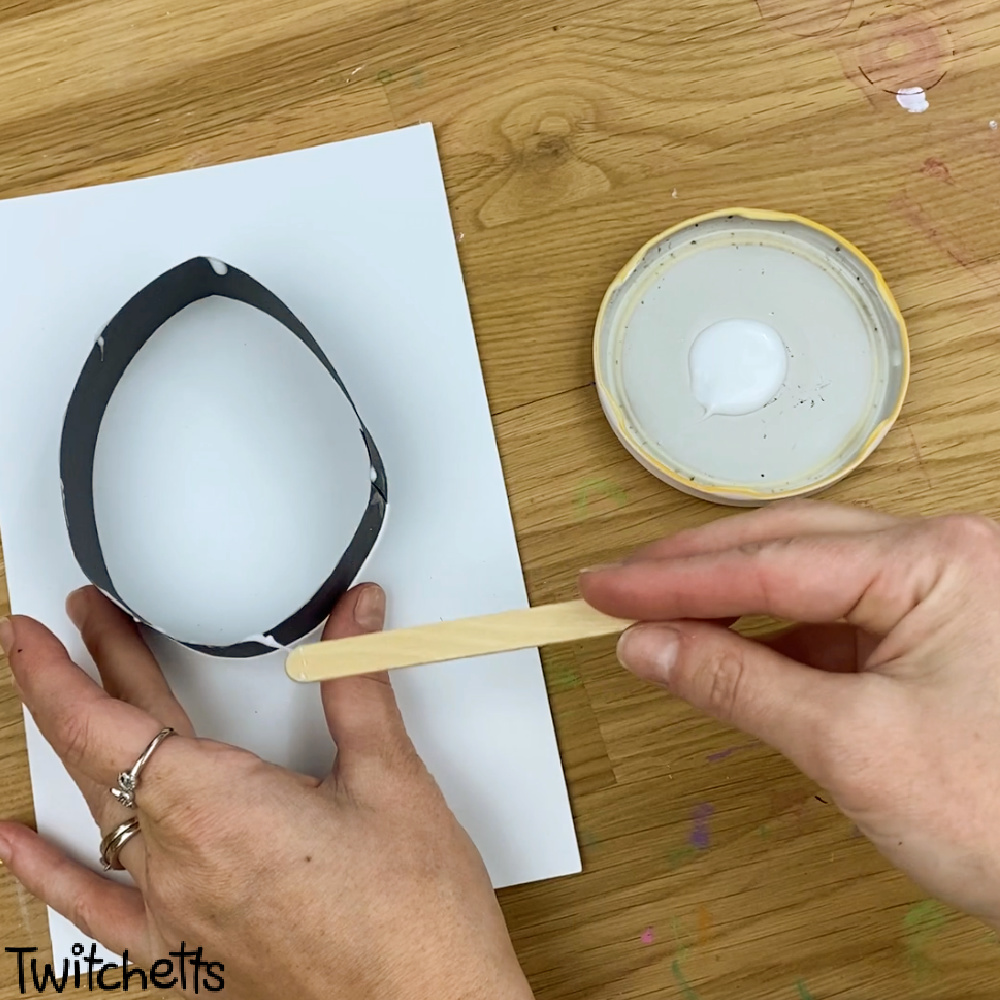
- Squeeze the circle a bit to create more of an oval shape. Use one of the craft sticks to add glue to the body and place it on one-half of the paper.
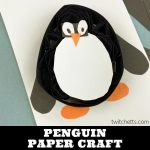
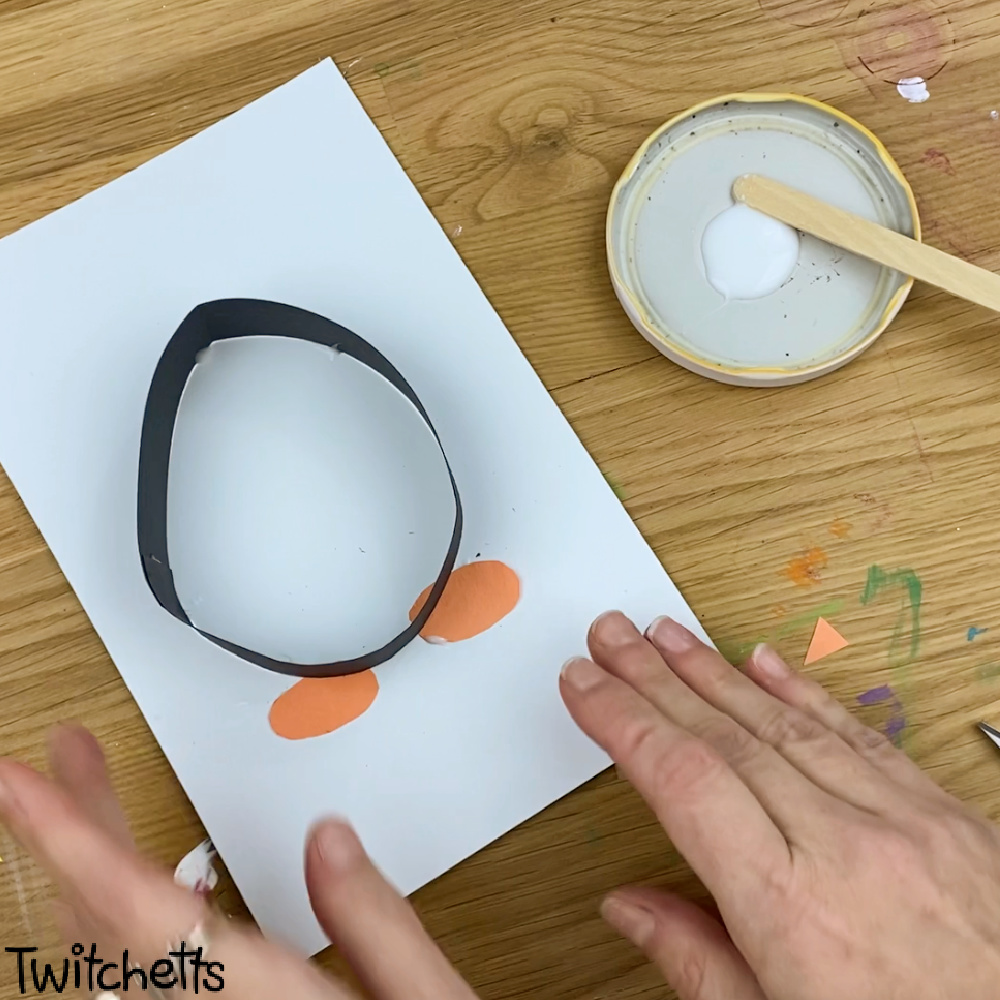
- On a scrap of orange, draw and cut out 2 ovals and one small triangle. This will create the feet and a little orange beak.

- Glue the ovals along the bottom of the penguin tucking them in slightly.
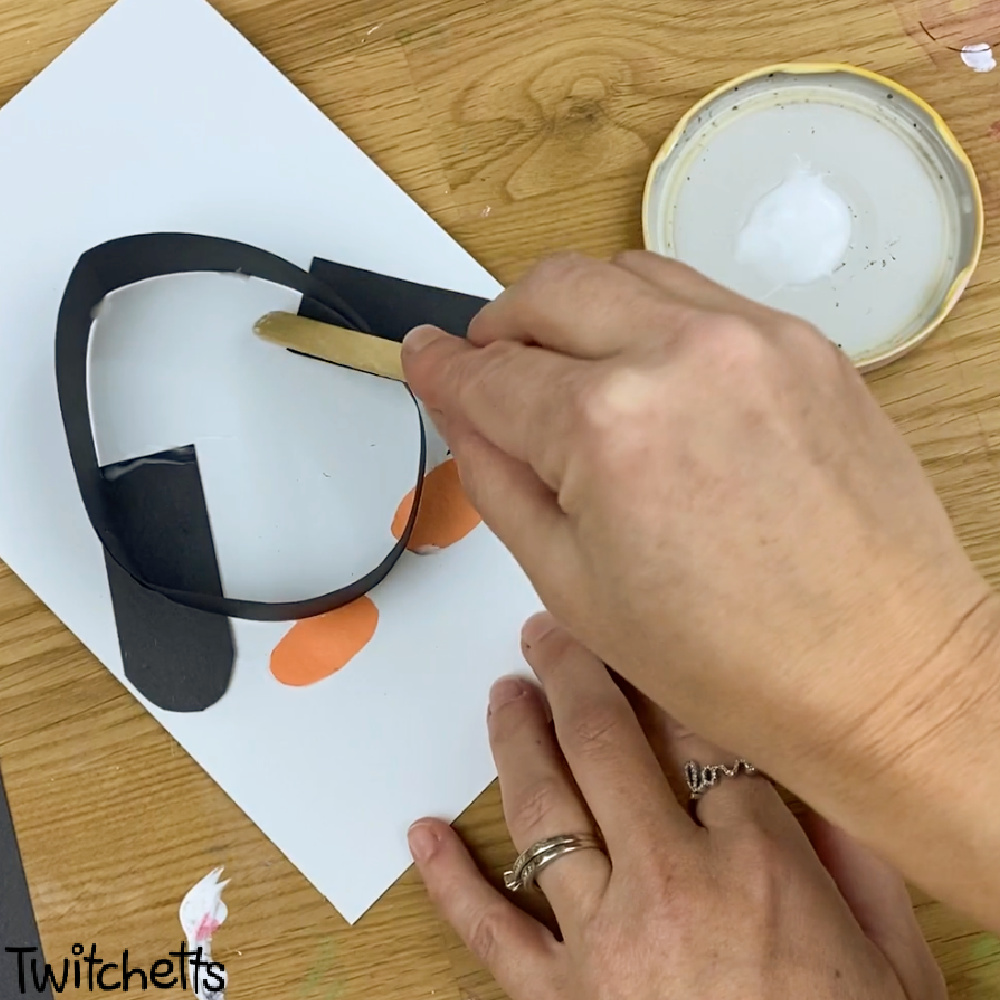
- For the arms, trim curved edges on a paper strip and pick how long you want them to be.
- Add glue and tuck them under the body.
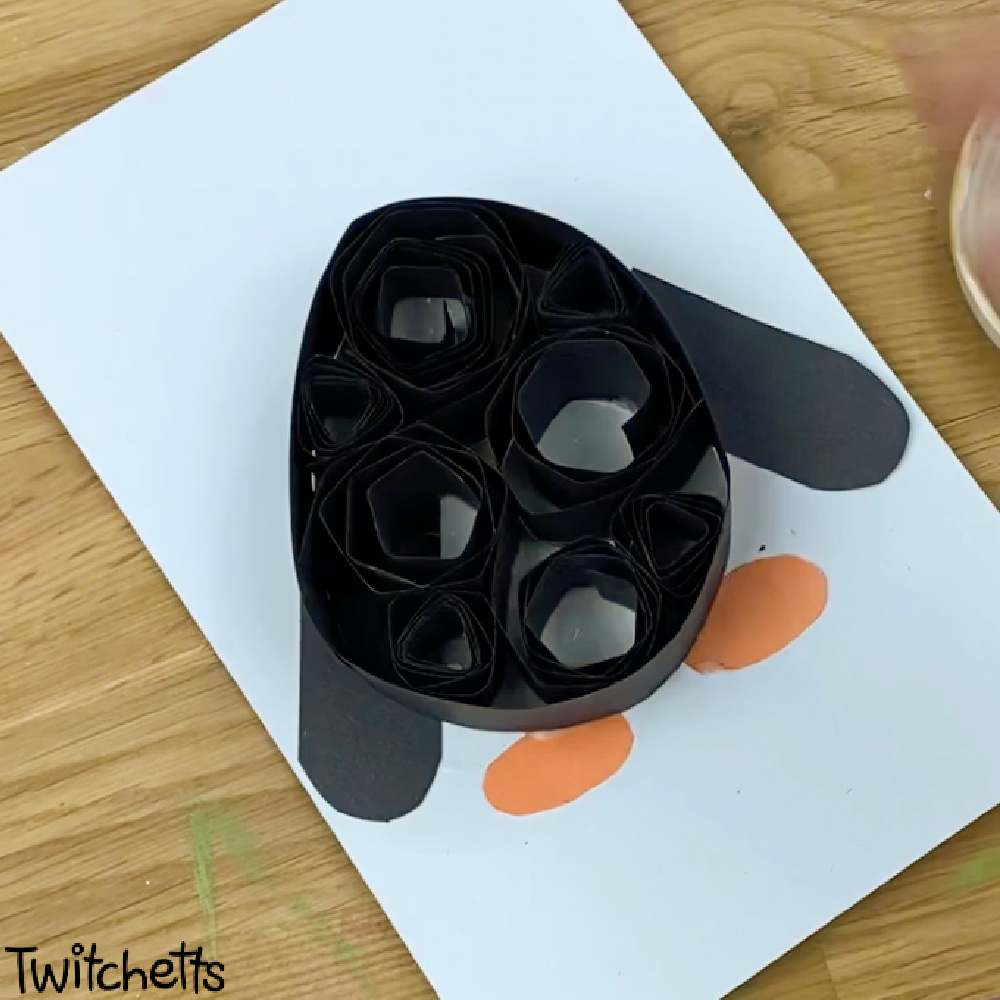
- Now we start quilling! Using a clean craft stick, pinch the end of a black strip and fold it around the craft stick.
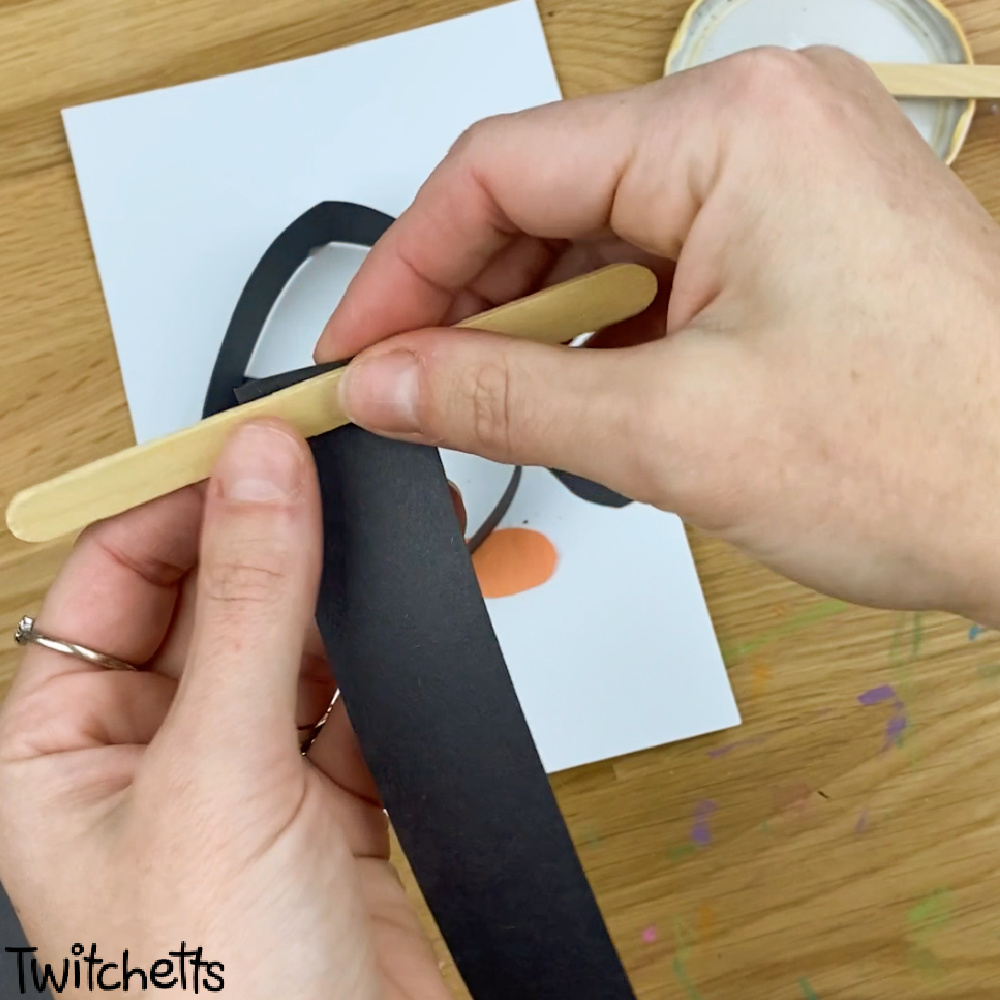
- Roll the stick while pinching the paper tightly until the whole strip is on the stick.
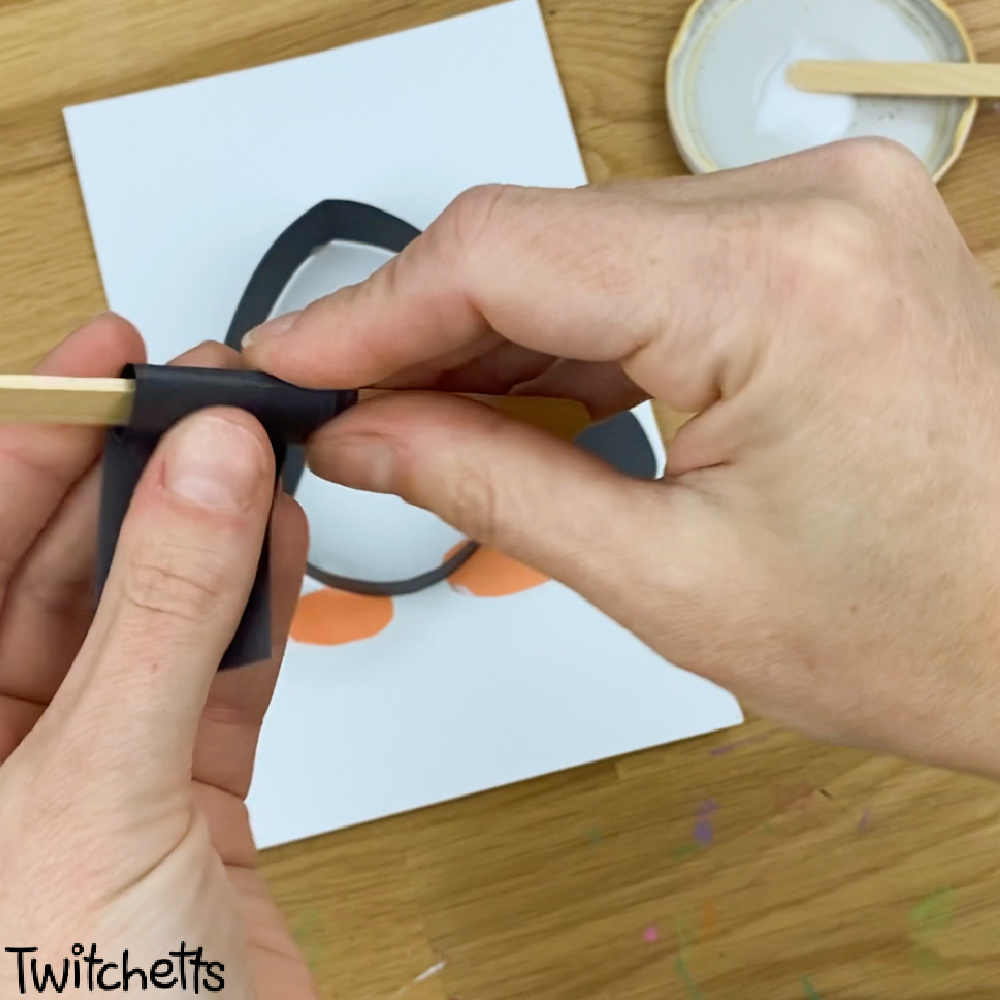
- Slide the paper off and even out the edges.
- Dip one end into white glue.
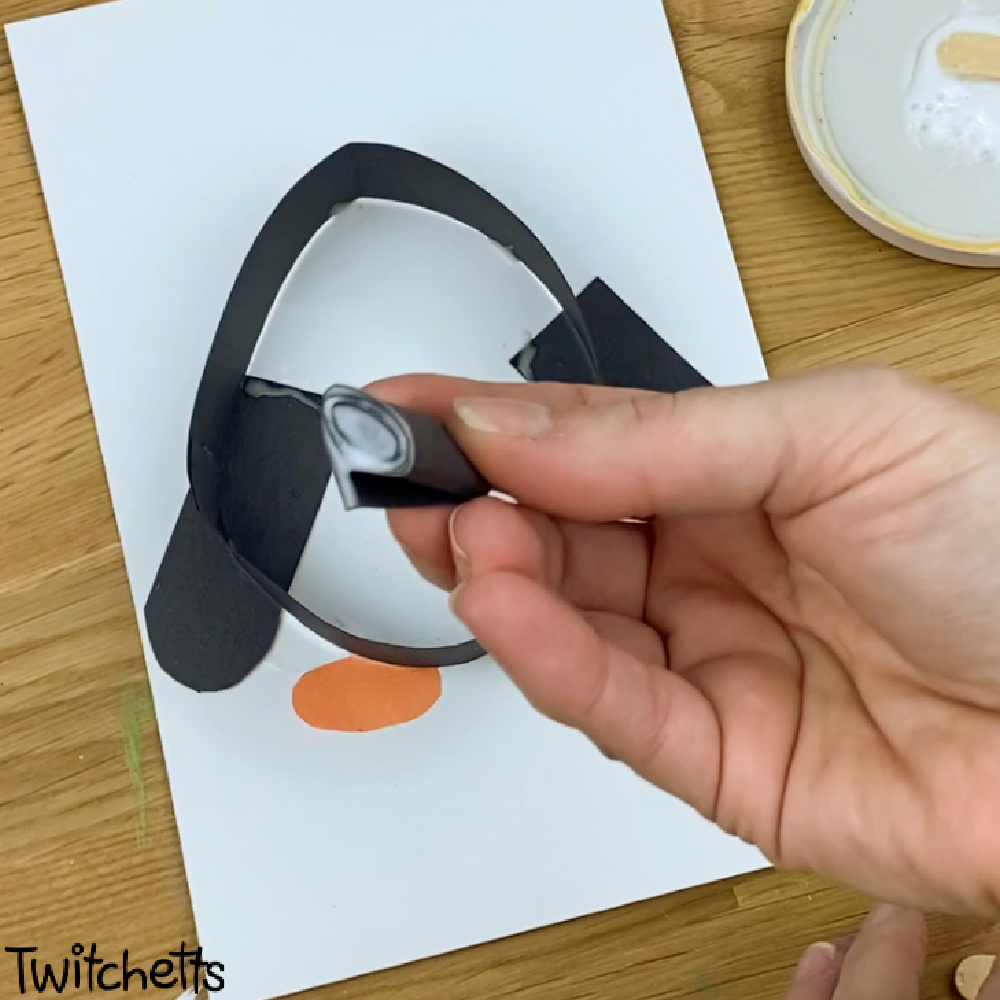
- Then place in the penguin's body.
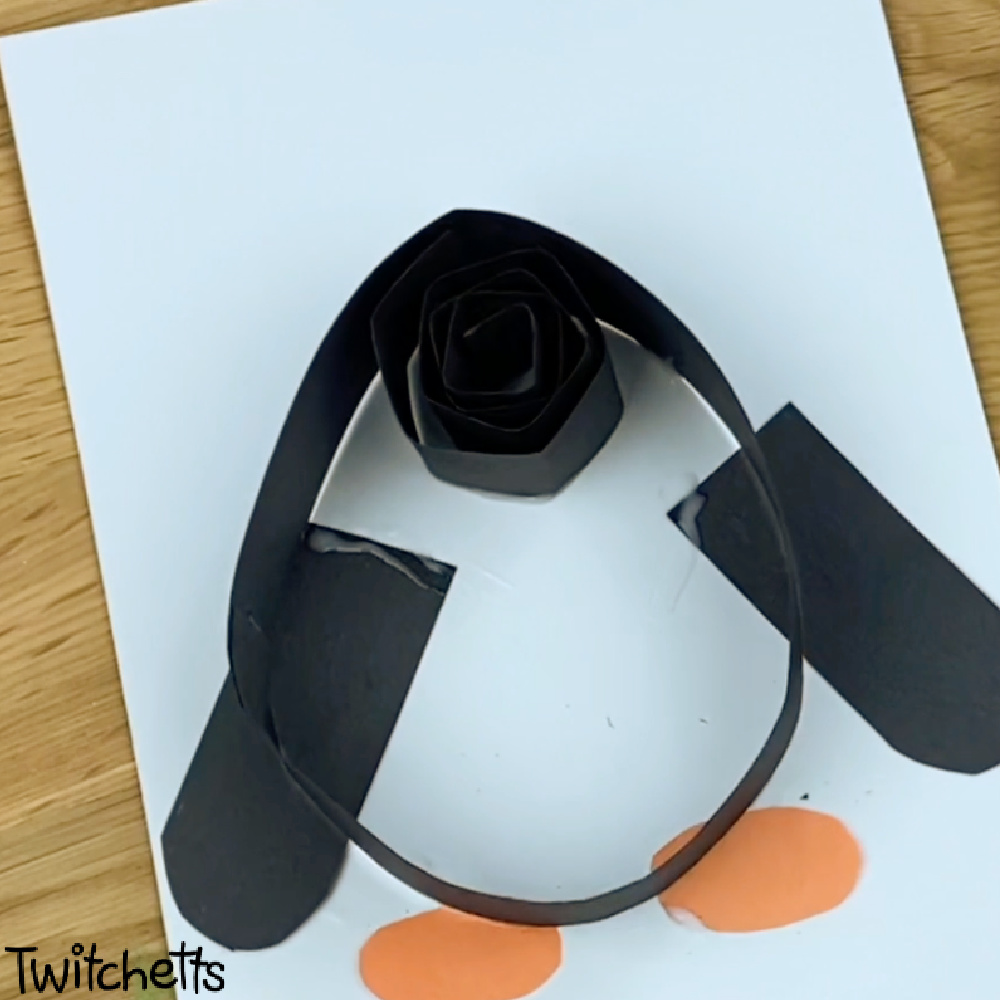
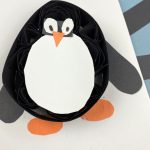
- Continue this process, strip after strip, while you fill in the shape.
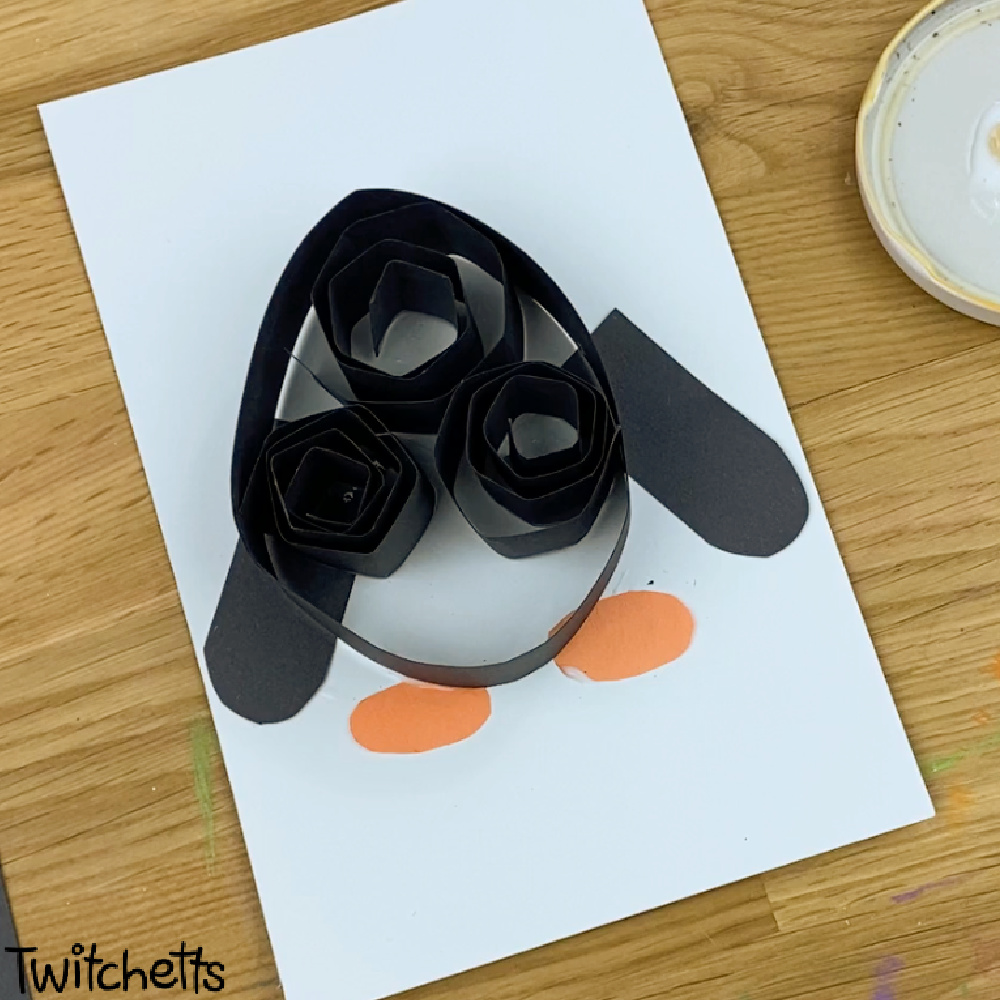
- If any of the spirals unfold too far you can place another one inside.
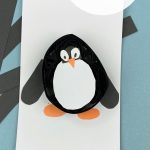
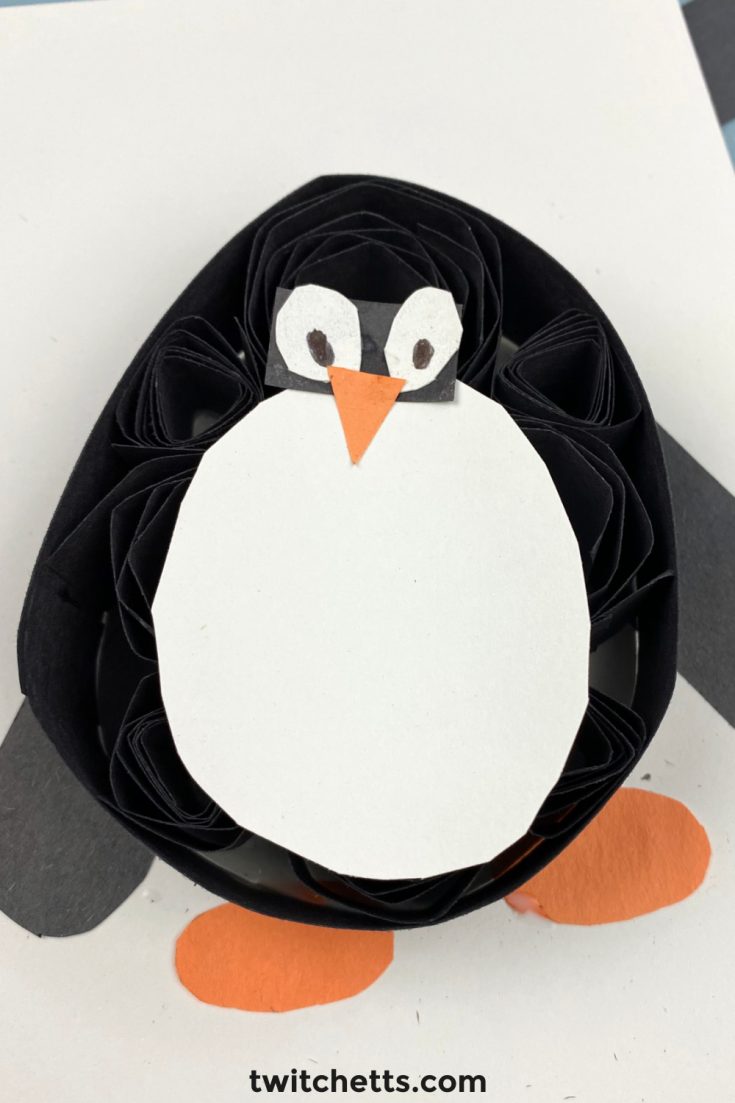
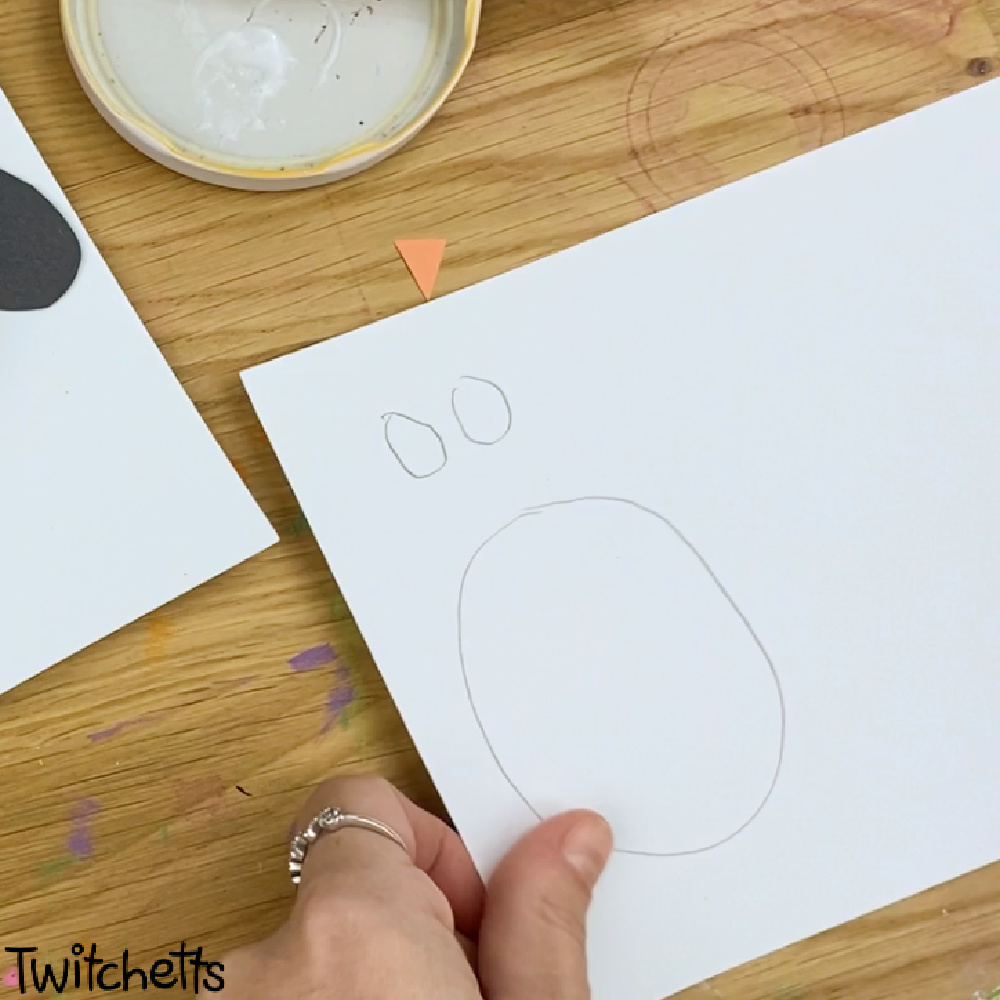
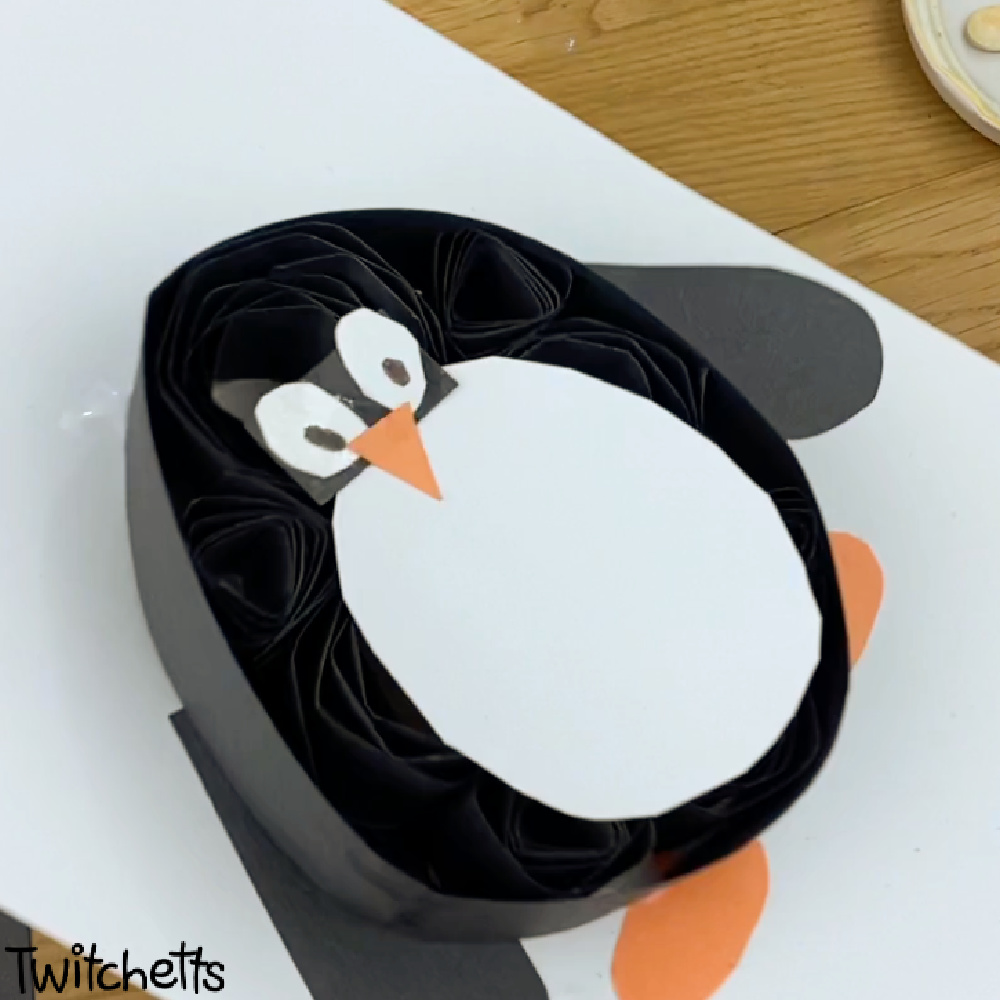
- On the second half of the white paper, trace an oval for the belly and two small ovals for the eyes. Cut them out.
- Using a small scrap of black paper, attach the eyes and the beak with glue.
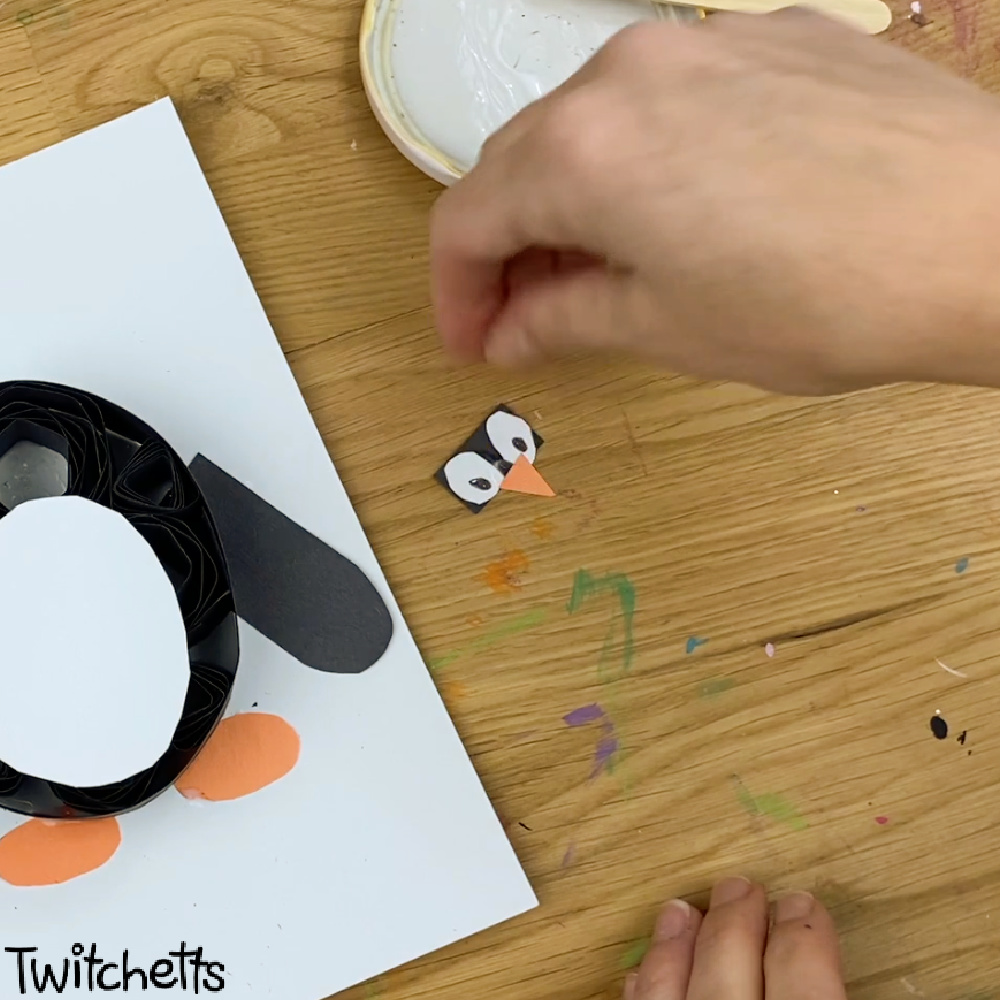
- Add them both to your penguin and you're done!
More preschool crafts you will love!
If you loved this cute polar bear craft, you’ll love these other ideas.
- Pig – A friendly 3D paper pig craft
- Turkey – Quill a cute turkey using this kid-friendly technique.
- Basic Shape Crafts – use more shapes to create fun classroom crafts.
If you loved this easy classroom craft, share it by pinning or sharing on Facebook.
This site wouldn’t be here without shares from people like you, and we are so thankful that you took the time to visit Twitchetts.
Know a friend who is looking for a polar bear craft? Please share this tutorial on Facebook or save it to your favorite board on Pinterest.