
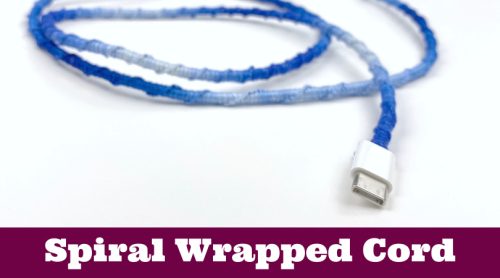
Learn how to make a DIY cord wrap with this video tutorial. Tweens, teens, and adults will love creating this type of custom charging cable using a simple friendship bracelet knot and some embroidery thread. Make them to give as handmade gifts, label family chargers, or just for fun!
DIY Cord Wrap
This charging cord wrap pattern is a unique craft that older kids can make on their own. Watch the video or follow the step-by-step instructions to learn how to make one.
We have been making a ton of friendship bracelets lately. This wrapped cord takes the concepts of thread bracelets and takes them to another level.
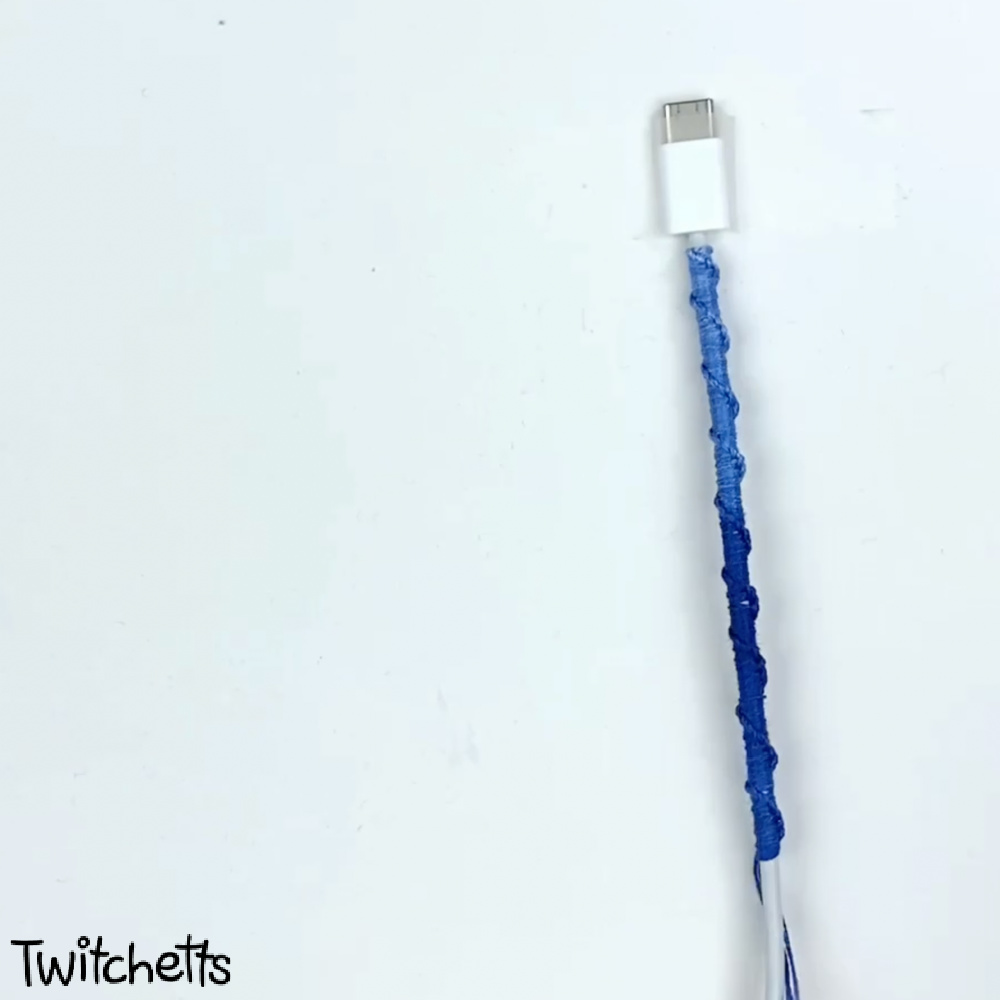
The spiral design uses a forward knot to create a string of twists that look kind of like spiral staircases. This is why the technique is sometimes called the Chinese staircase pattern.
If you want to try making a bracelet that matches, check out our tutorial for the spiral bracelet.
You can use this embroidery craft in several ways.
- Give them to your best friend.
- Use different colors to label all the tablet and phone cords in your home.
- Make them at a sleepover.
- Create them during long car rides.
- Wrap extension cords when they are visible.
Disclosure: Some of the links in this post are “affiliate links.” This means if you click on the link and purchase an item, we may receive an affiliate commission.
No time to make this personalized phone charger? Pin it for later!
If you’re currently in planning mode, that’s ok! Pin this to your favorite Pinterest board. That way you’ll be able to grab instructions when you’re ready!
How many colors can be used?
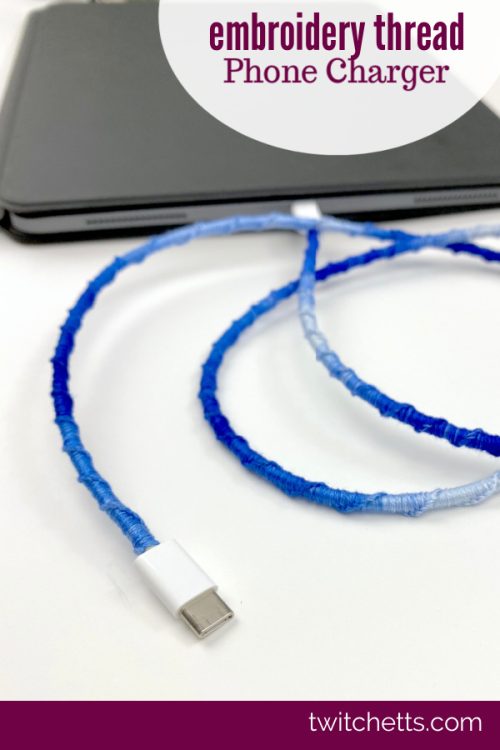
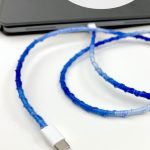
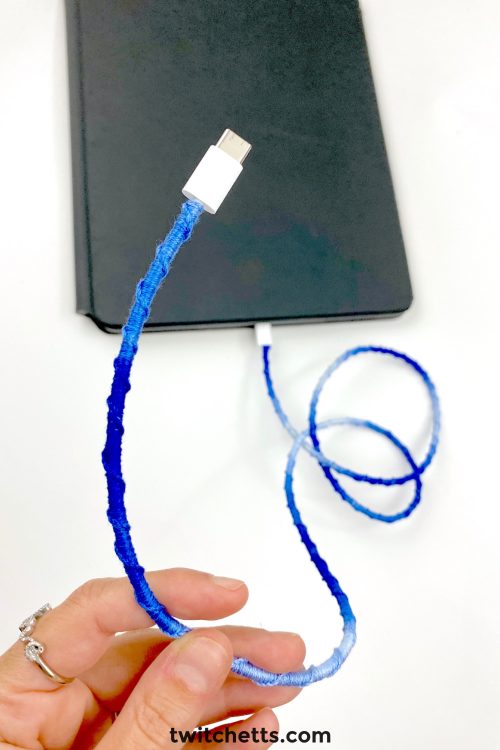
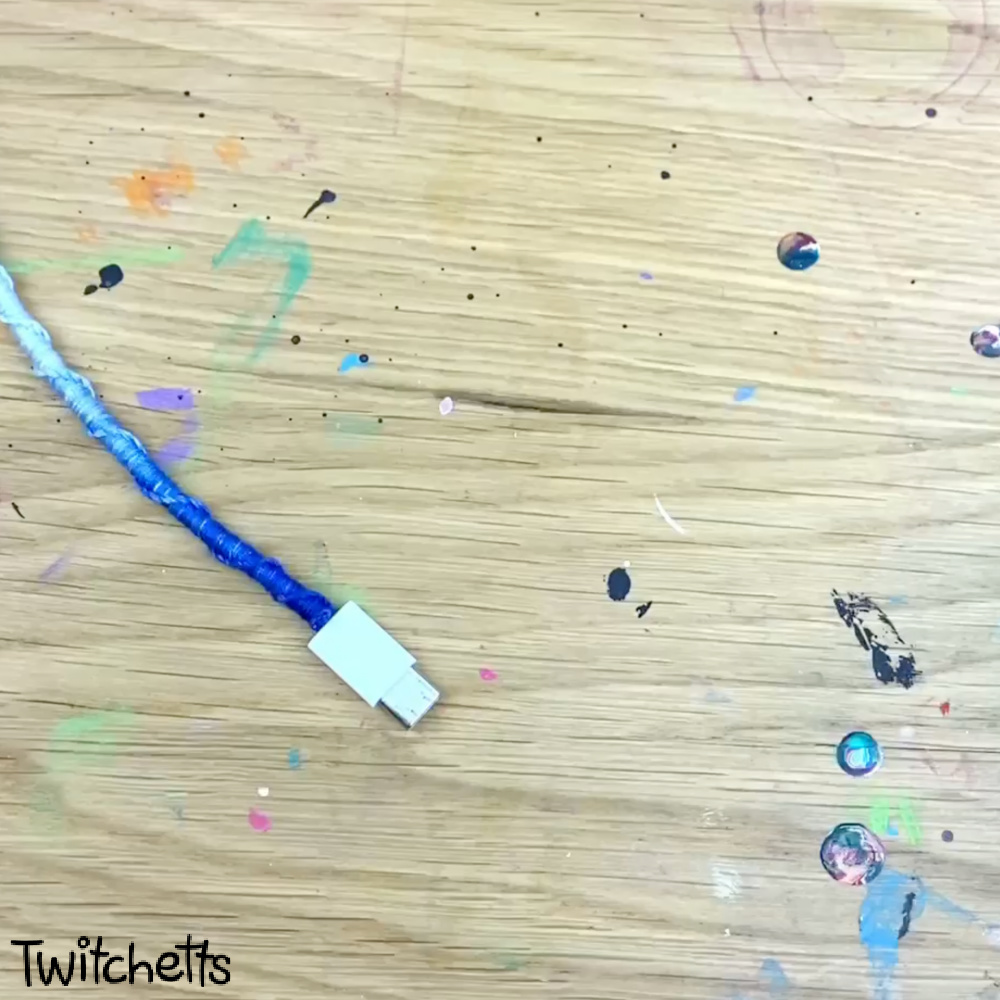
You can use 1 color to decorate this phone cord. In our example, we used a color-shifting type of embroidery thread to give it a gradual color change.
Grab all the embroidery floss you need here!
Ways to secure cords while you’re making them.
To get really good results, you want to make sure that everything is secure while you’re creating the knots. Here are a few ideas for securing your thread.
- Use a binder clip to secure it to a flat surface.
- Clip the string onto a clipboard.
- Use masking tape to secure it to your work surface.
Knots used in this braided cord charger
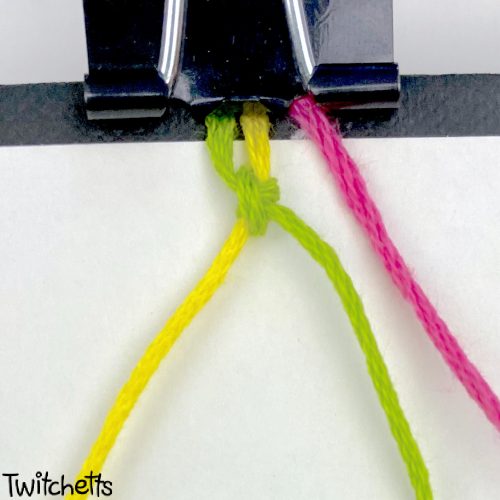
To create this look you should be familiar with the forward knot.
If you are not comfortable with this technique, head over to our basic friendship bracelet knots tutorials. There you will learn 5 of the basic string knots including the backward knot and square knots.
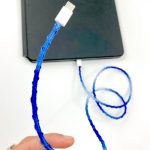
Personalized Phone Charger
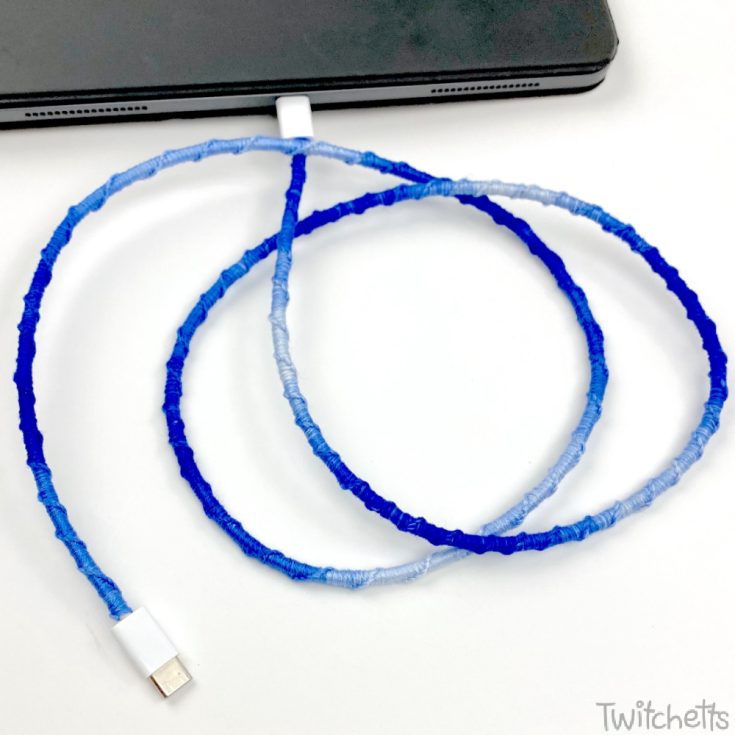
Personalize your phone charger with this fun forward knot tutorial! Just like a Chinese ladder design you get a fun spiral decoration on your charging cord!
Materials
- Phone Cord
- Embroidery Thread. I used 2 for my 3' phone cord. I also chose an ombre style strings so that the color shifts through the design.
Tools
- Tape
- Scissors
Instructions
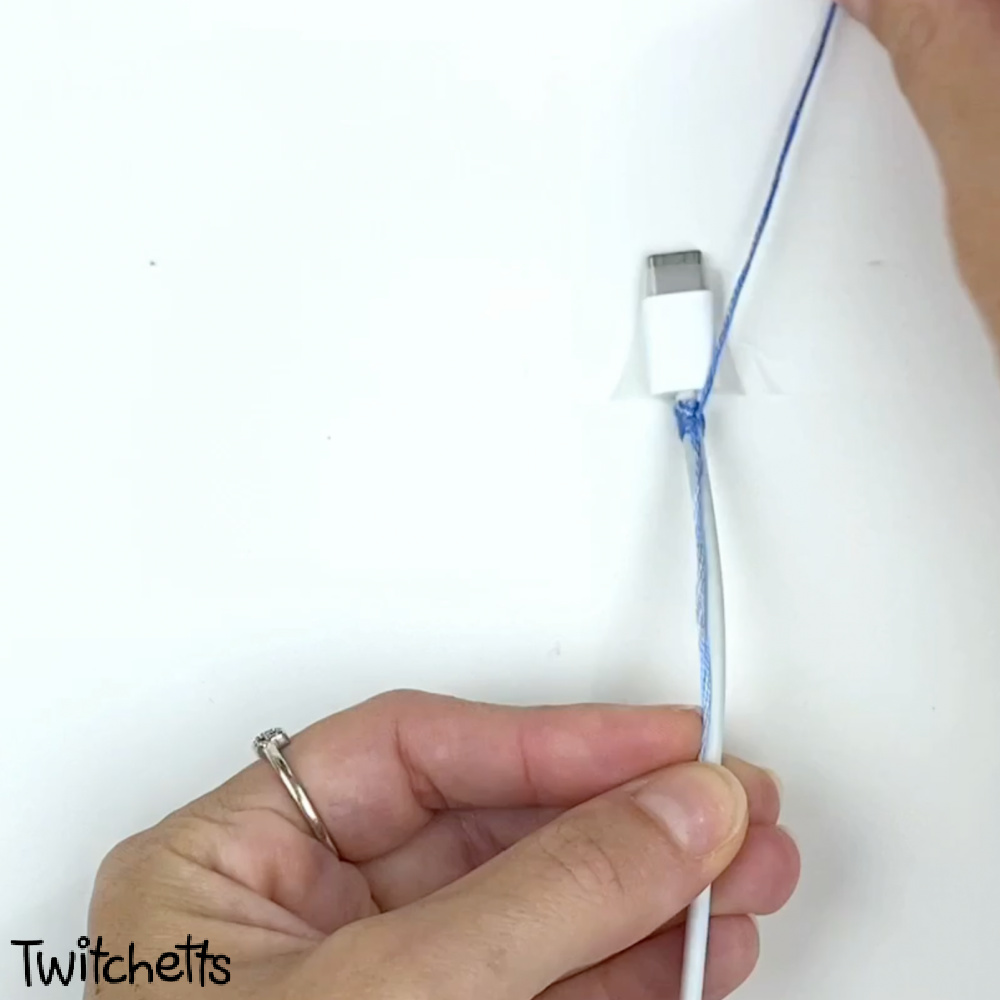
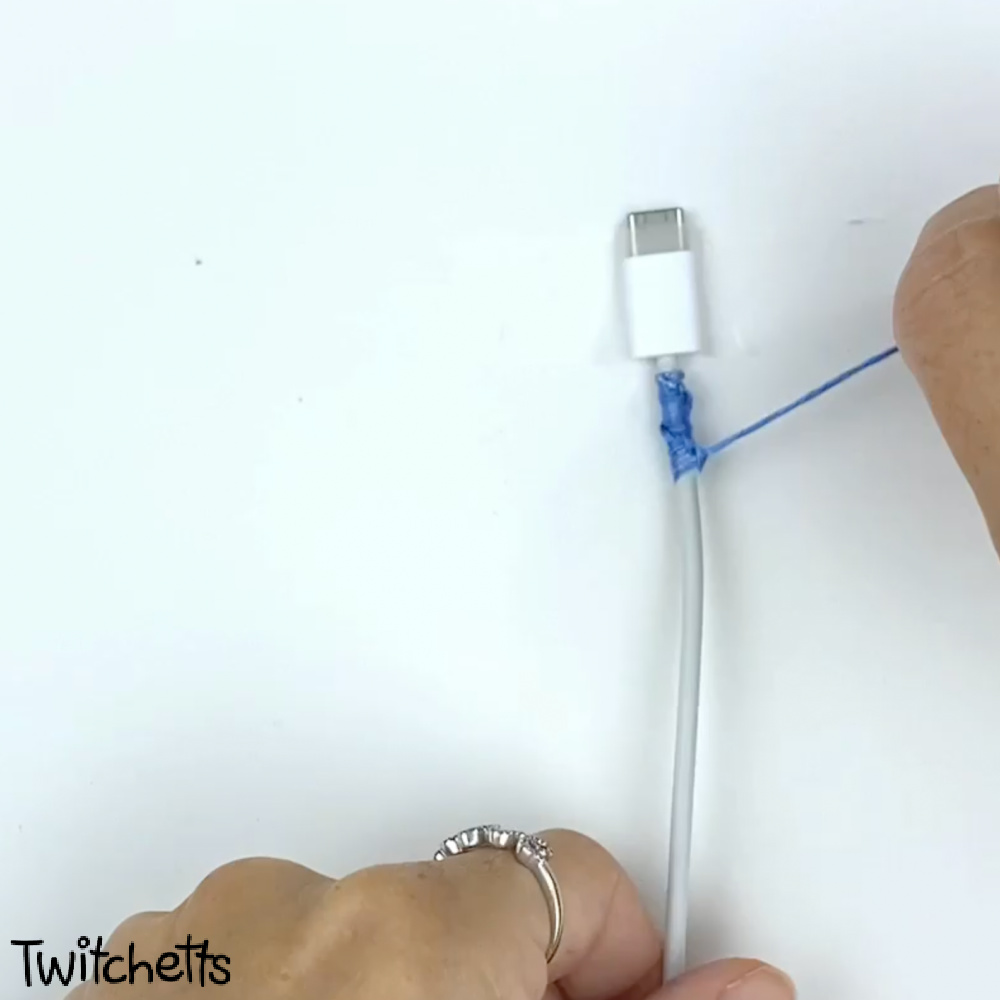
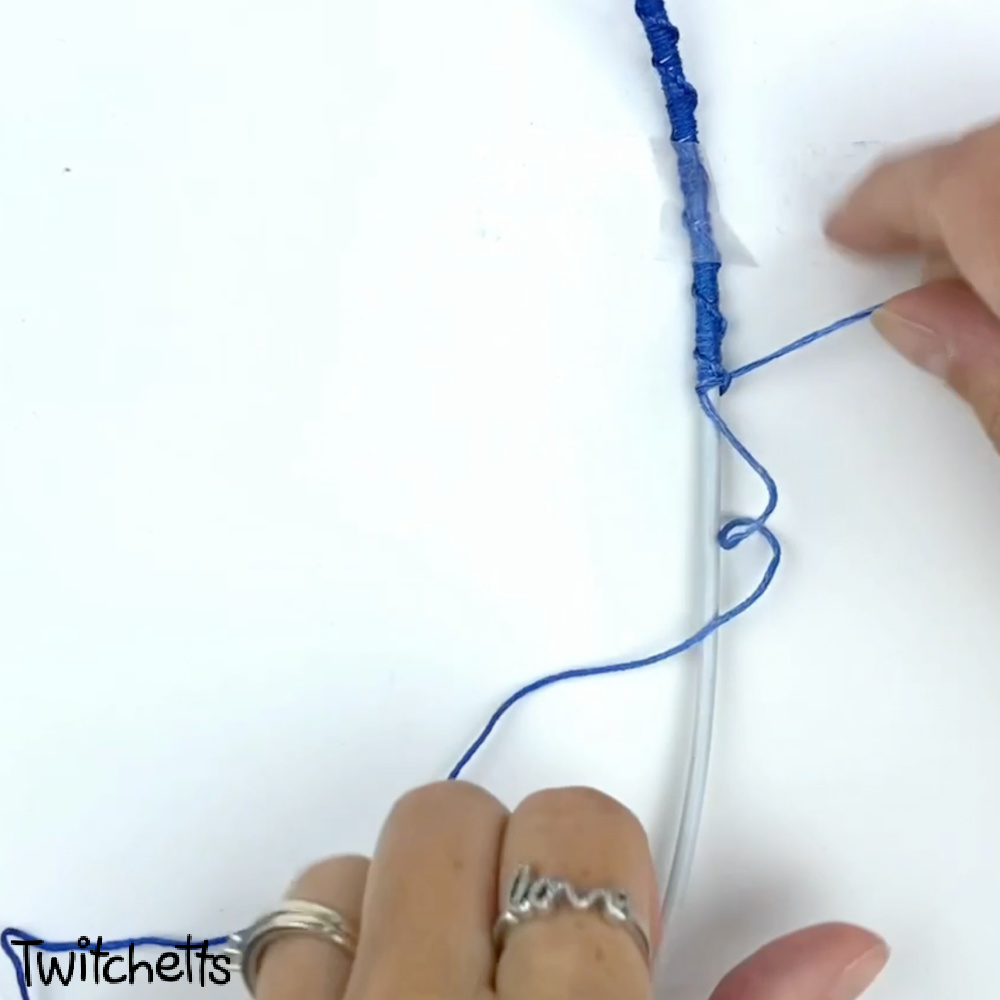
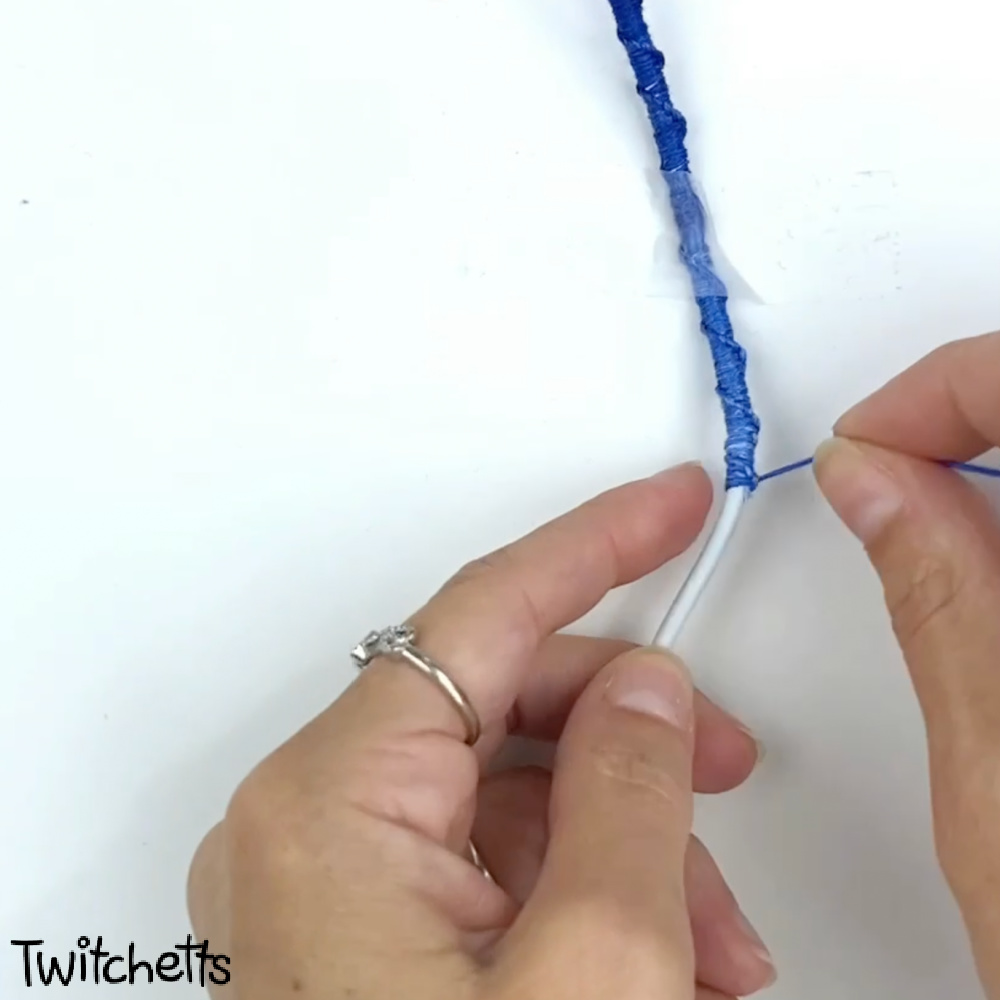
- Attach a phone cord to your work surface.
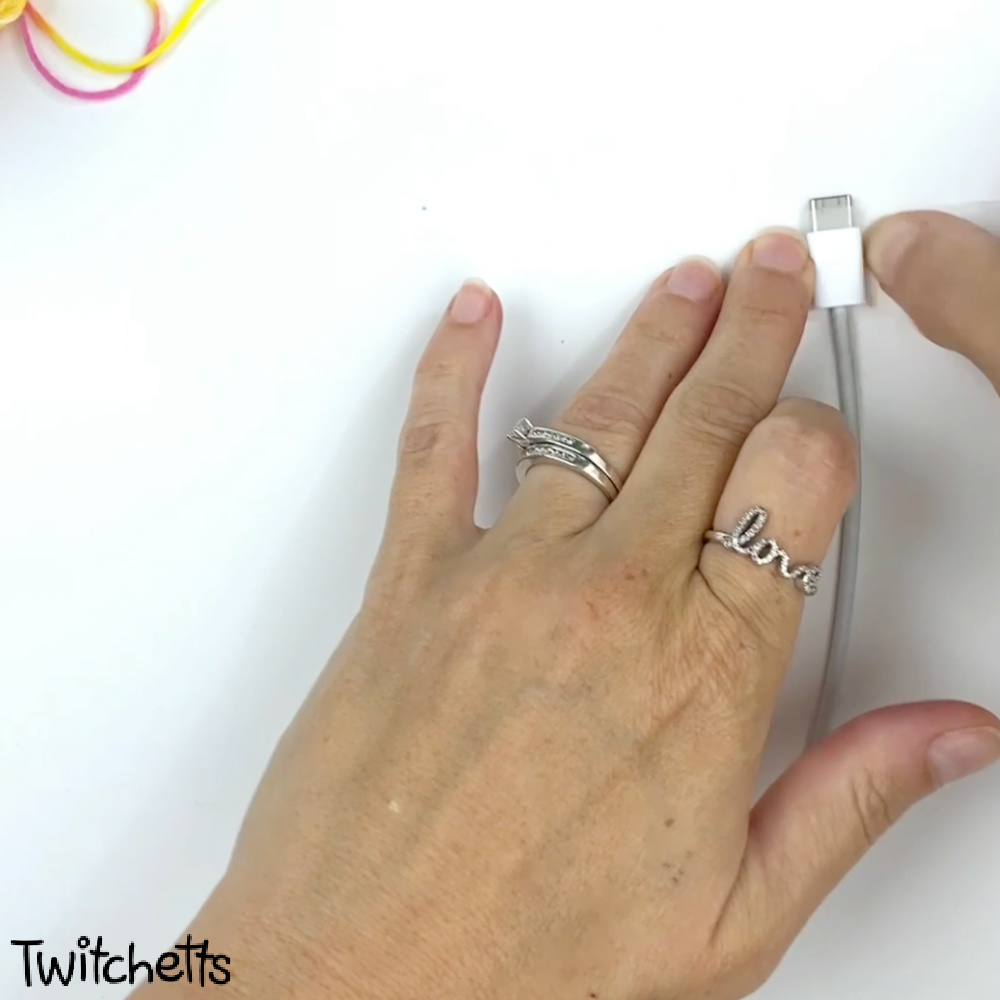

- Tie one end of the embroidery string to your charger. Keep the string in the packaging so it doesn't get too messy.
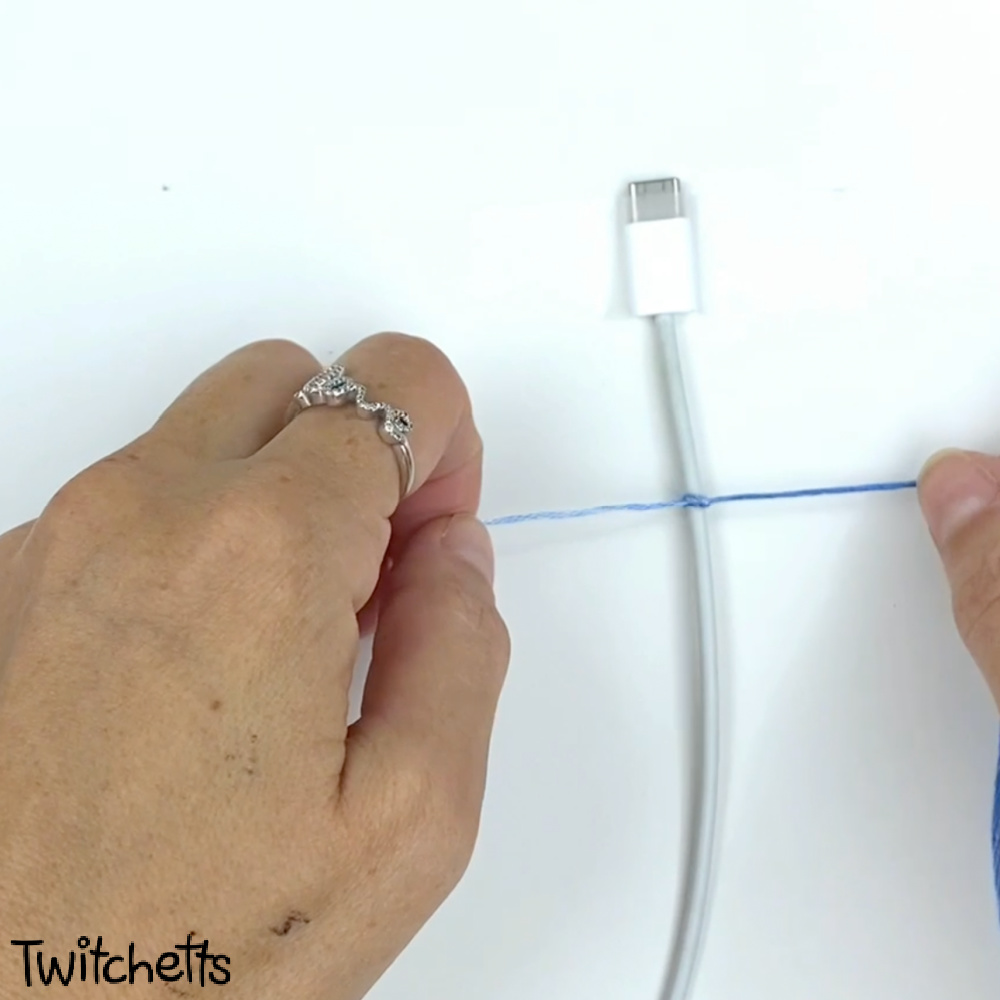
- Slide the knot as far up the cord as you can.
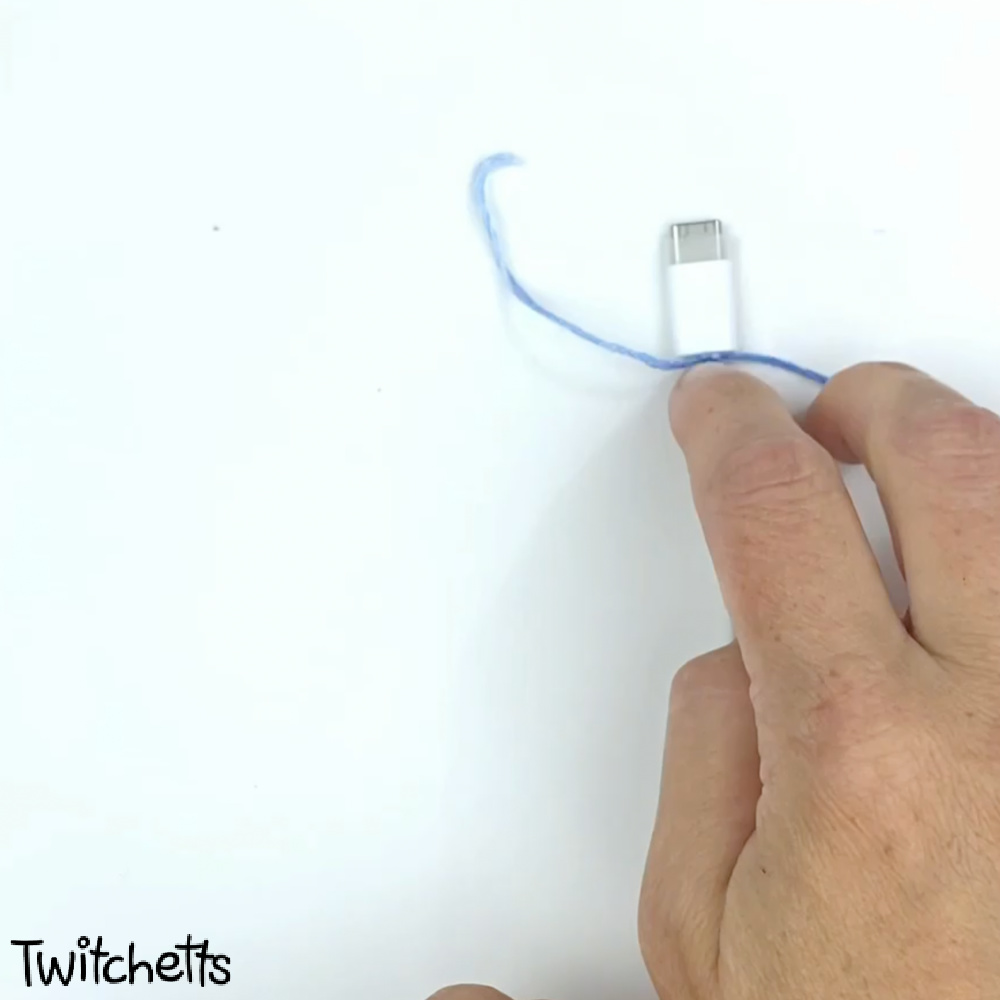
- Create a forward knot with the short end of the knot held tight against the charger cord.
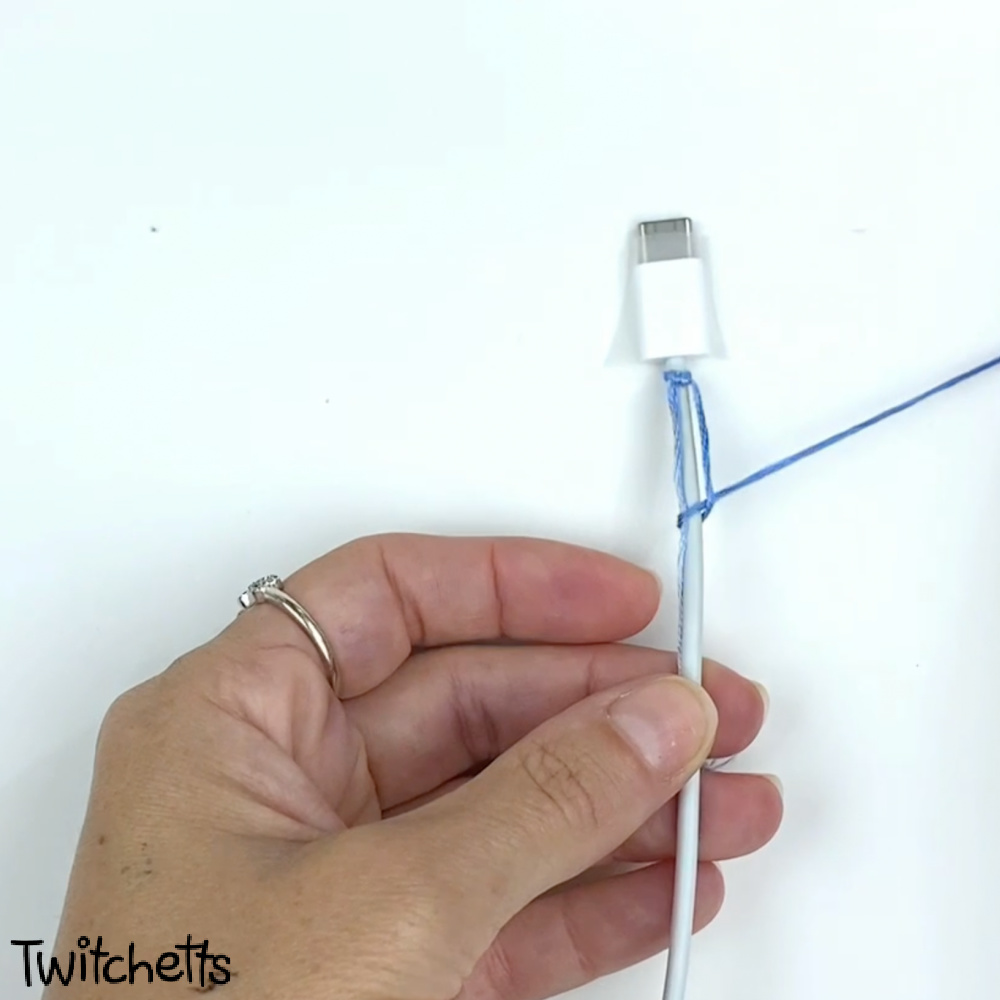
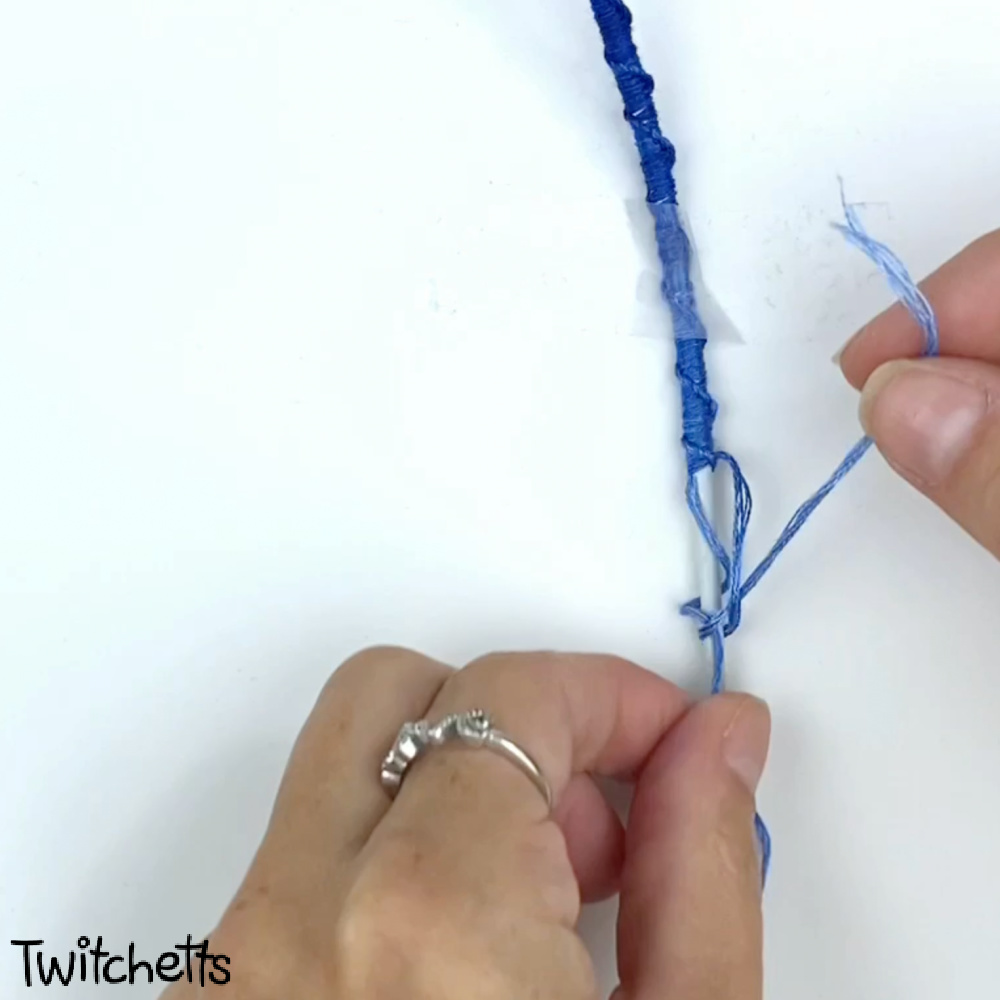
- To create your forward knot take the long string and go over the phone cord, creating a number 4, then go under the phone cord and up through the loop created by the 4.
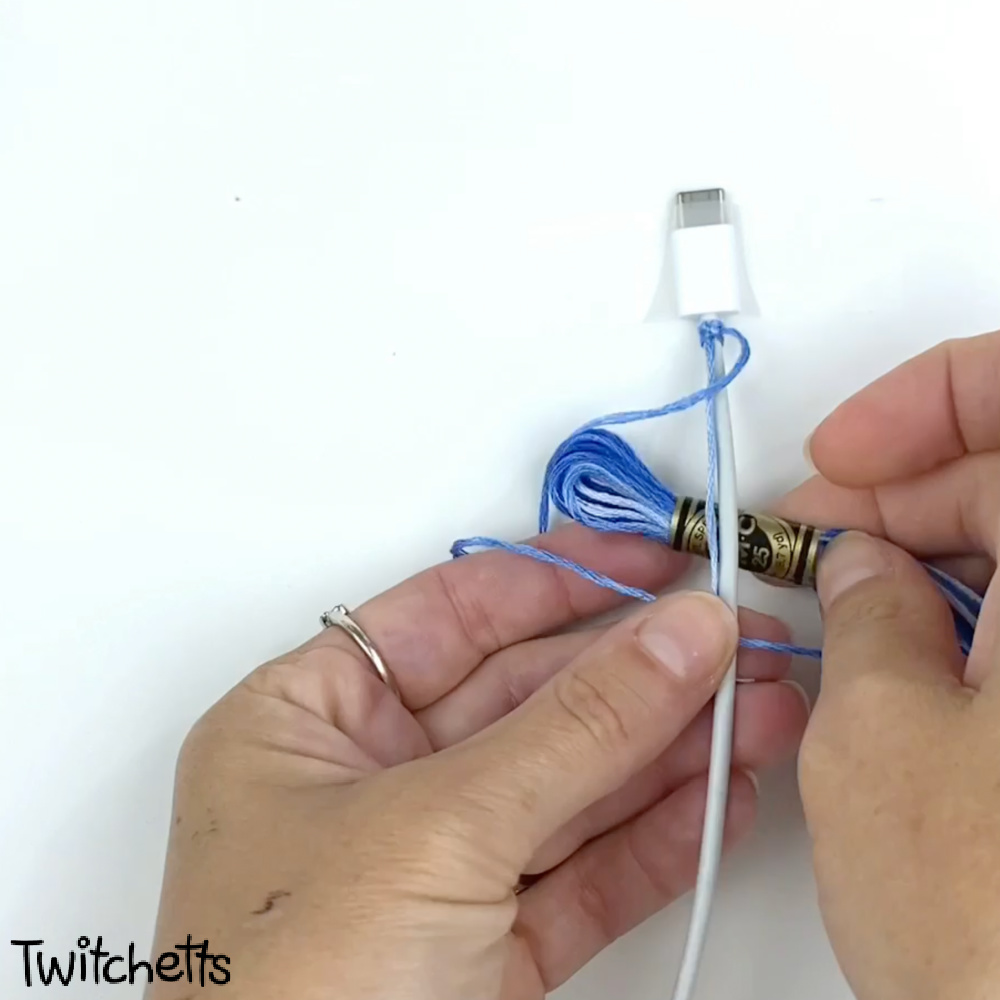
- Pull tight (make sure you have that tail from step 4 in there).
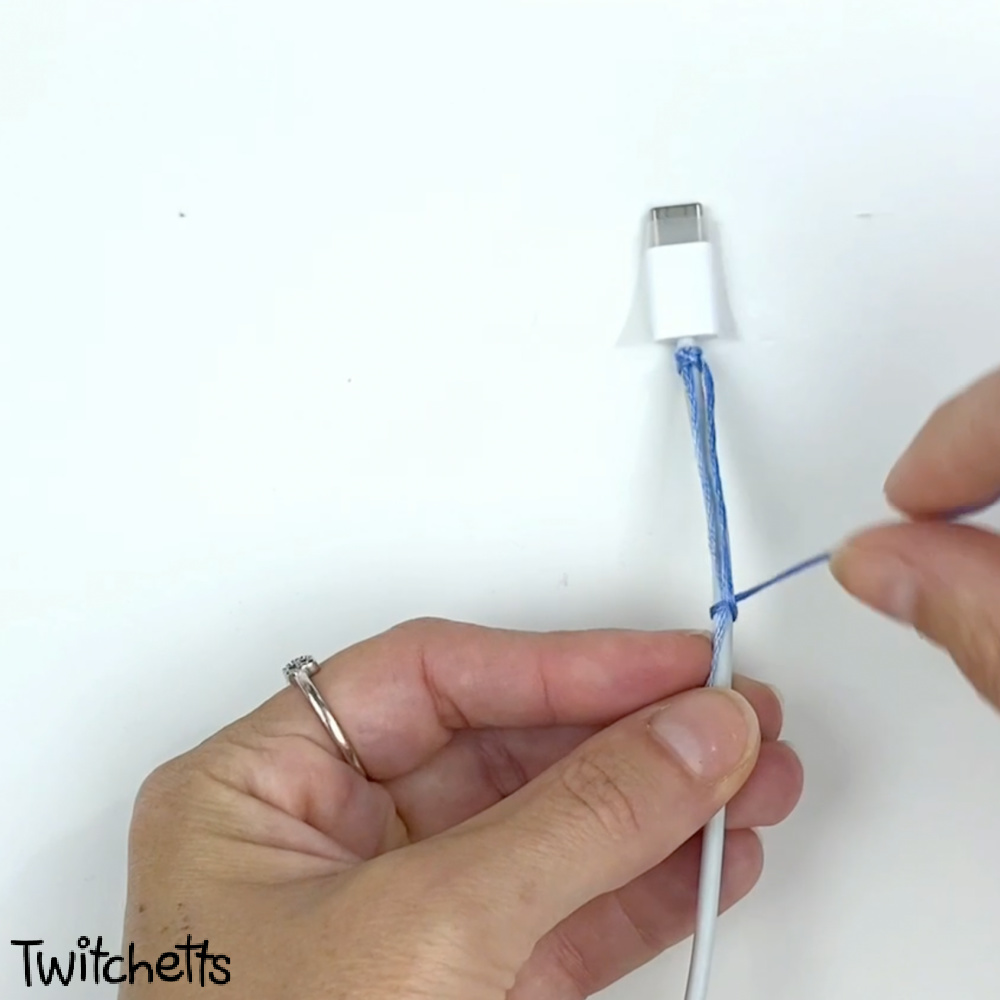
- Then slide the knot up.
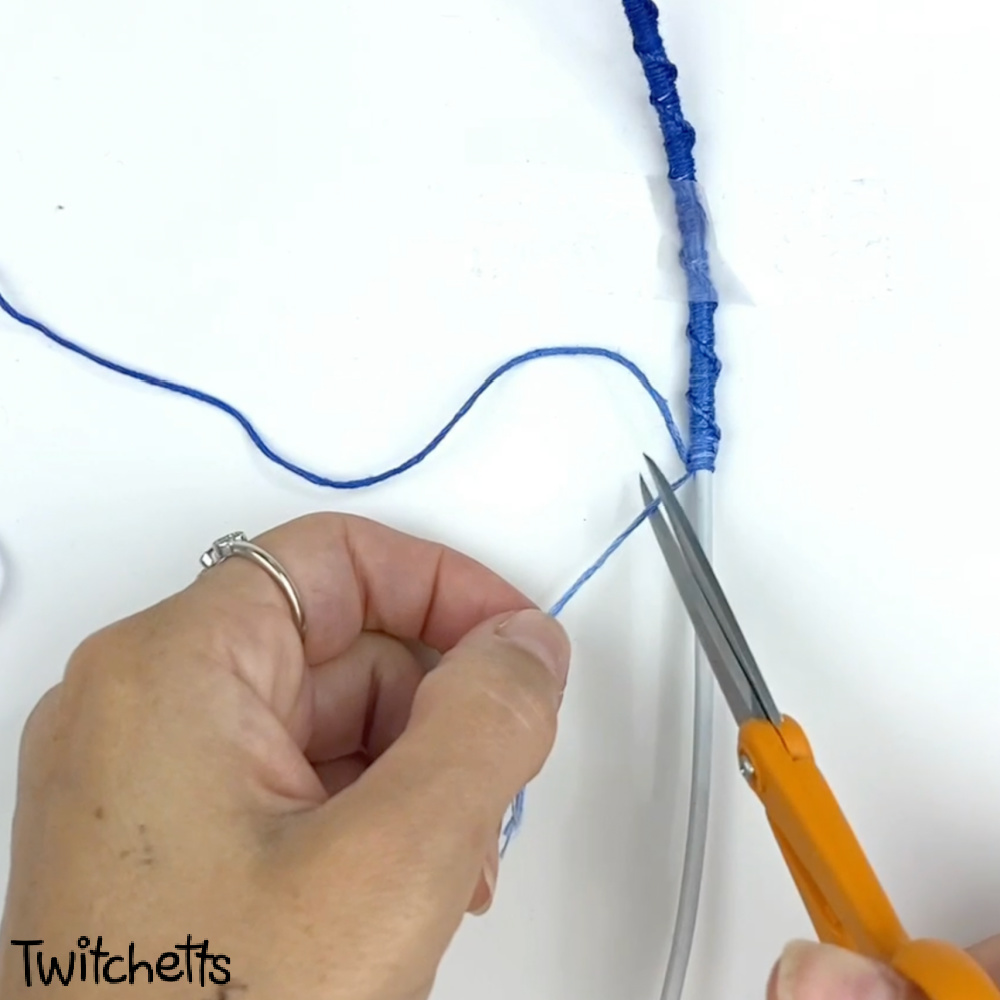
- Trim the extra end a bit shorter and then complete a few more forward knots, carefully so the end stays inside the design.

- Now just repeat!
- As you work down the cord, the knotting string will naturally work its way under the center string (cord). Just pass it back under to the left side and continue making forward knots.
- If the phone charger is long, you may need to thread in more embroidery thread. To do this add a new thread along the phone cord.
- Create a few forward knots with the new string inside the knot with the phone cord. Be careful not to pull down until you have a few knots in place.
- Then swap strings. Putting the old string into the center with the phone cord and using your new string to create the knots.

- Just like in the beginning you can trim off this end.
- Carefully do the next few knots so that you hide that end inside completely.
- Then just keep knotting! Work your way all the way to the other end of your charging cord.

- Tie off at the end and then trim off any remaining string.
More crafts for girls
- First Bracelet – If this pattern is a bit difficult, try this twisted bracelet instead.
- Flower Bracelet – A more challenging bracelet pattern.
- Chevron Friendship Bracelet Pattern – We gave this classic bracelet a 3D twist.
If you love easy this handmade gift idea, share them by pinning or sharing them on Facebook.
This site wouldn’t be here without shares from people like you, and we are so thankful that you took the time to visit Twitchetts.
Know a friend who is looking for a DIY cord wrap? Please share this tutorial on Facebook or save it to your favorite board on Pinterest.