
Learn how to make a chevron friendship bracelet with this video tutorial. Tweens, teens, and adults will love creating this unique type of string bracelet. Use a looping technique to create a fun 3D bracelet to give or keep!
Chevron Friendship Bracelet
This chevron bracelet tutorial is a fun friendship bracelet pattern. Watch the video or follow the step-by-step instructions to learn how to make one.
String bracelets are a great activity for kids of all ages.
They are a classic tween craft because they can make their own friendship bracelets and then give all the cute bracelets to their friends.
The chevron design doesn’t use the classic forward knot or backward knot. Instead it uses a loop method to create a 3D effect.
The bracelet in this tutorial has a moderate skill level. Once you have mastered it, try this flower bracelet for more of a challenge.
You can use this bracelet craft in several ways.
- Give them to a good friend.
- Hang them from your backpacks
- Use them as colorful gift wrap ribbons.
- Pass them out as handmade Valentines.
- Make them at a sleepover.
- Create them during long car rides.
- Braid them as a summer camp activity.
- Make them during an elementary school class party
Disclosure: Some of the links in this post are “affiliate links.” This means if you click on the link and purchase an item, we may receive an affiliate commission.
No time to make this string bracelet? Pin it for later!
If you’re currently in planning mode, that’s ok! Pin this to your favorite Pinterest board. That way you’ll be able to grab instructions when you’re ready!
How many colors can be used?
This pattern uses 5 different colors. To get the look you want, make sure you loop the strings in the following pattern:
- First the color on right pointer will be the first chevron row.
- Then right middle finger
- Then right ring finger
- Then left pointer finger
- Finally, left middle finger.
You can choose any colors you want to make a complex design, or use classic rainbow colors.
The first time you create this bracelet, I suggest using different colors of thread. This way you can better see what you’re doing.
After a little practice you can make rows of with different shades of red string, blue string, or green string!
Ways to secure string bracelets while you’re making them.
To get really good results, you want to make sure that the bracelet is secure while you’re creating the knots. Here are a few ideas for securing your thread.
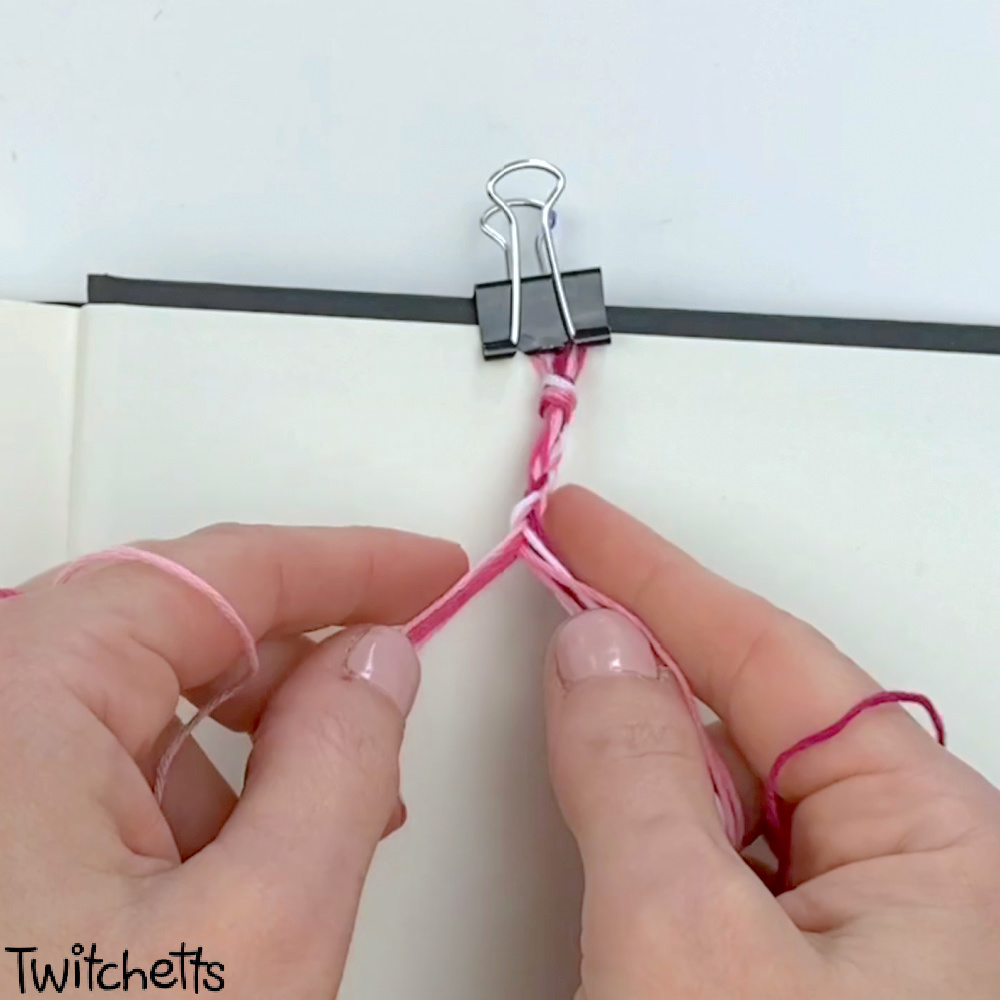
- Use a binder clip to secure it to a flat surface.
- Place a pillow on your lap and safety pin the floss to the pillow.
- Clip the string onto a clipboard.
- Use masking tape to secure it to your work surface.
Knots used in this friendship bracelet
This friendship bracelet pattern doesn’t use the traditional knots, but you can still learn them!
Head over to our basic friendship bracelet knots tutorials to learn each these important techniques. There you will learn 5 of the basic string knots including the backward knot and square knots.
Chevron Bracelet Pattern
Use this fun weaving technique to create a cool 3D chevron friendship bracelet!
Materials
- Embroidery Thread 5 Strings 36" Each
Tools
- Scissors
- Clip
Instructions
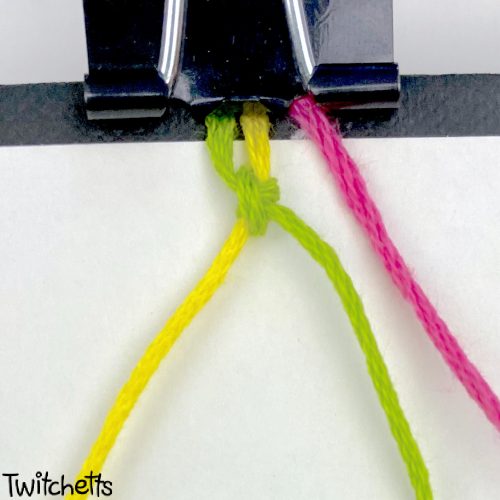
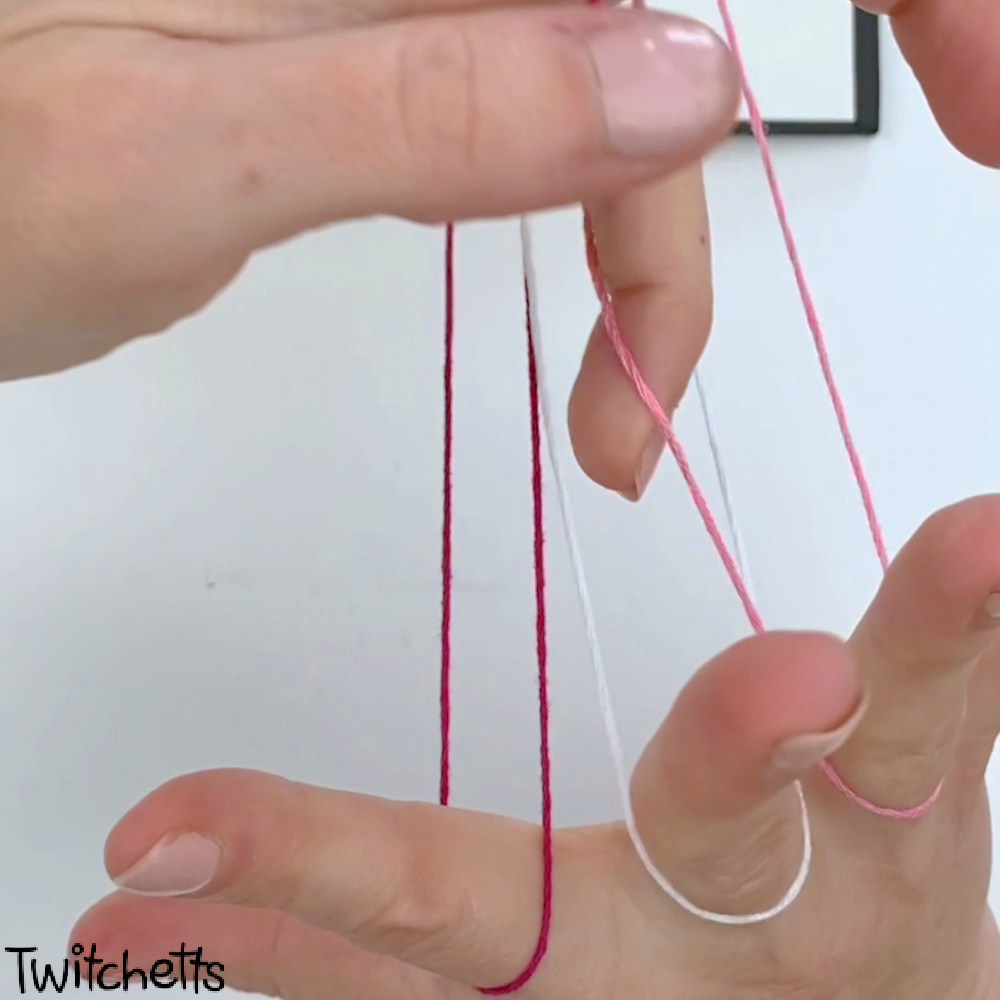
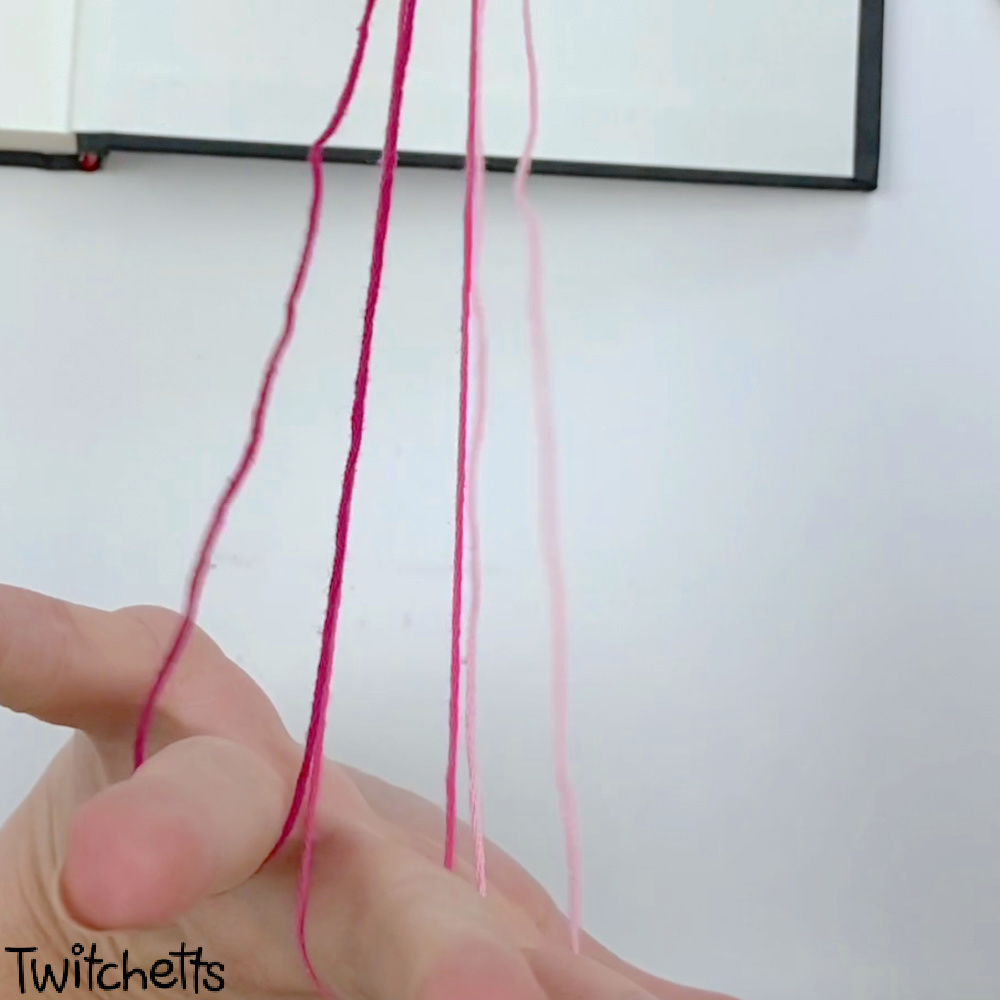
- The first step is folding each of the 5 strings in half and tying all the cut ends together. Make sure to leave yourself some room at the end of the strands for securing the bracelet later. This will create 5 loops. See notes above for a helpful tip on color placement.
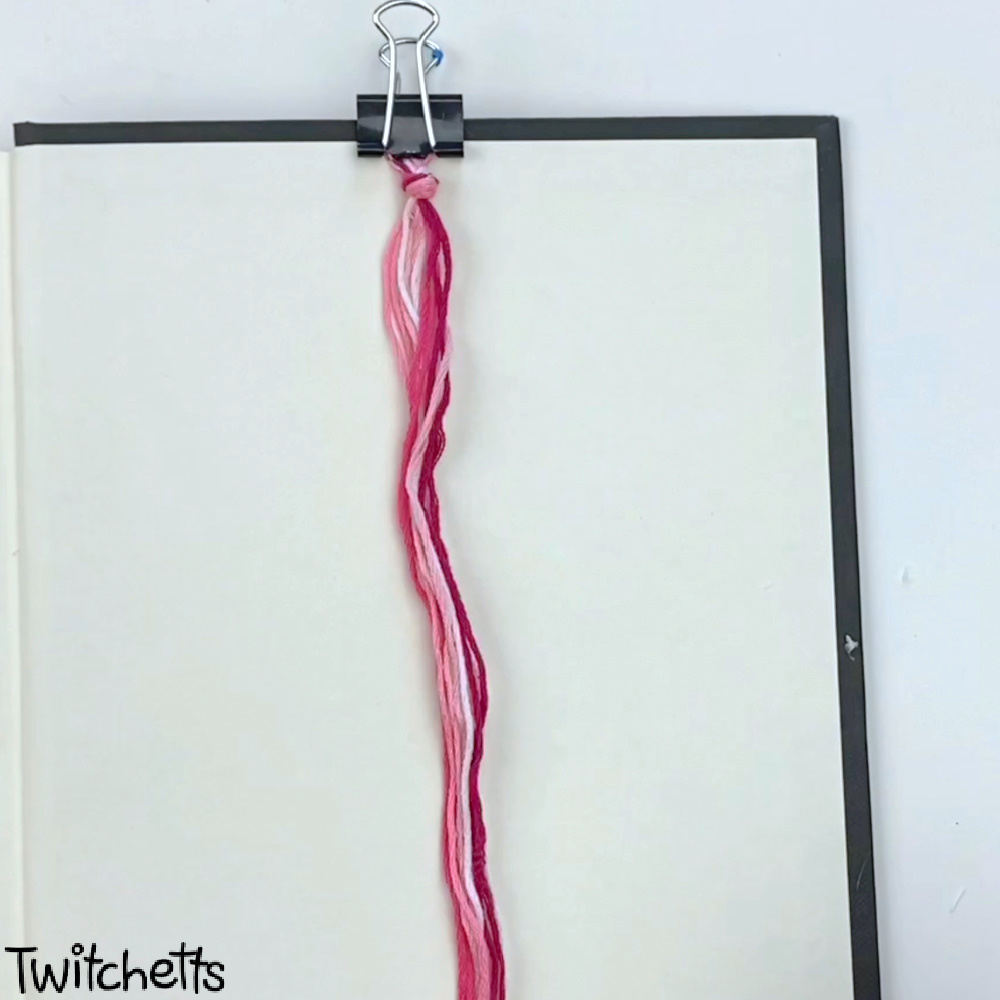

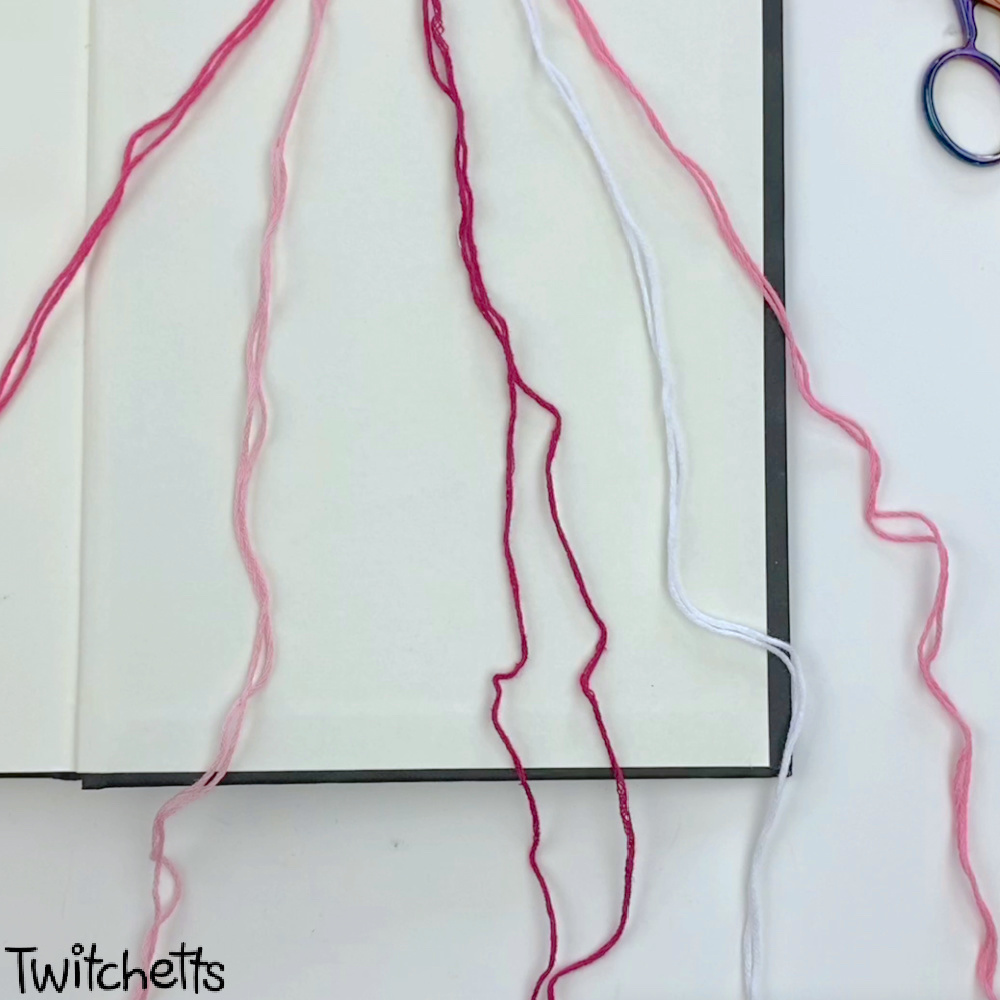
- Separate the loops.
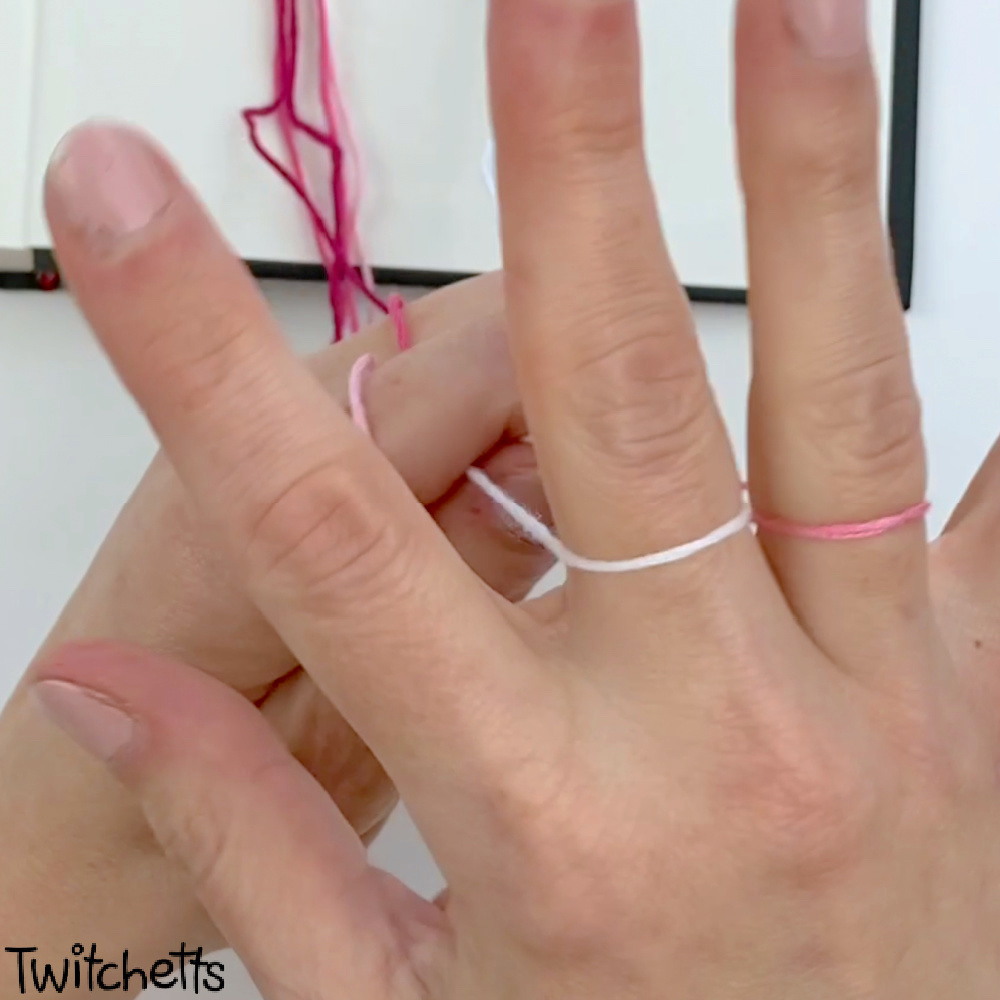
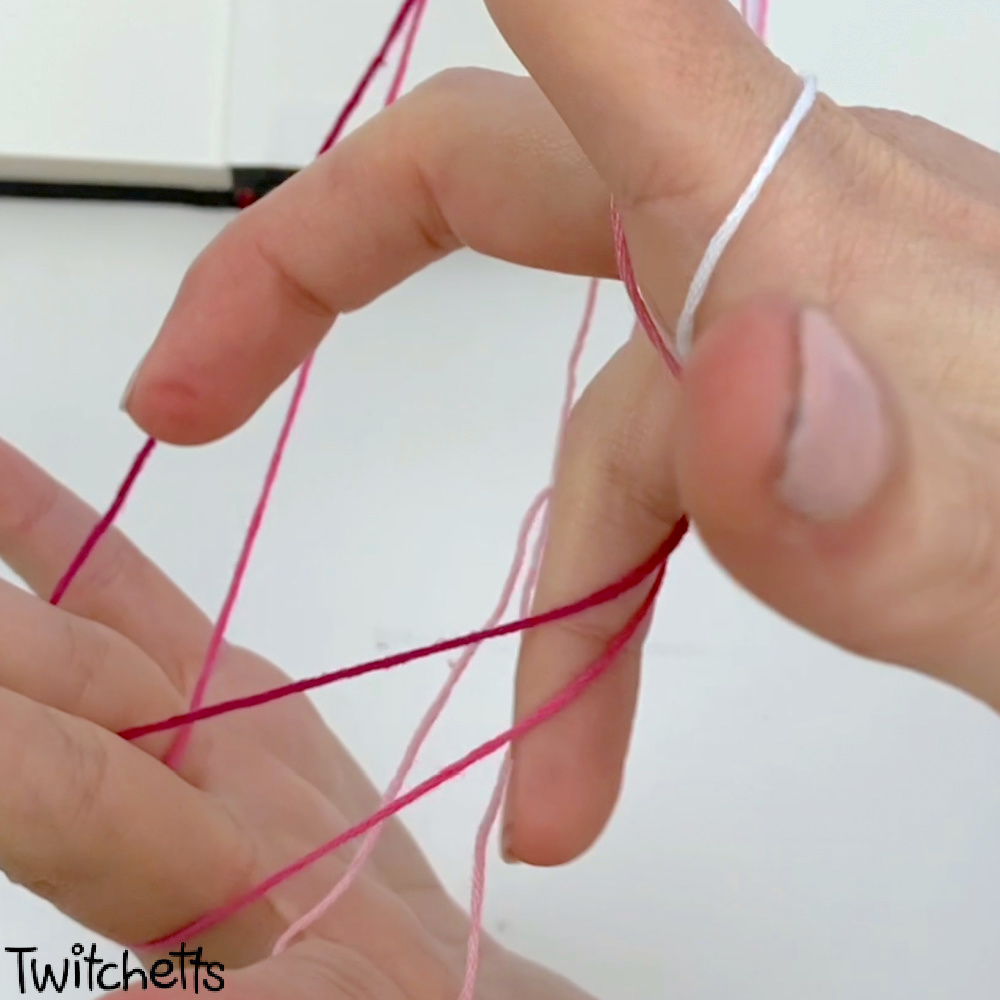
- Start placing the loops onto your fingers. One on your left middle finger and one on your left pointer finger.
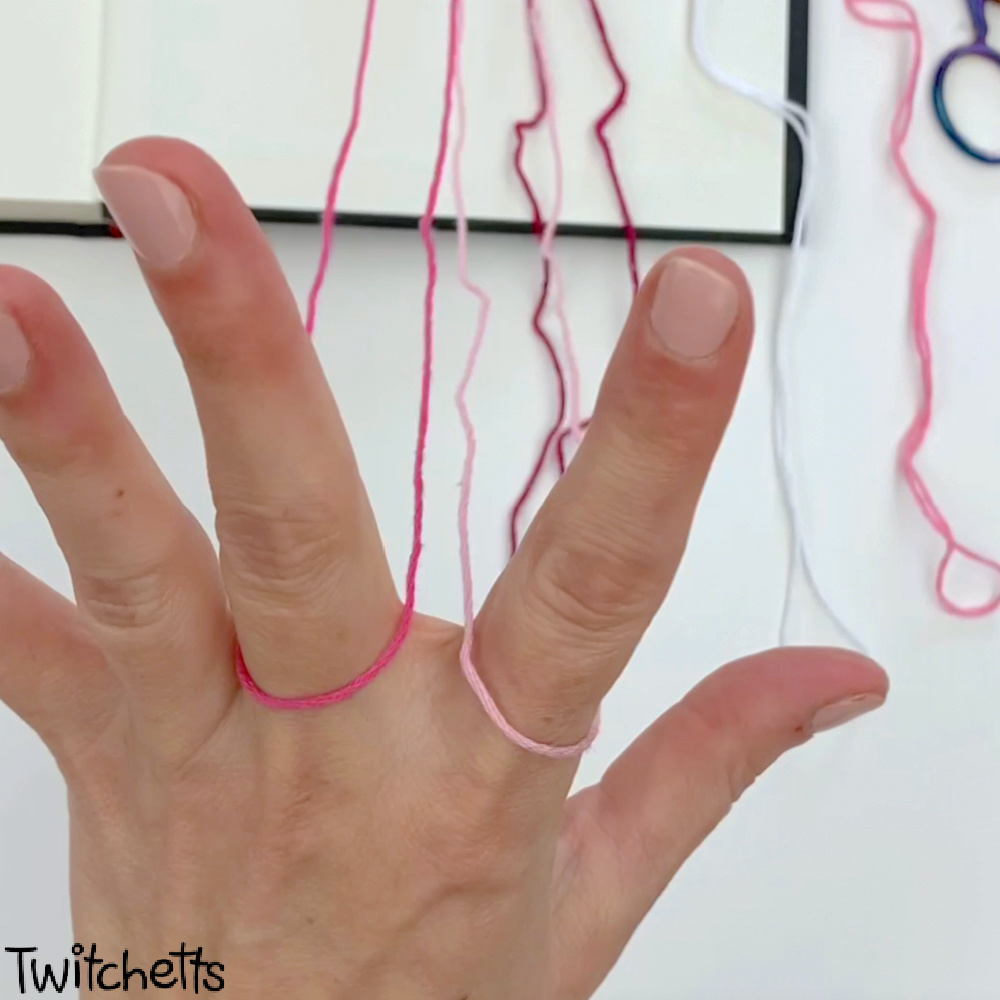
- Then add loops onto your right hand on your pointer, middle, and ring finger. Flip the strings if necessary to untwist any loops.

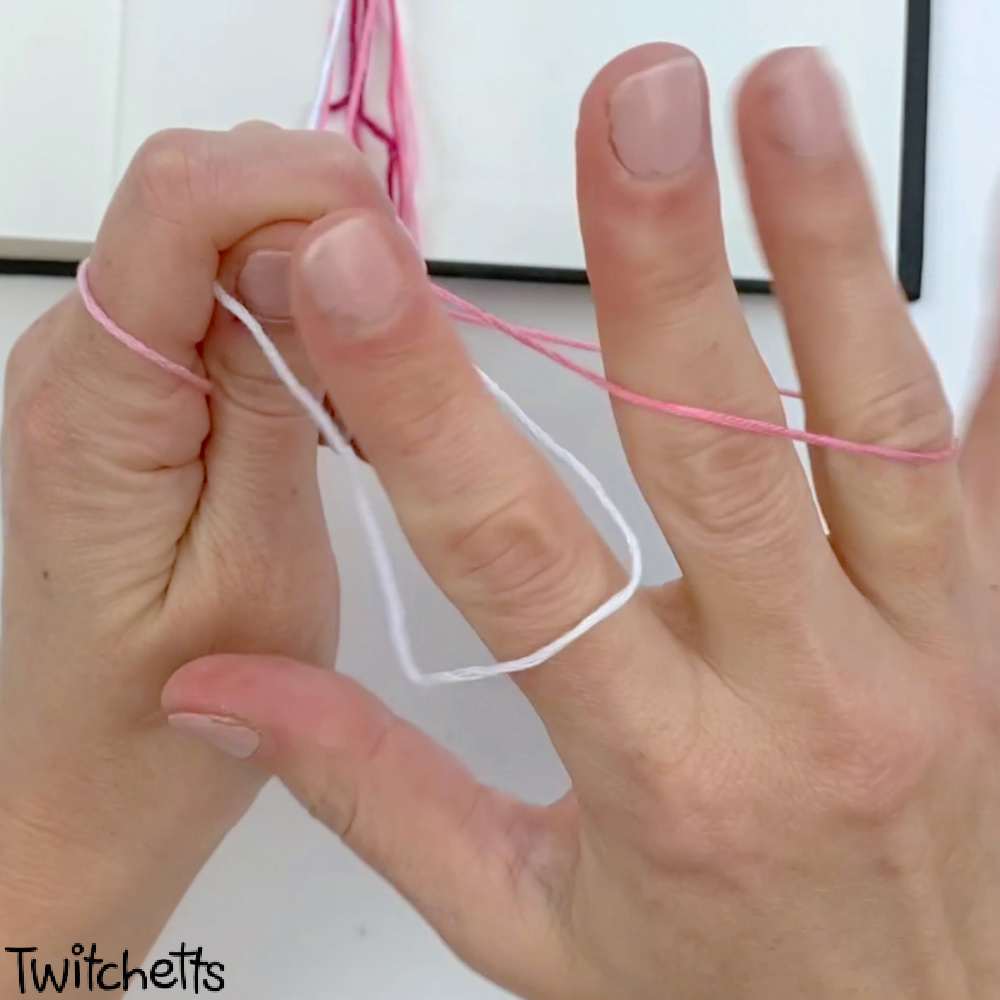
- With your left ring finger reach over to your right hand. Grab the inside string from your right ring finger loop and lift up.
- Then grab the inside string from the middle finger loop and lift up.
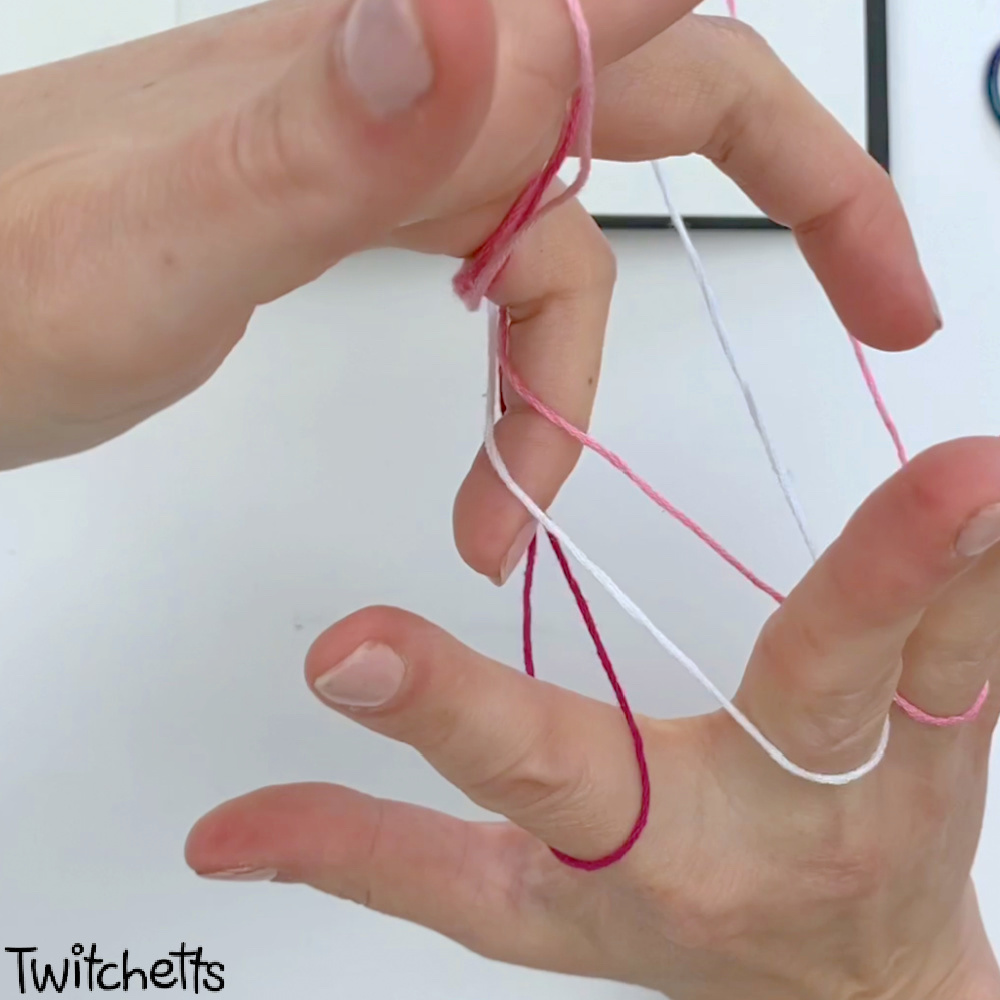
- With both of those strings hooked on your left ring finger, pull past the right pointer finger loop, then up into the right pointer finger loop.
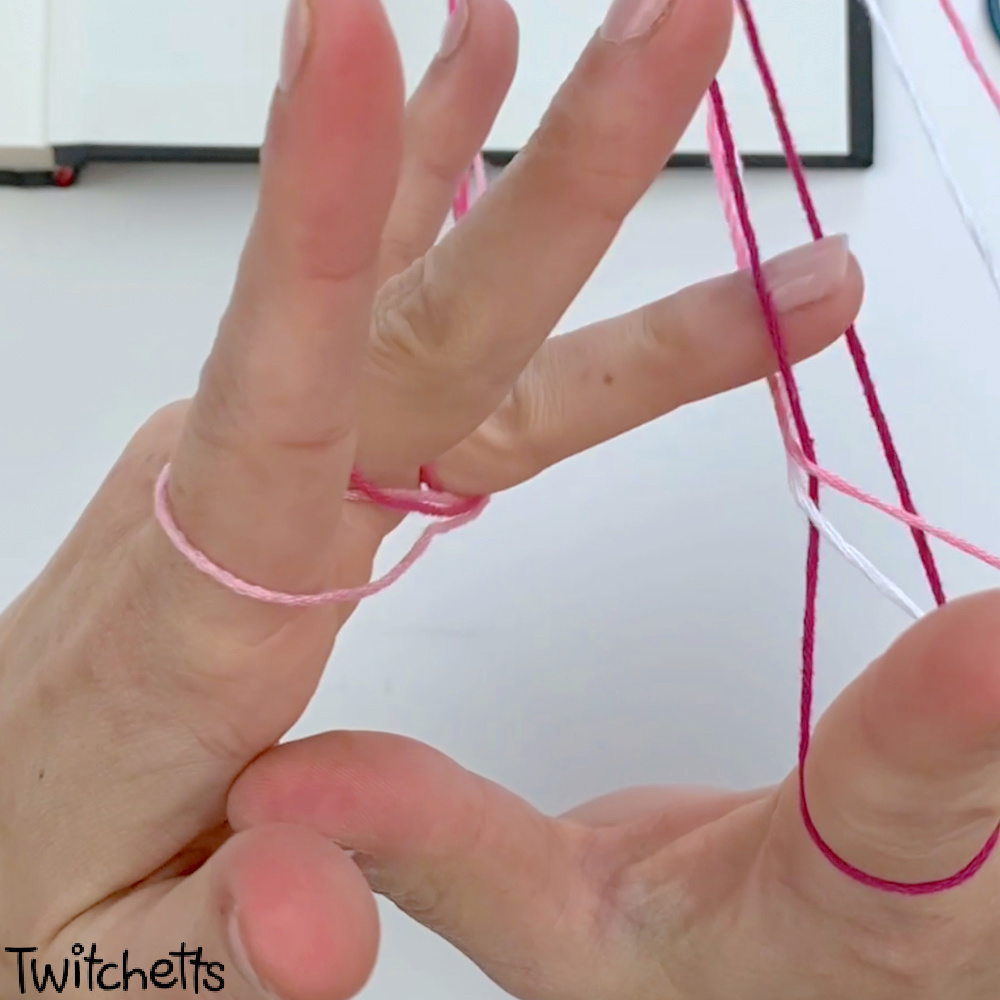
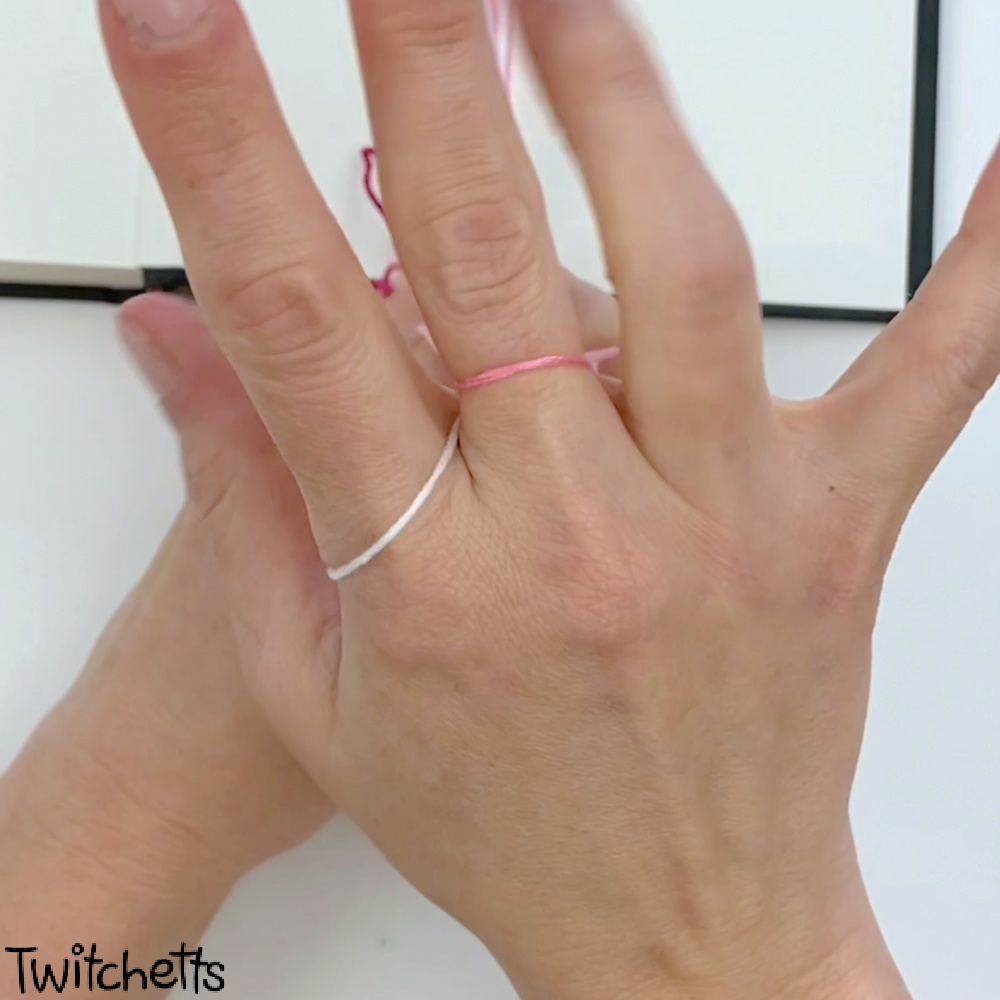
- Lift your left ring finger up and back to the left, this will pull the string from your right pointer finger off.
- It will then be on your left ring finger. Pull your hands apart to move the strings up the bracelet.
- Now your right pointer finger will be without a loop.
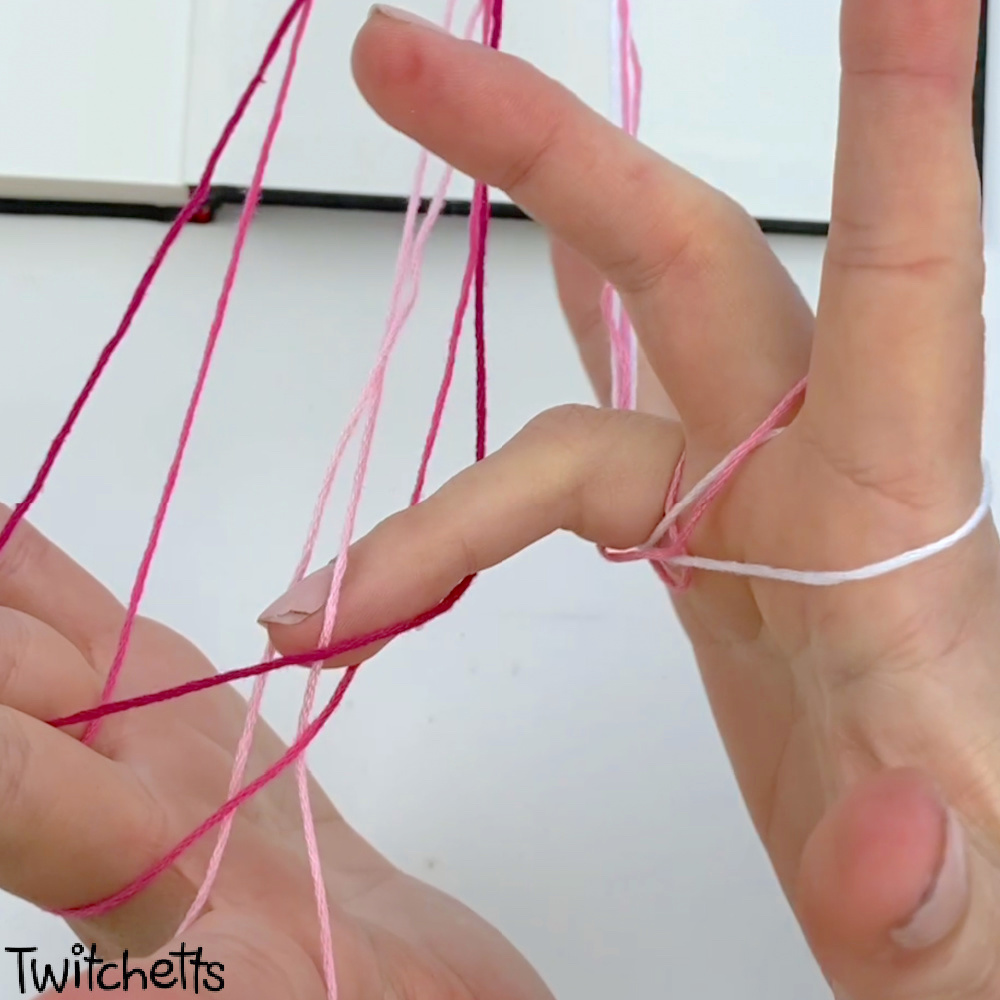
- Carefully move your loops on your right hand over. The middle finger color to the pointer finger.
- Then the ring finger color onto the middle finger.
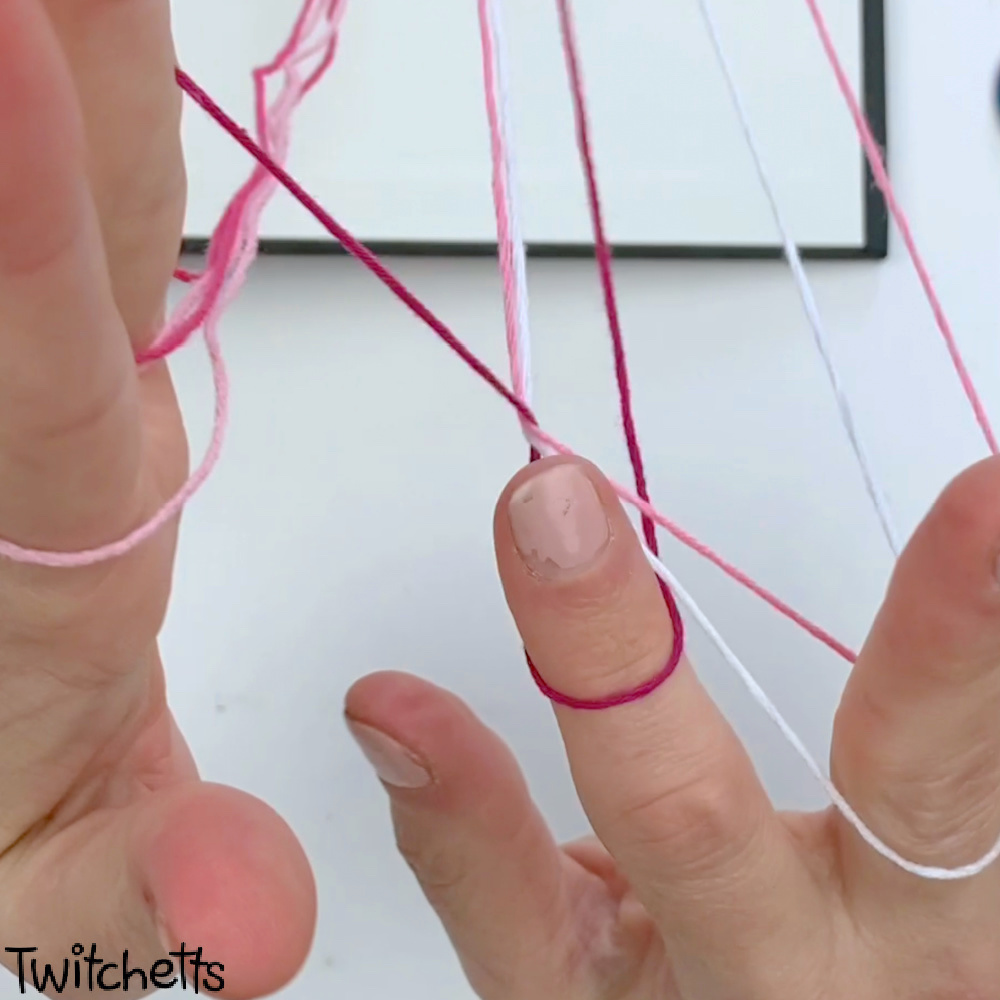
- Now we will repeat steps 5-12 on the other side. Take your now empty right ring finger and grab the inside string from the left ring finger and then the left middle finger.
- Pull past the pointer finger and then up through that loop. Move the loops on the left hand towards the inside fingers.
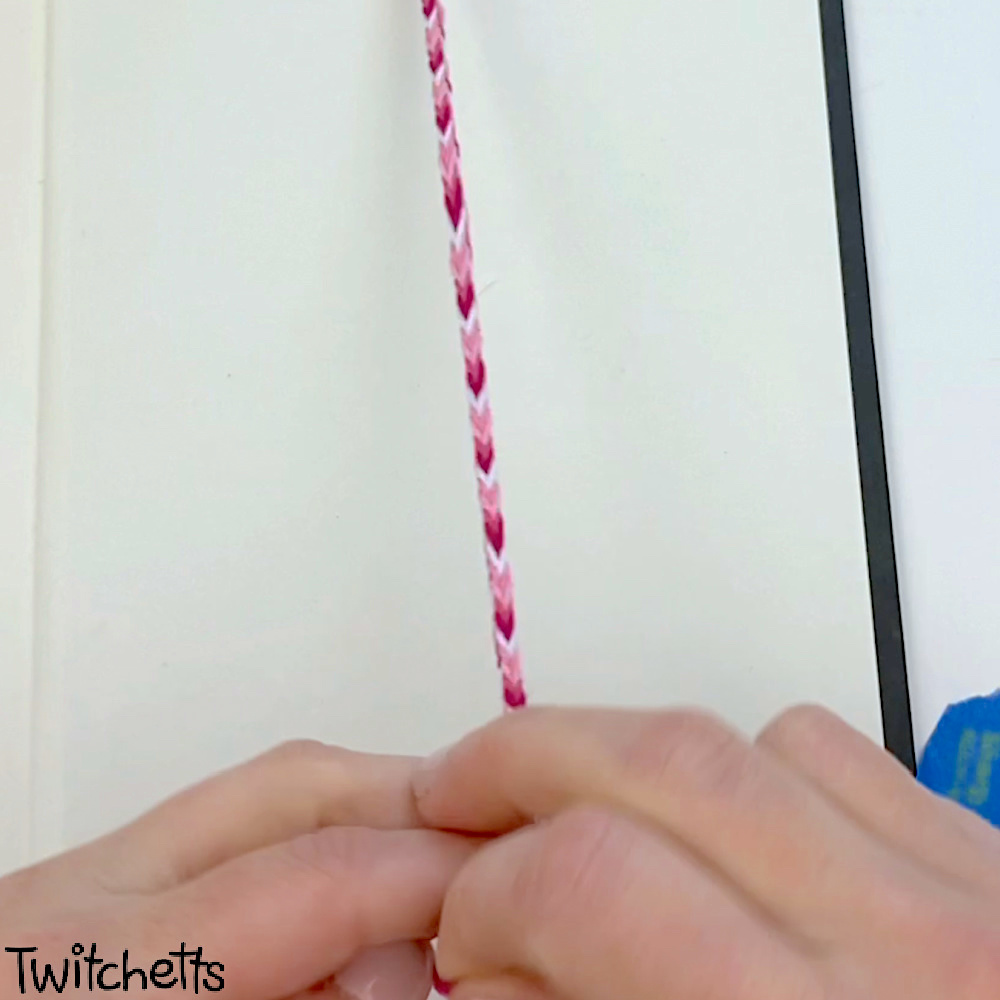
- Repeat this pattern back and forth and the bracelet will come together. The bracelet will be on its side at first, and you may not see the pattern.
- If you turn your bracelet on its side you will see the chevron pattern starting.

- Continue the weaving pattern.[
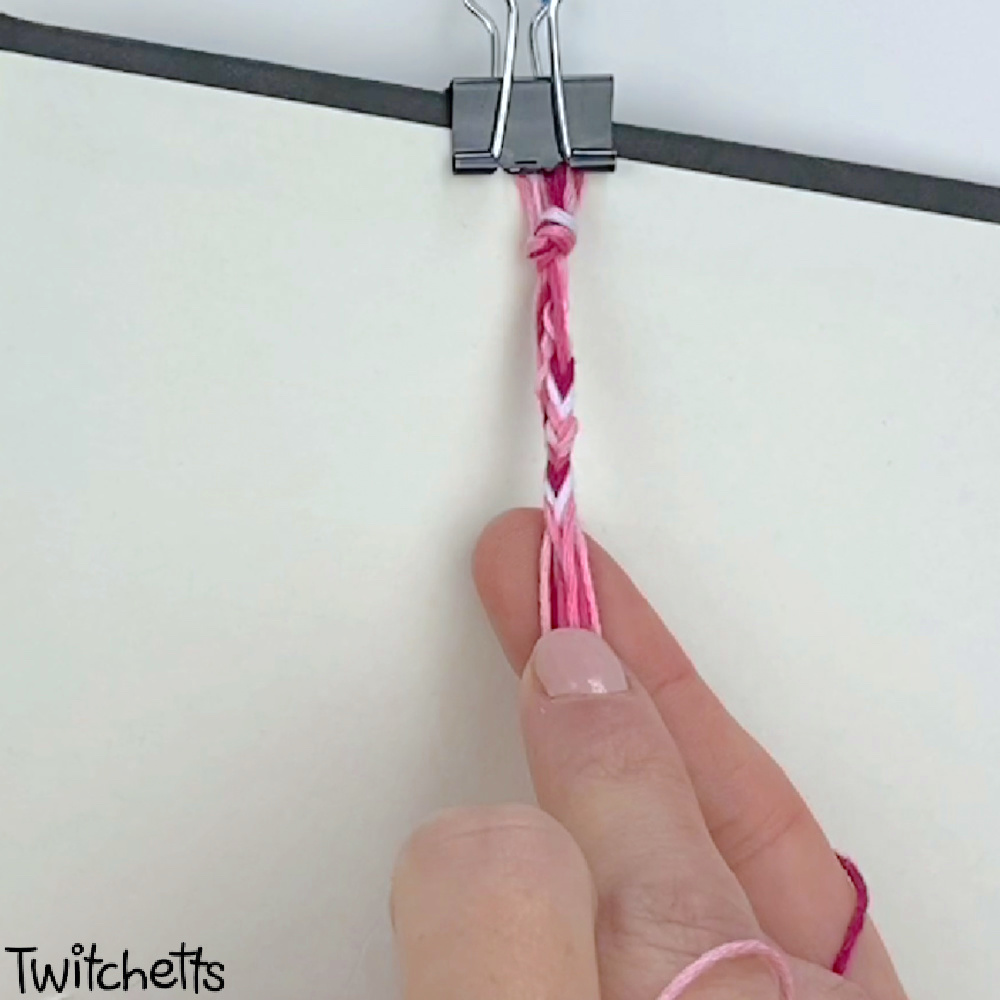
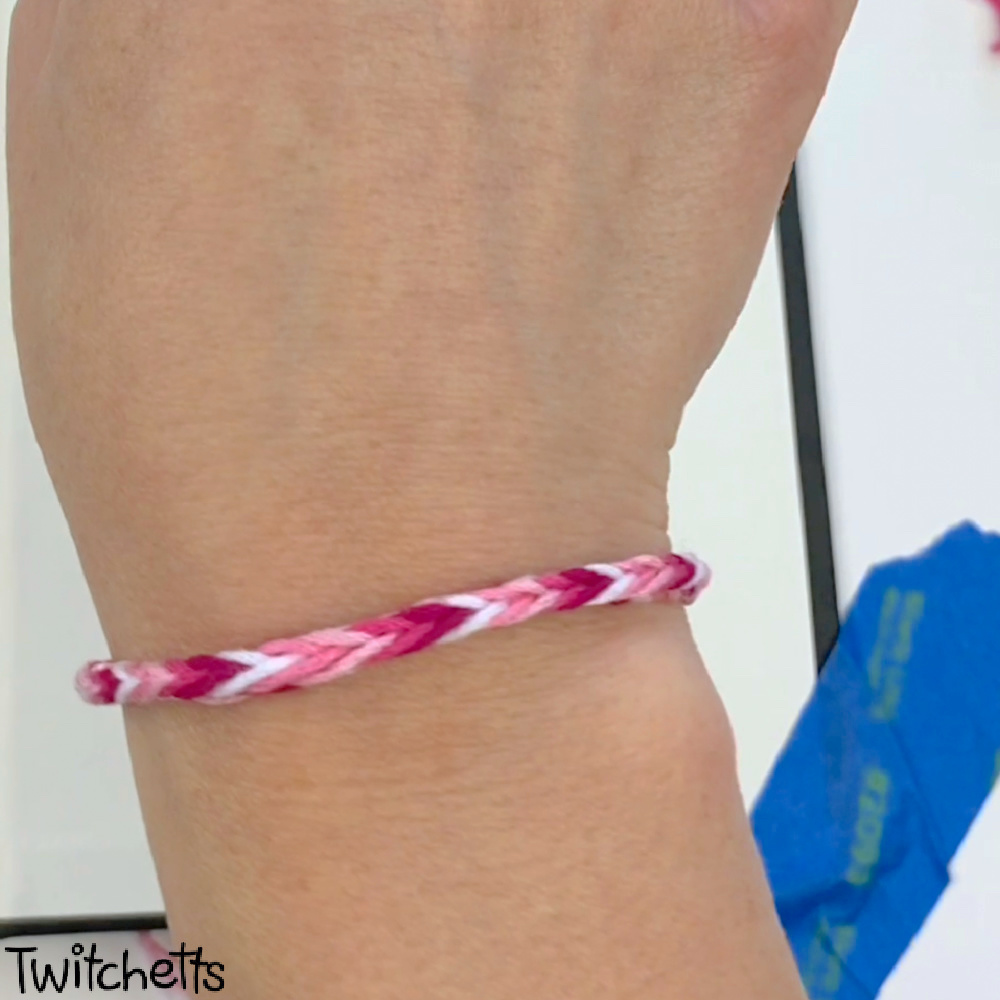
- When you have the desired length of the bracelet take the two sides of strings and tie them off in a knot.
- Refer to our adjustable bracelet knot for tying your finished bracelet or use a safety pin to secure!
More crafts for girls
- First Bracelet – If this pattern is a bit difficult, try this twisted bracelet instead.
- Candy Stripe Bracelet – A classic friendship bracelet
If you love easy friendship bracelet patterns, share them by pinning or sharing them on Facebook.
This site wouldn’t be here without shares from people like you, and we are so thankful that you took the time to visit Twitchetts.
Know a friend who is looking for a chevron friendship bracelet? Please share this tutorial on Facebook or save it to your favorite board on Pinterest.