
Learn how to make a candy stripe friendship bracelet with this video tutorial. Tweens, teens, and adults will love creating this type of bracelet. Make one to wear yourself or give as a gift.
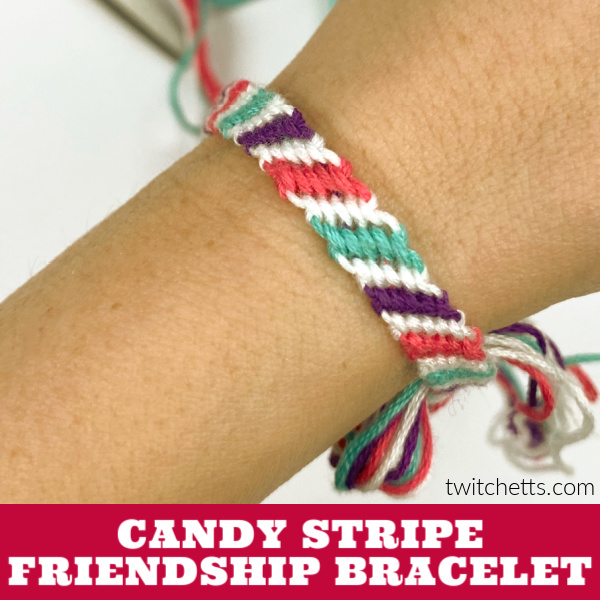
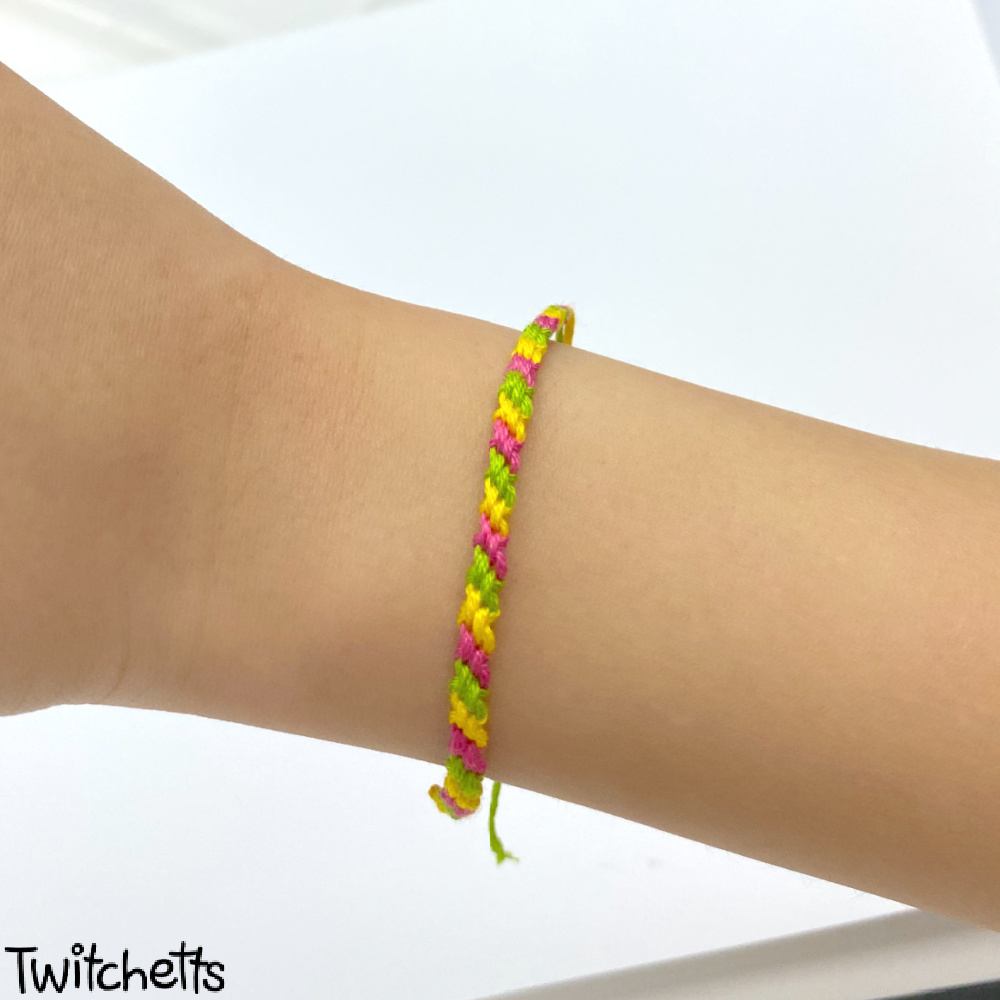
Candy Stripe Friendship Bracelet
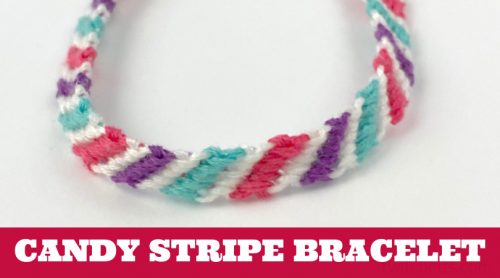
This candy stripe bracelet pattern is a classic friendship bracelet technique. Watch the video or follow the step by step tutorial to learn how to make one.
Friendship bracelets are so much fun to create. I remember making this simple bracelet during long road trips and then giving them to my friends.
They are perfect for older kids to make because they take a bit more technique than other crafts.
This candy stripe pattern is a classic style. Once you get the repetition, it should come together fairly easily. If you need a bit of practice, try the spiral bracelet first.
To create the stripes, you are creating a pattern of double knots. This bracelet uses a basic knot (the forward knot) and is a great pattern for beginners.
You can use this bracelet craft in several ways.
- Give them to your best friends.
- Use them as colorful gift wrap ribbons.
- Pass them out as handmade Valentines.
- Make them at a sleepover.
- Create them during long car rides.
Disclosure: Some of the links in this post are “affiliate links.” This means if you click on the link and purchase an item, we may receive an affiliate commission.
No time to make this embroidery thread bracelet? Pin it for later!
If you’re currently in planning mode, that’s ok! Pin this to your favorite Pinterest board. That way you’ll be able to grab instructions when you’re ready!
How many colors can be used?
The number of strings you start with will change the width of your bracelet.
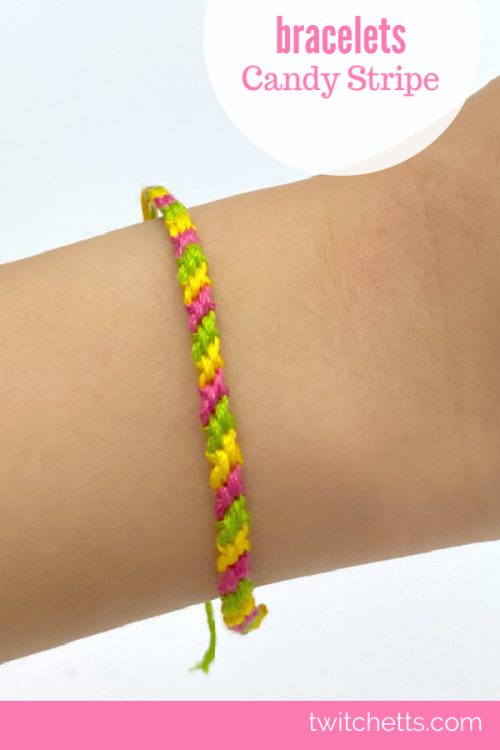
For the tutorial, I used 3 colors of floss. If you have more, continue wrapping over each color.
Play around with different colors until you get the color pattern you like.
Ways to secure string bracelets while you’re making them.
To get really good results, you want to make sure that the bracelet is secure while you’re creating the knots. Here are a few ideas for securing your thread.
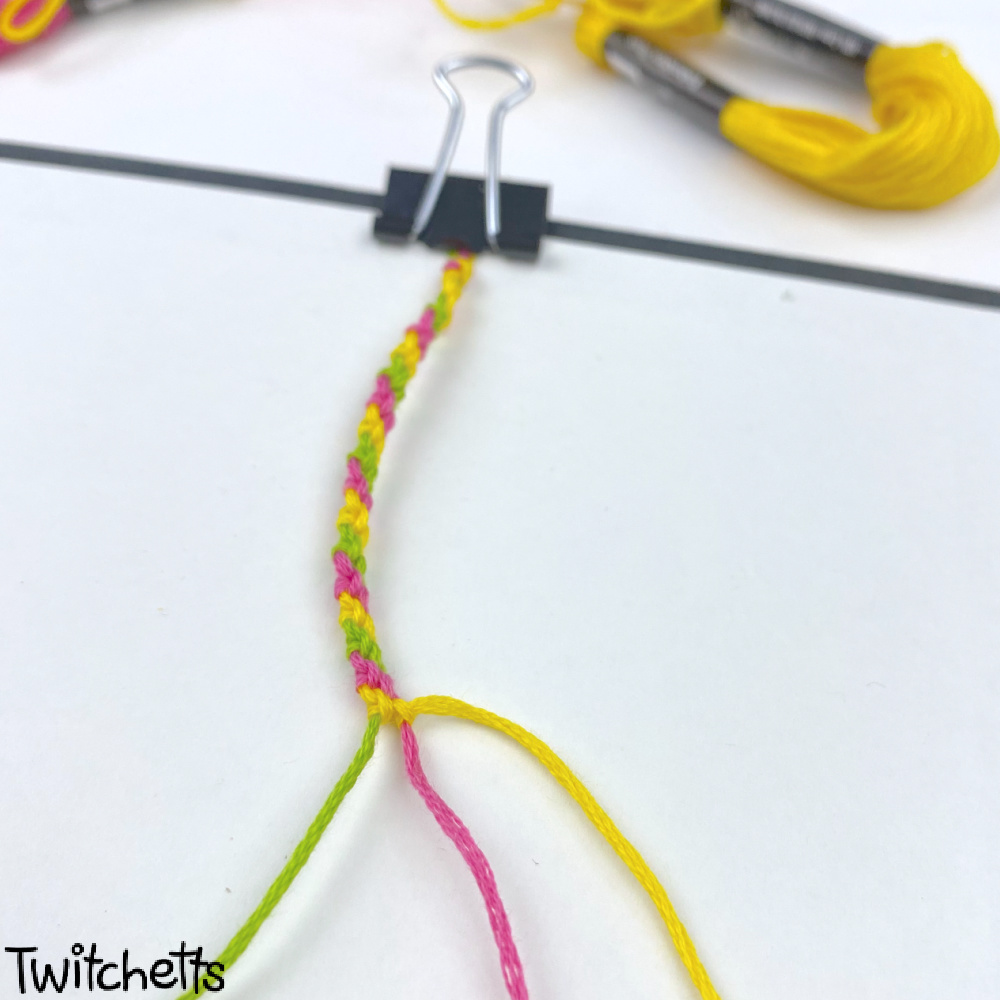
- Use a binder clip to secure it to a flat surface.
- Place a pillow on your lap and safety pin your floss to the pillow.
- Clip the string onto a clipboard.
- Use masking tape to secure it to your work surface.
Common Friendship Bracelet Mistakes
There are two common mistakes when you are new to candy stripe bracelets.
- The color switches when you slide your knot to the top.
The string you are sliding up should be the knot color. If it isn’t you aren’t holding the second string tight enough. - You forget how many knots you did.
The first knot will end with your knot color sticking out to the left. The second knot will force your string color out to the right.
Make sure you are paying close attention to color order. It’s easier to fix a mistake right away than after several rows.
How to Make Candy Stripe Friendship Bracelets
See how to create your very own candy stripe bracelet step by step!
Materials
- Embroidery Thread
Tools
- Scissors
- Clip
Instructions
- Measure out about 1 wingspan of thread in each of the colors you would like for the bracelet.
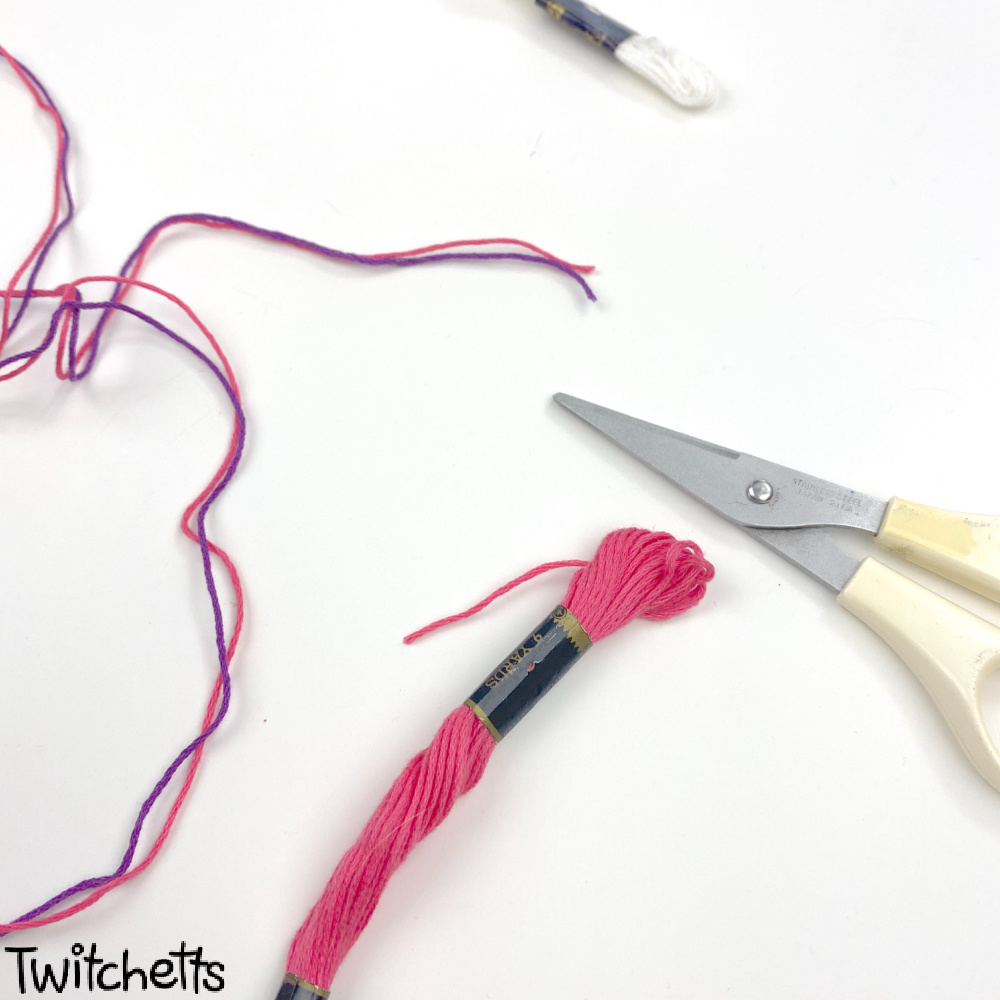

- Tie them together, at one end, leaving a bit of extra string at the end. You will use the extras for tying off the bracelet later.
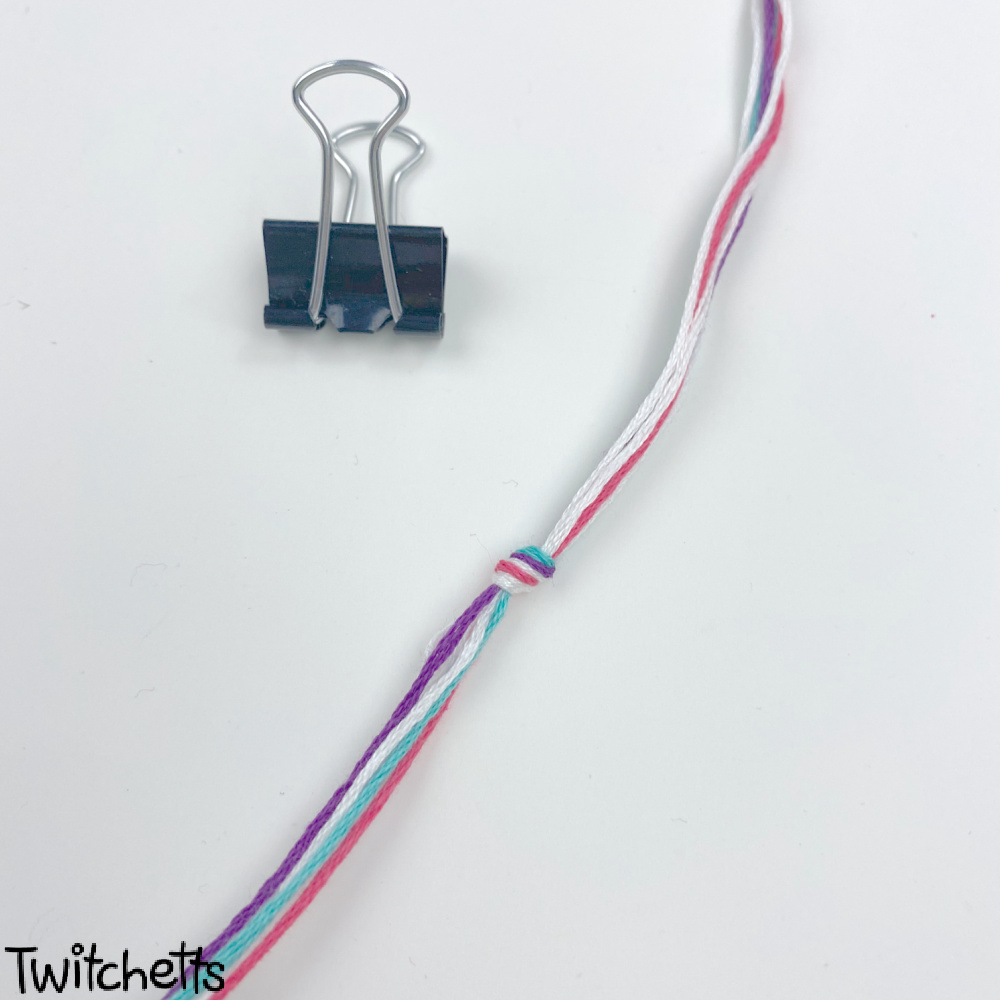
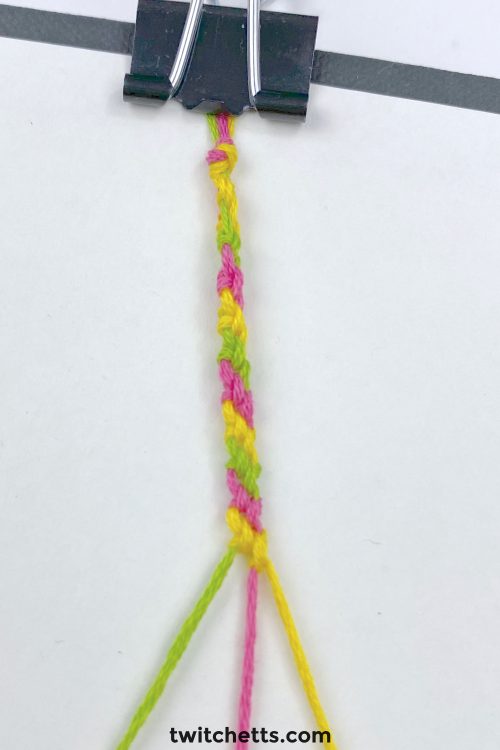
- Clip the string down to a work surface and spread out the colored strings.

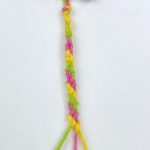
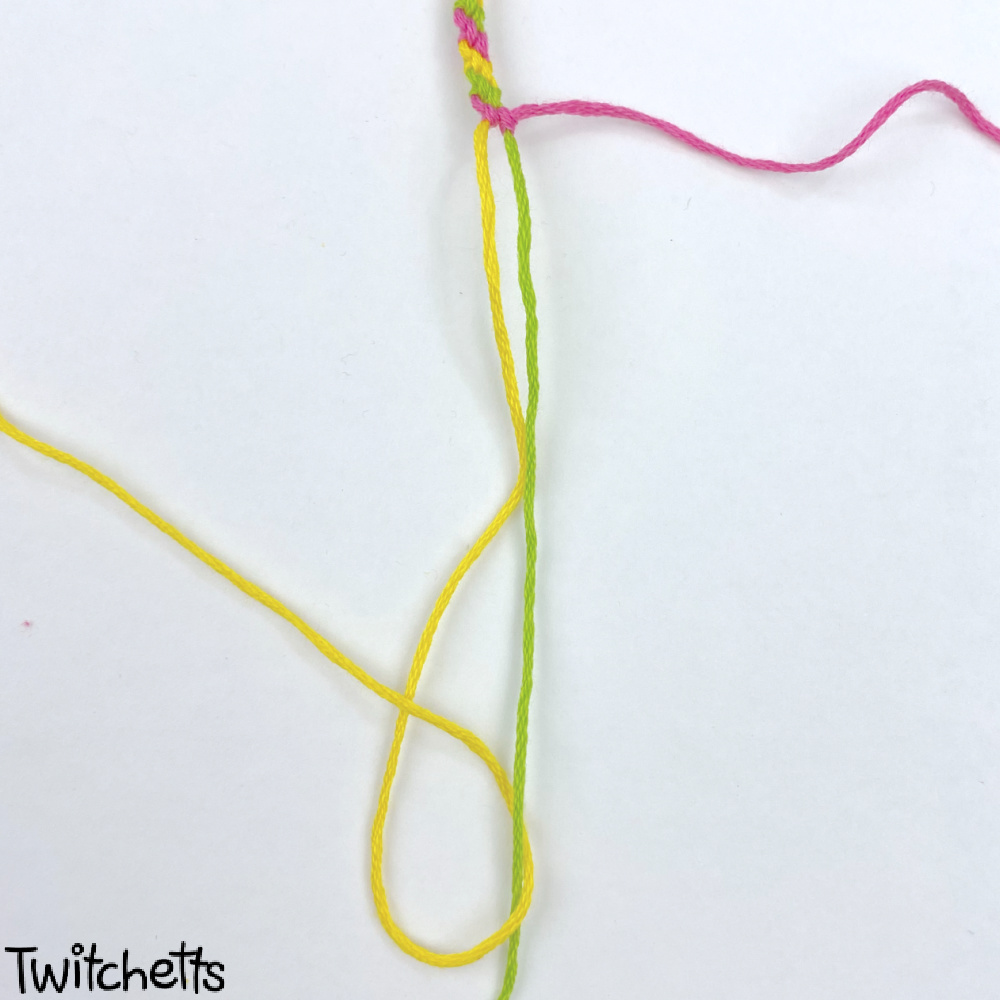
- Start each row with the leftmost string (in this image yellow). Bring the strand of floss over the second color (green). Your string should resemble the number 4.
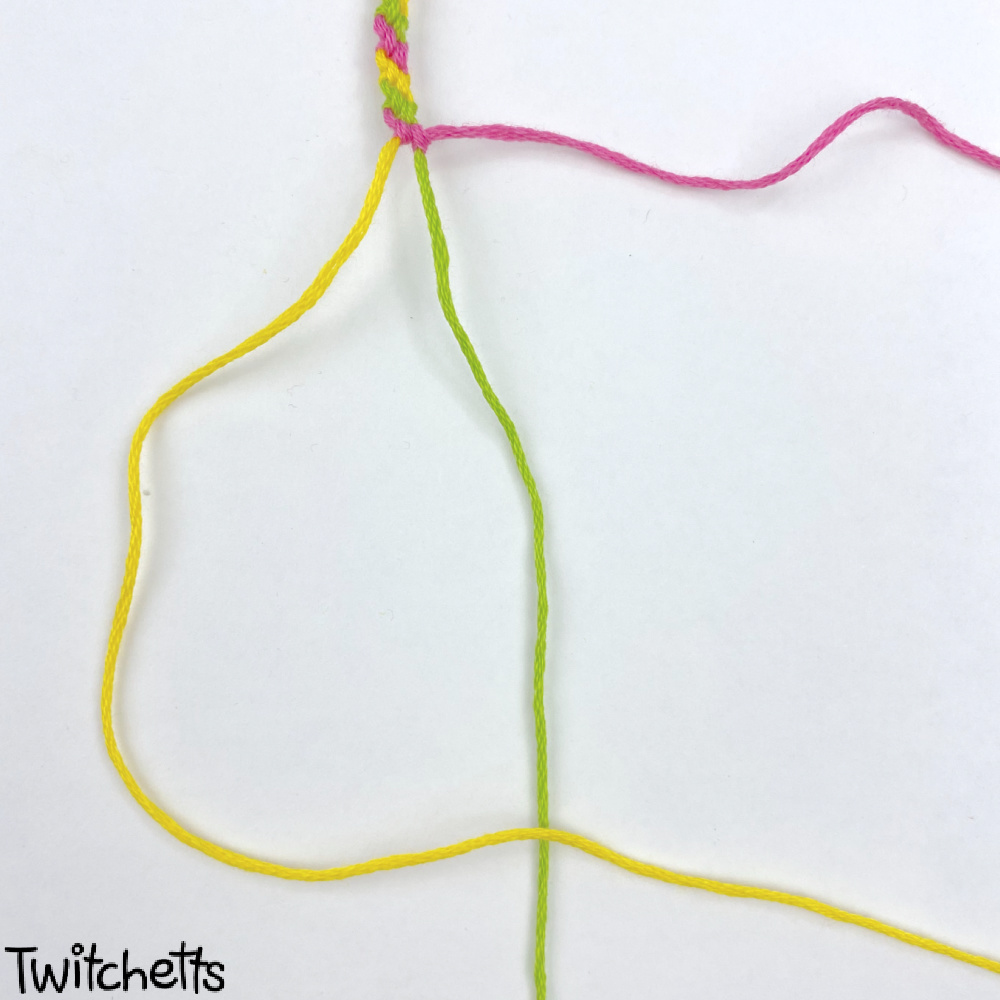
- Then wrap the (yellow) string under the second string (green) and through the loop. Ending on top of the original (yellow) string to the first yellow knot.
- Hold the second string (green) tight while sliding the first string up until it is tight at the top.
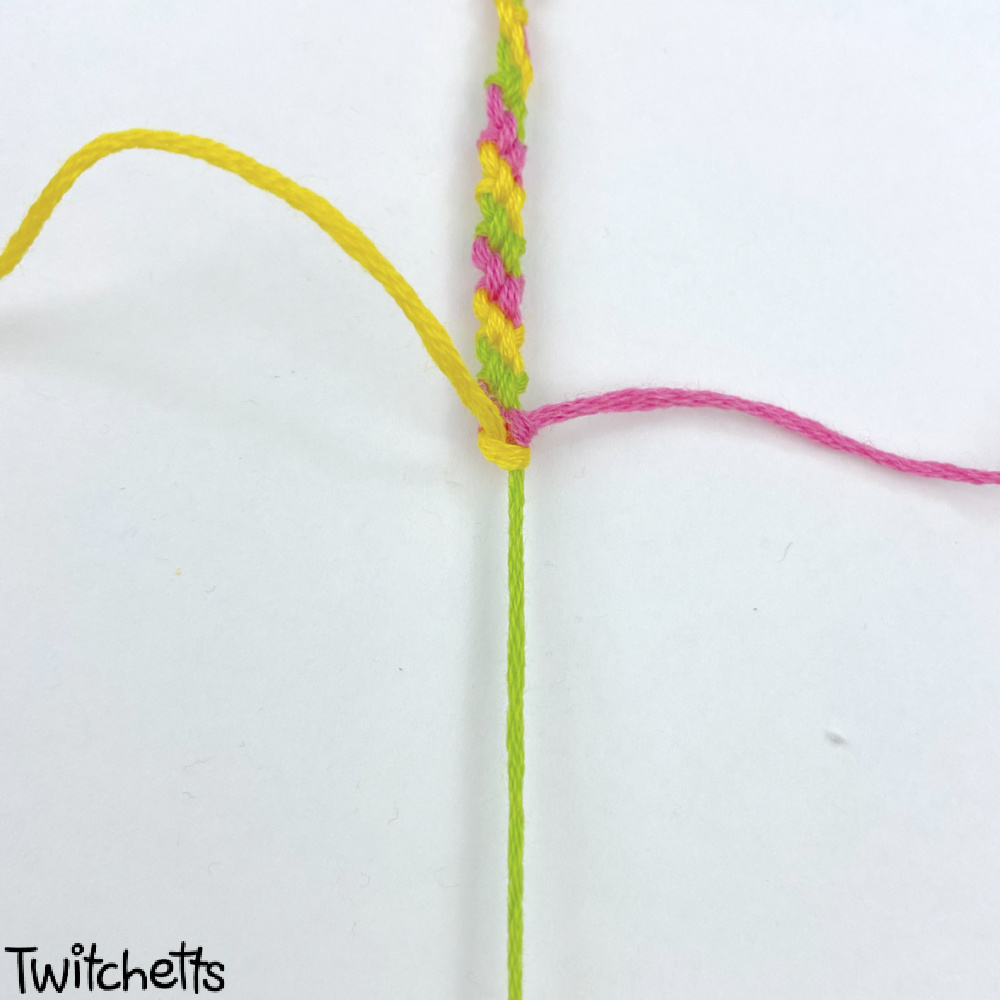
- Repeat the same knot, with the same strings. When you finish your second knot, the string comes out to the right.
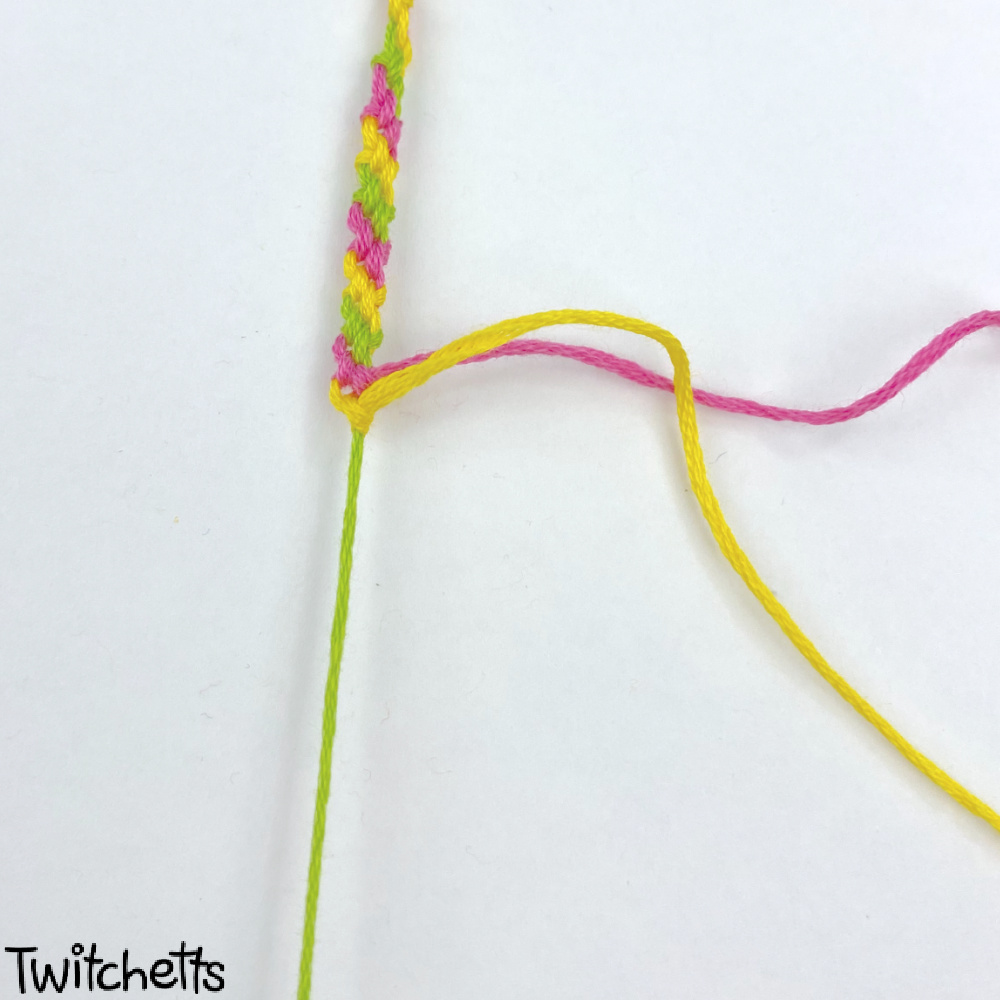
- Next, hold the 3rd string (pink) tight and create the yellow knot on it.
- Repeat a second time. Now the yellow will be at the far right of the bracelet. If there are more colors, just repeat 2 knots on each additional color of string. When you reach the end of the row, the yellow string will be on the far right side. This means you are done with the first color.
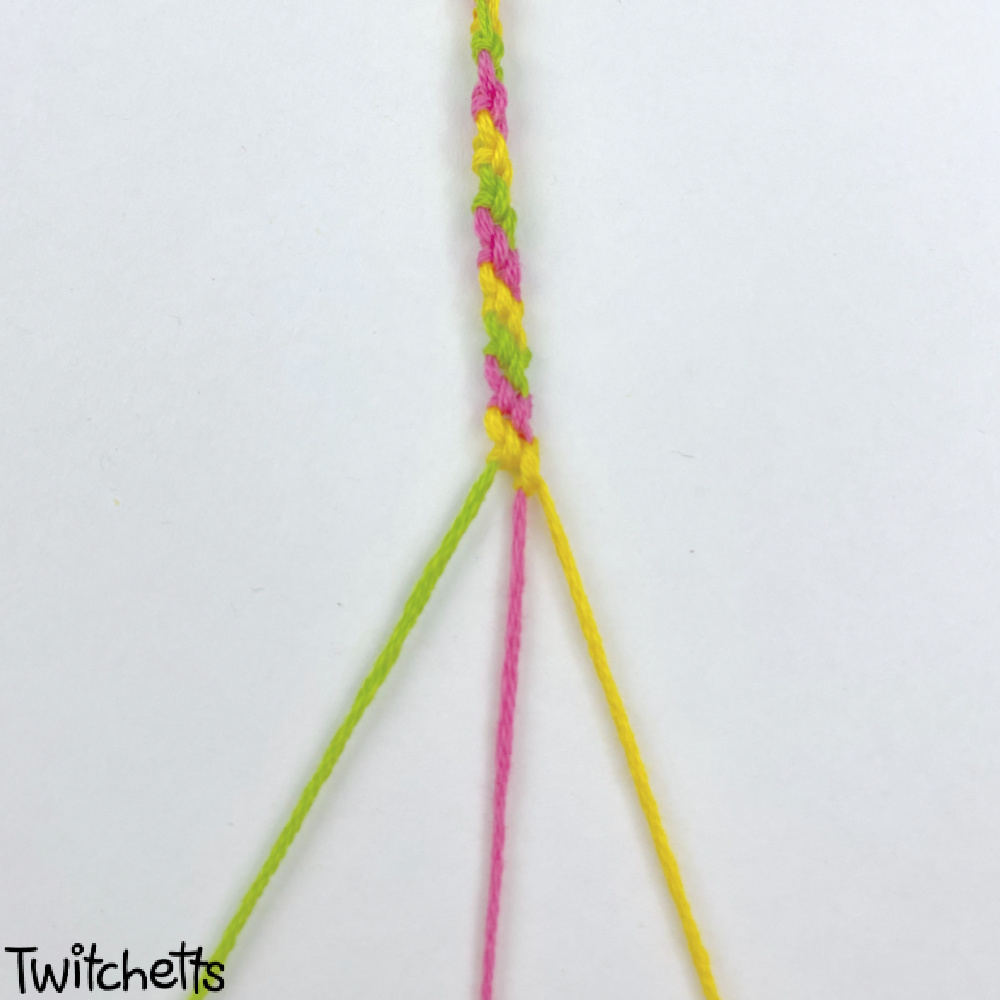
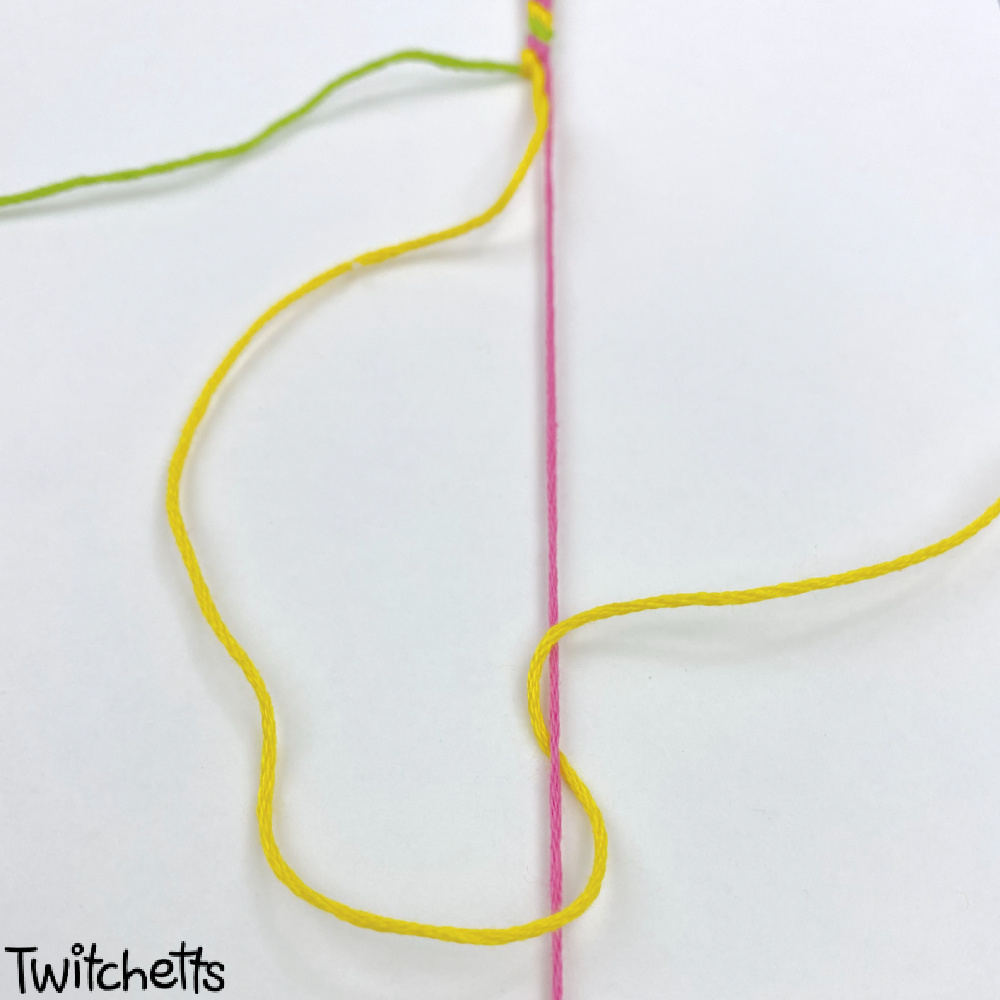
- Once you are done with the first row, repeat the process with the string that is now on the far left side. In this example green would be next.
- Continue this process until you get the desired length of the bracelet. Then, use all the strands to tie a knot at the end.
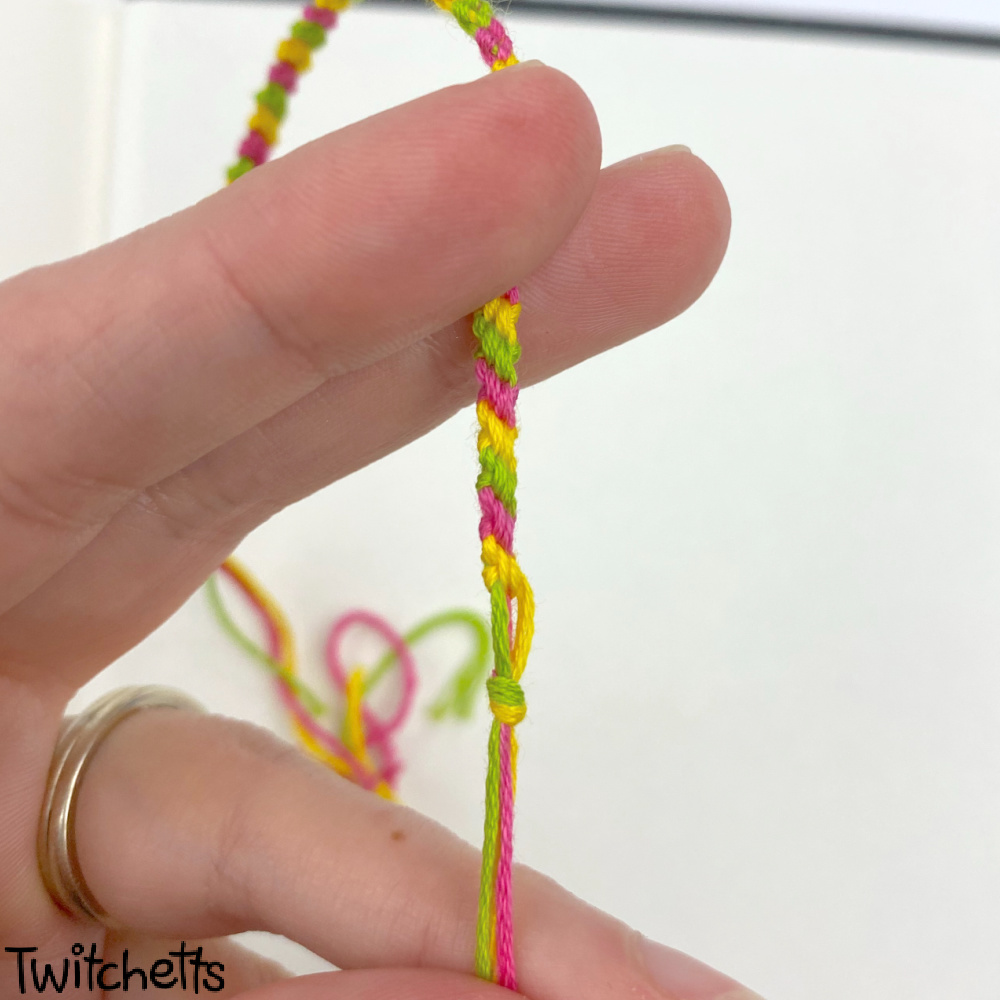
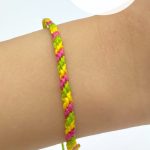
- To wear the bracelet, just tie one end to the loose ends, add a loop and button, or secure with a safty pin!
More crafts for girls
- First Friendship Bracelet – If this pattern is a bit difficult, try this twisted bracelet instead.
- Castle Crafts – If your girls love princesses, they’ll love these castles.
- Flower Friendship Bracelet – A more challenging bracelet technique.
If you love easy friendship bracelet patterns, share them by pinning or sharing them on Facebook.
This site wouldn’t be here without shares from people like you, and we are so thankful that you took the time to visit Twitchetts.
Know a friend who is looking for a candy stripe friendship bracelet pattern? Please share this tutorial on Facebook or save it to your favorite board on Pinterest.