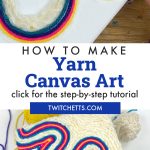
Learn how to make yarn canvas art with this video tutorial. Tweens, teens, and adults will love creating this type of custom wall art using canvas and yarn. Make them to give as handmade gifts, decorate your bedroom, or just for fun!
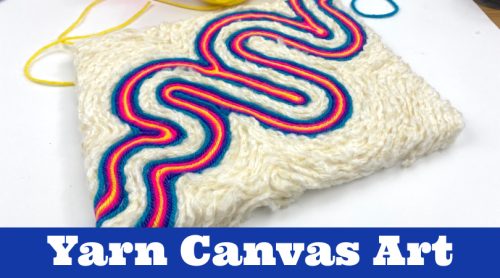
Yarn Canvas Art
This DIY yarn wall art technique is a fun craft that older kids can make on their own. Watch the video or follow the step-by-step instructions to learn how to make one.
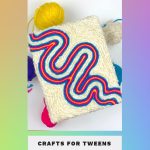
Creating a personal space is a big deal for tweens. This project is perfect for older kids who want to make something for their room or play area.
It uses simple supplies, so you can let your child buy them with chore money or you can let them raid your stash.
You can use this yarn art in several ways.
- They make the perfect gift for your BFF.
- Decorate your room.
- Make them at a sleepover.
- Create them during a camp craft session.
Disclosure: Some of the links in this post are “affiliate links.” This means if you click on the link and purchase an item, we may receive an affiliate commission.
No time to make this yarn wall art? Pin it for later!
If you’re currently in planning mode, that’s ok! Pin this to your favorite Pinterest board. That way you’ll be able to grab instructions when you’re ready!
How many colors can be used?
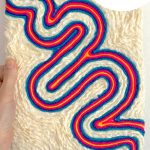
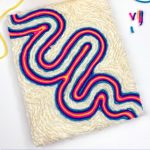
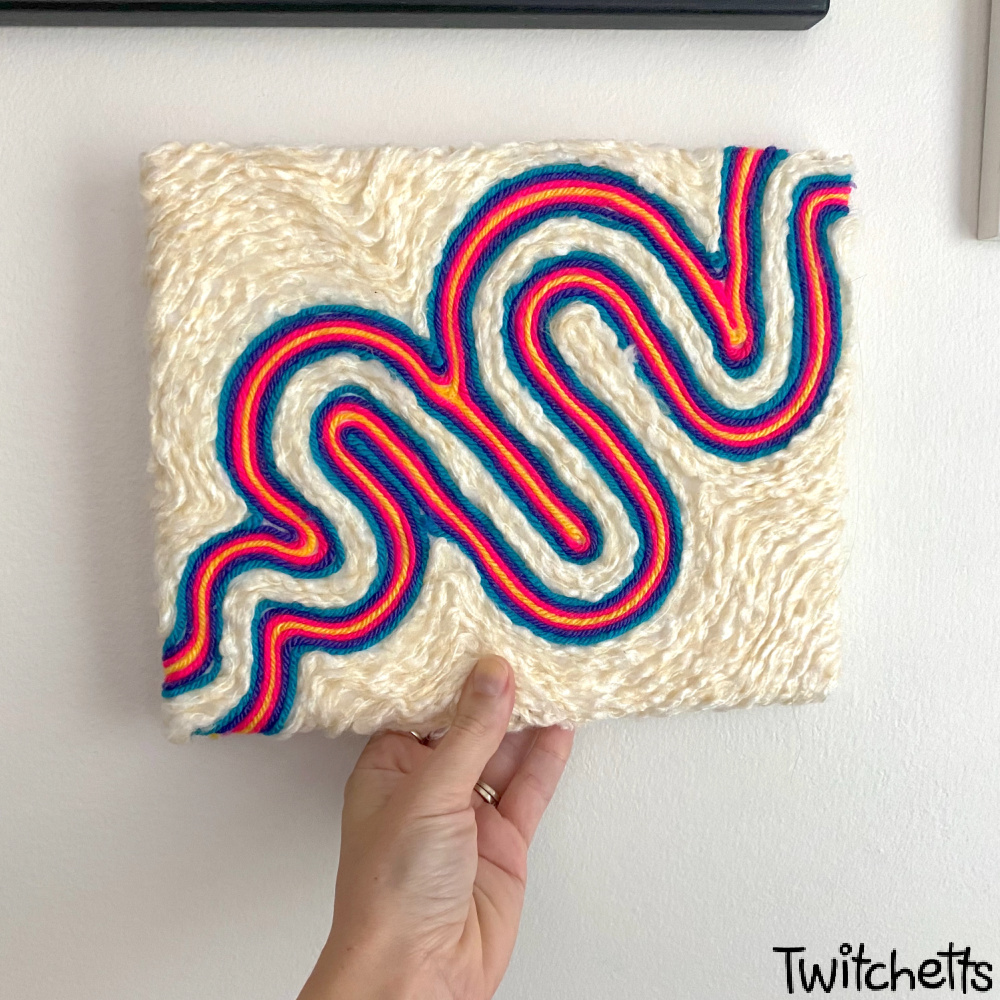
You can use as many colors as you want in this art project! Our tutorial uses 4 colors plus the white yarn. Try mixing funky colors, like hot pinks with dark blues, for a unique look.
Tips for creating this wall hanging
These tips will help you create a masterpiece!
- Make sure to work while your glue is still wet to get your pieces of yarn as snug as possible!
- When pulling your needles out of your dry design, twist slightly and hold your yarn in place.
- Always cut your yarn with a bit extra at the ends. It’s easier to trip later than add more.
- Keep a damp paper towel close by to wipe glue off your fingers.
DIY Yarn Wall Art
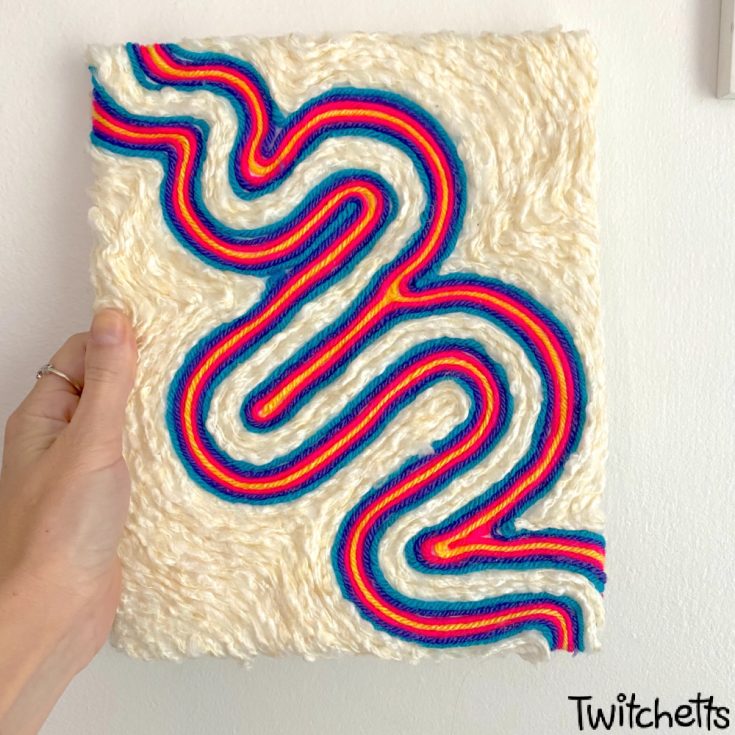
Create this fun DIY yarn wall art to display or give as a gift!
Materials
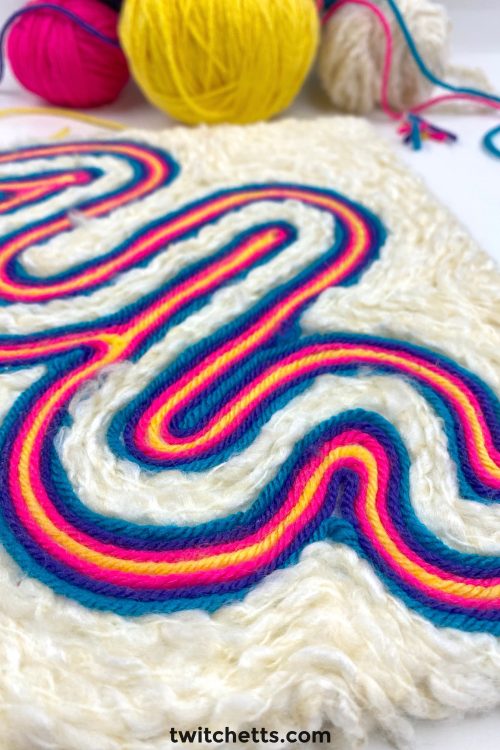
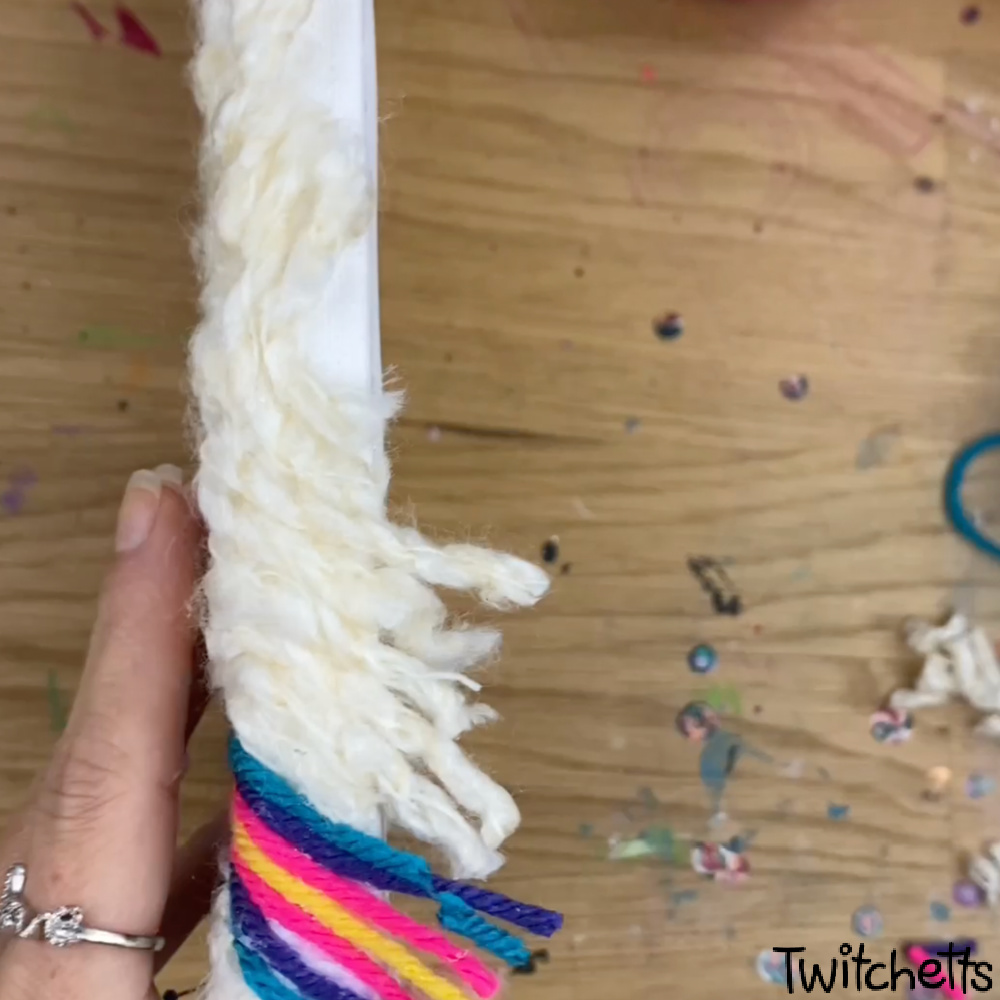
- Yarn - Multiple Colors. I used cream, blue, purple, pink, and yellow.
- Canvas. I worked on an 8x10.
Tools
- White School Glue
- Sewing Pins
- Scissors
Instructions
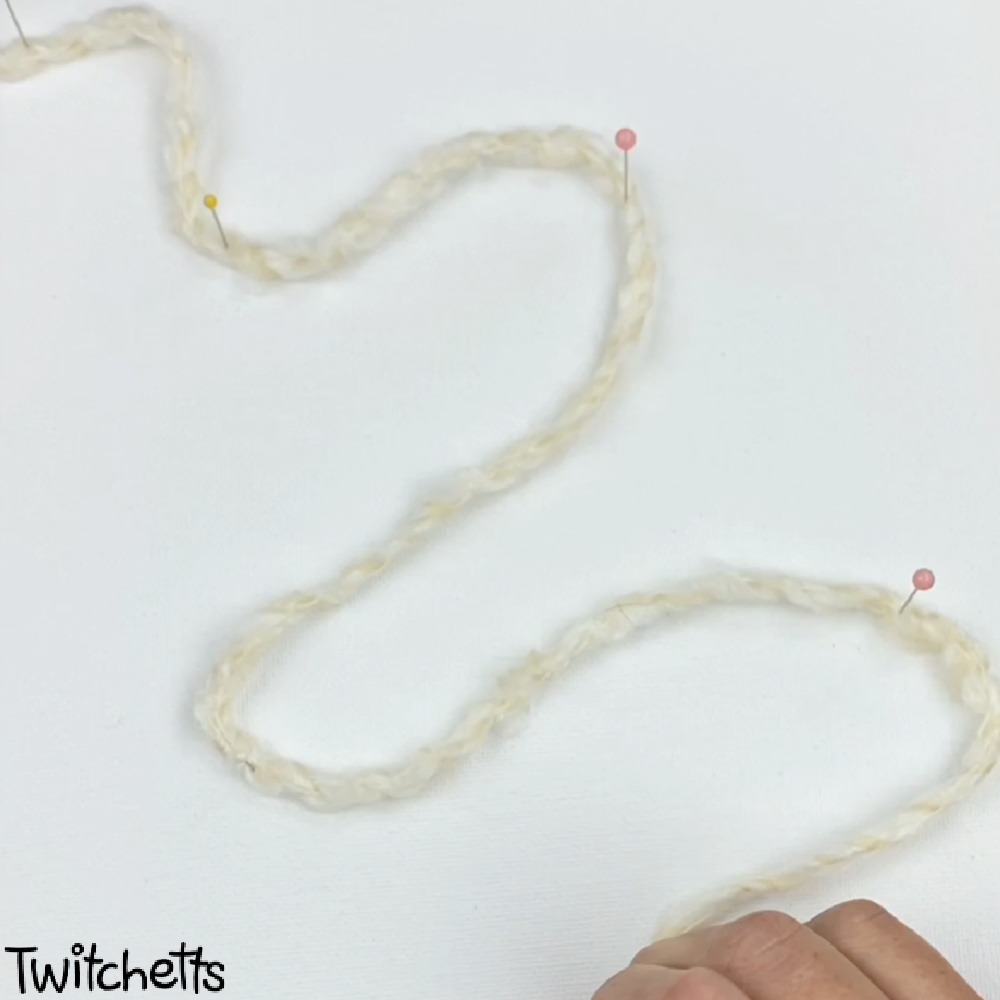
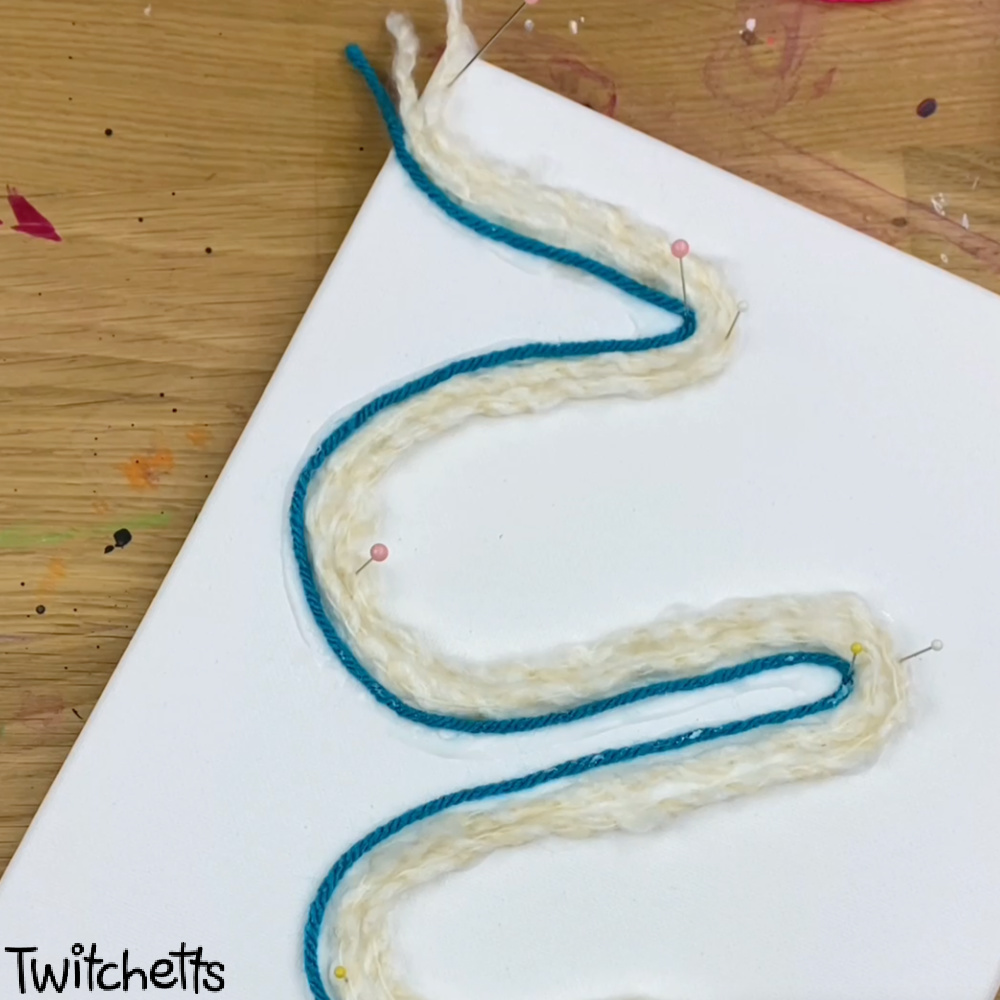
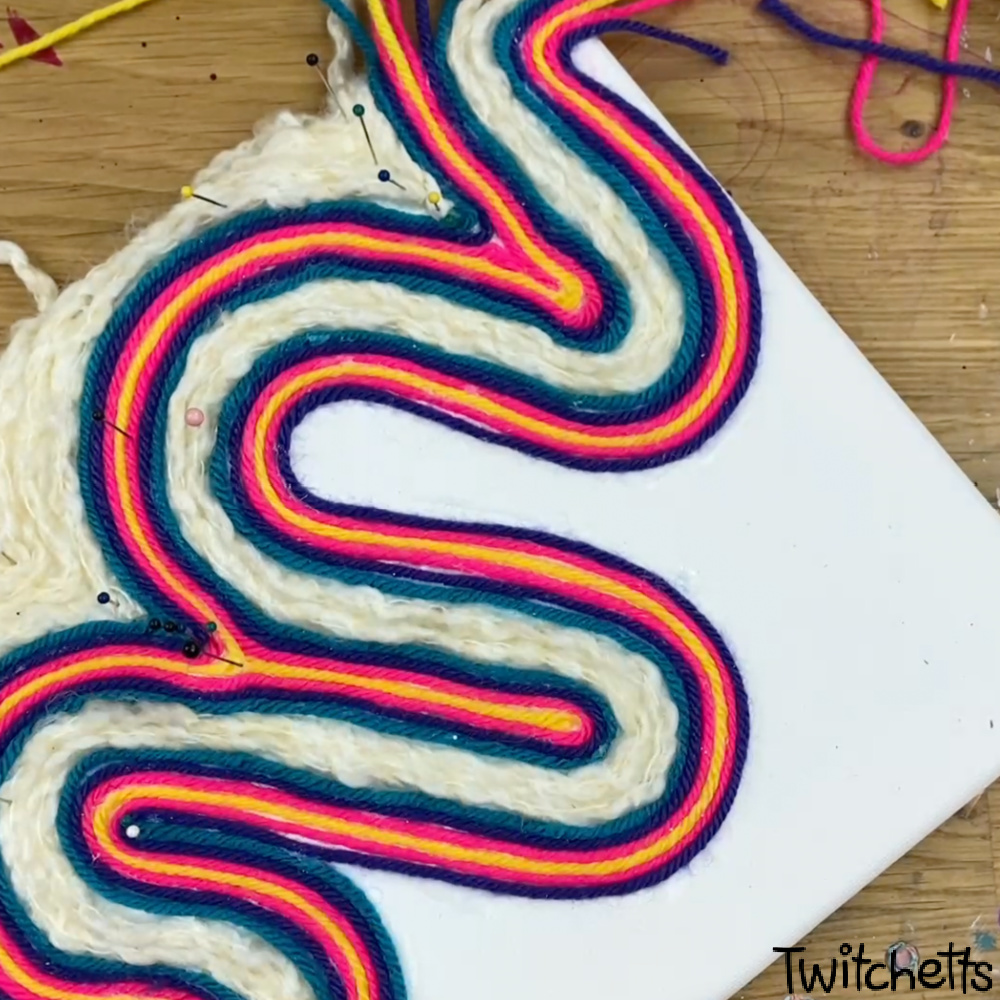
- Start by laying out the first piece of yarn. Create a wavy line going diagonally corner to corner. Pin down the yarn while working on your shape.

- Slowly glue the yarn into place by gluing a small portion at a time.
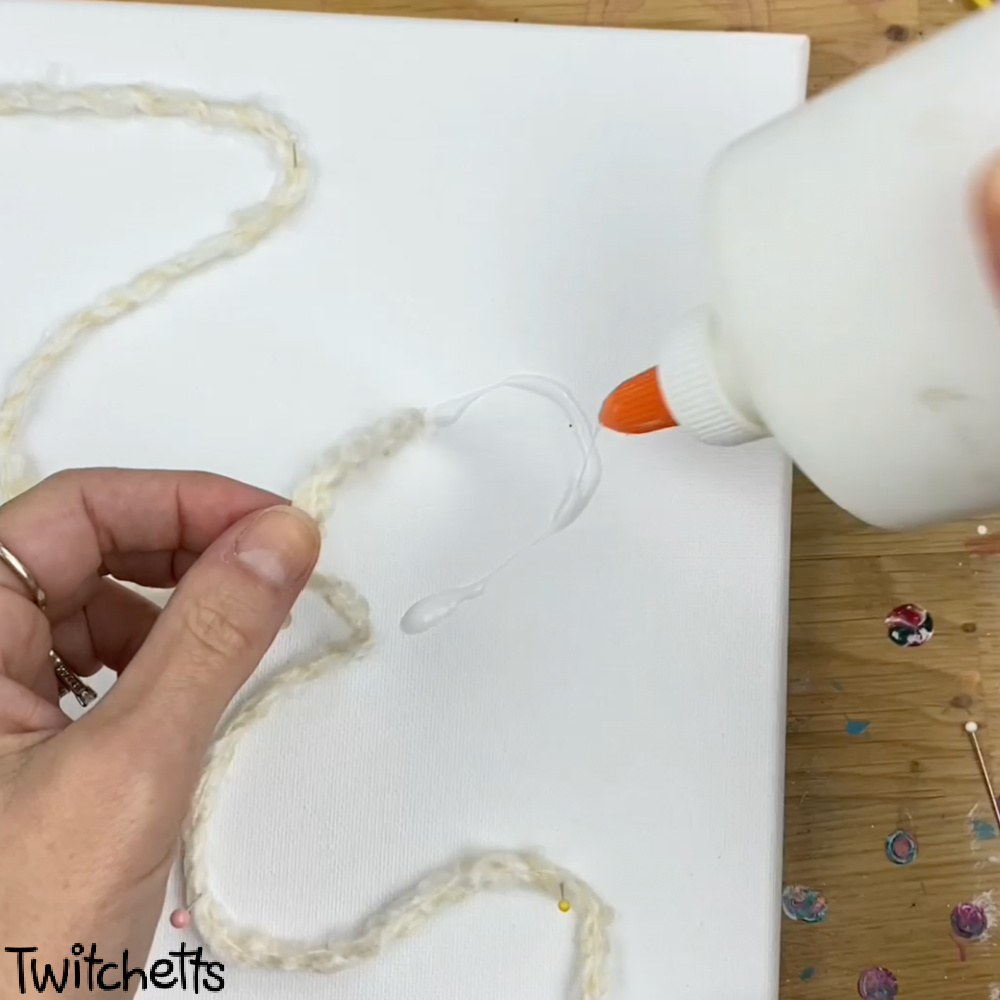
- Add a line of glue along the edge of the first piece of yarn.

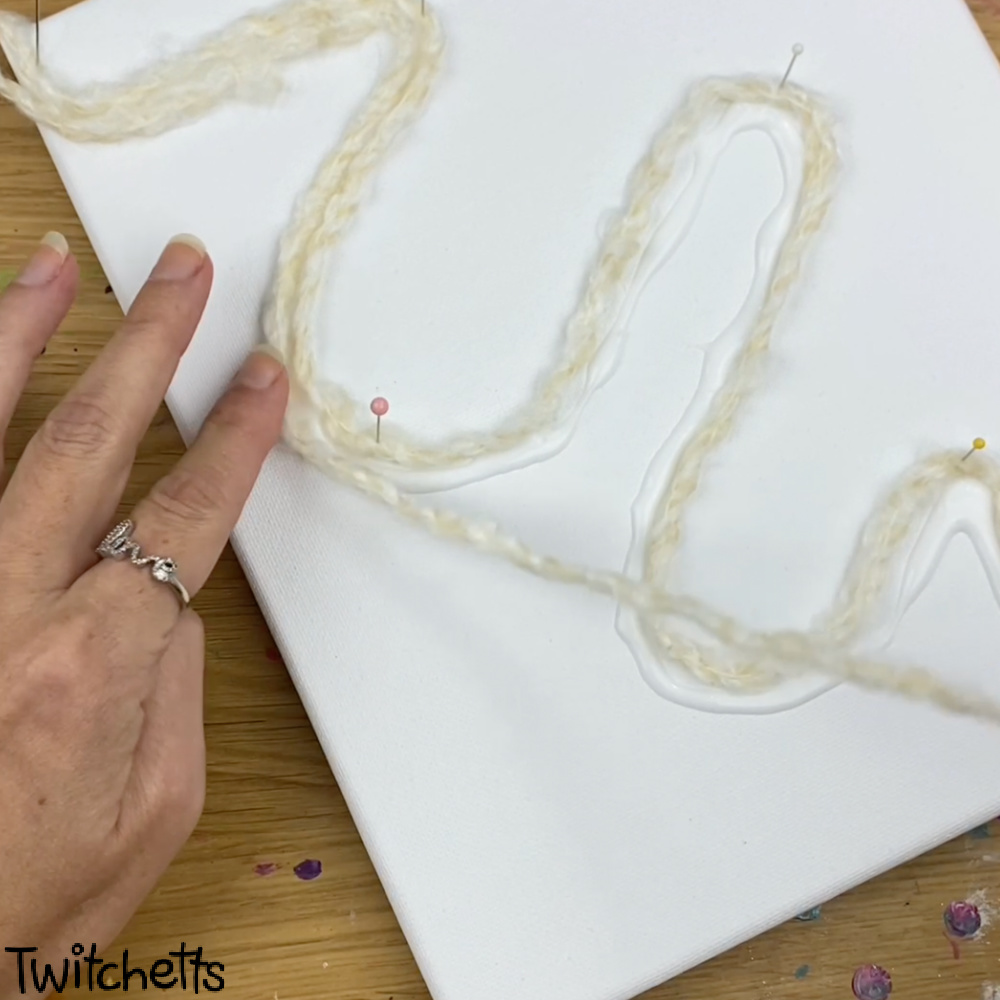
- Start laying the second row of yarn. Use pins anywhere you need to hold the yarn into place.
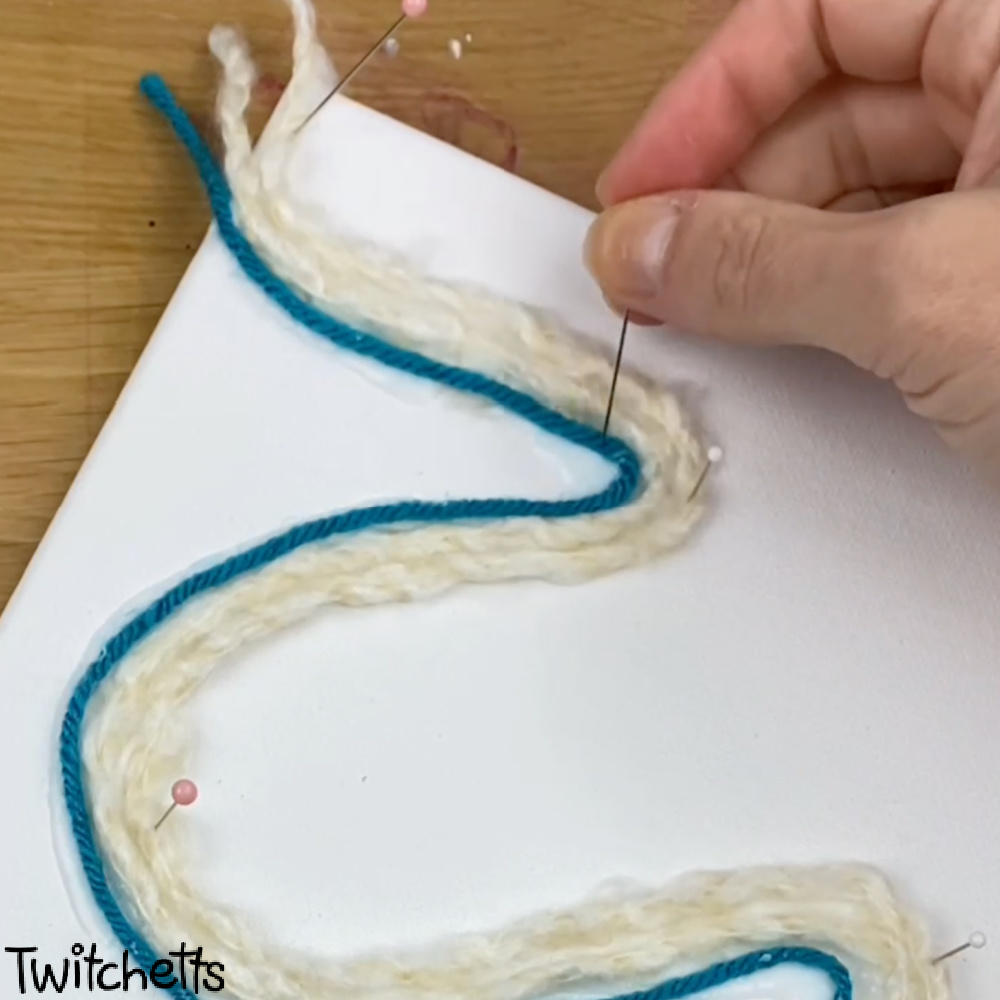
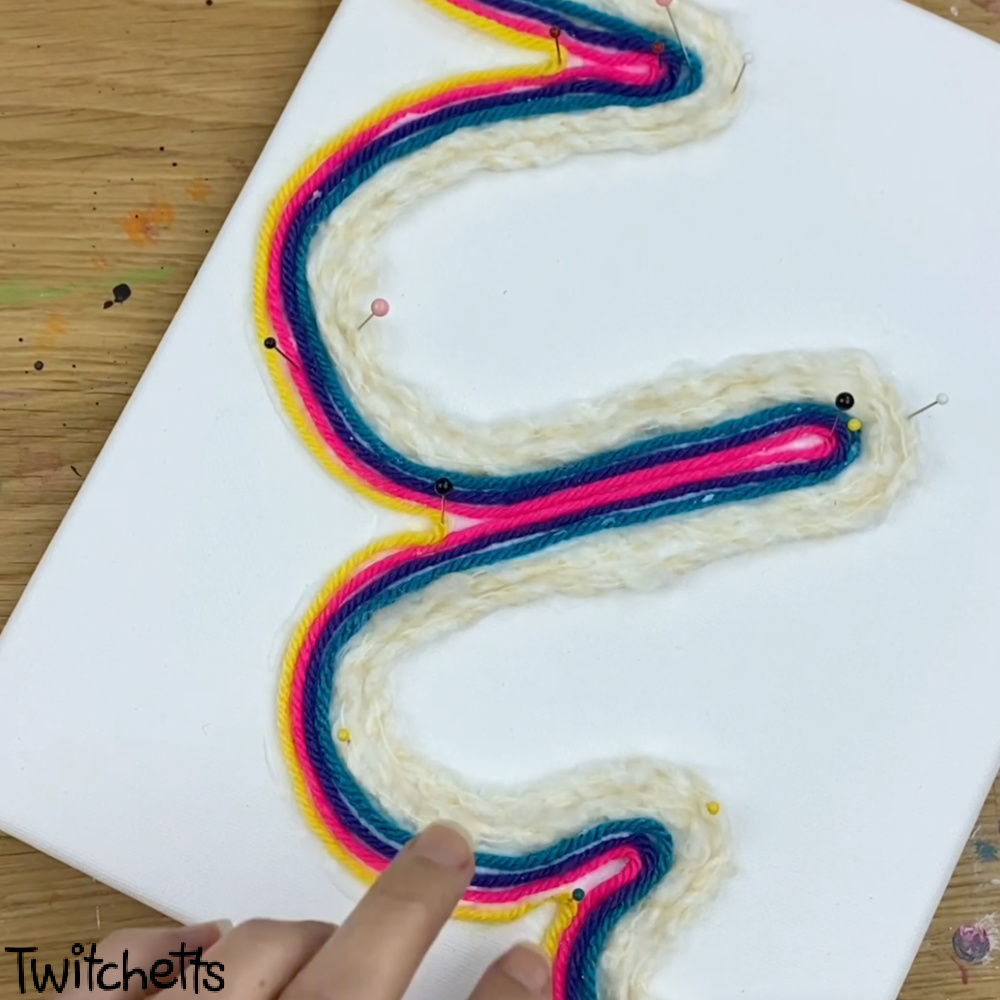
- Next, lay the first color.

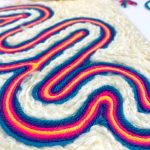
- Go back with your pins and nudge the yarn as close as you can to the yarn placed before it.
- Pin in the arches to hold it in place.
- Repeat the process with multiple colors.
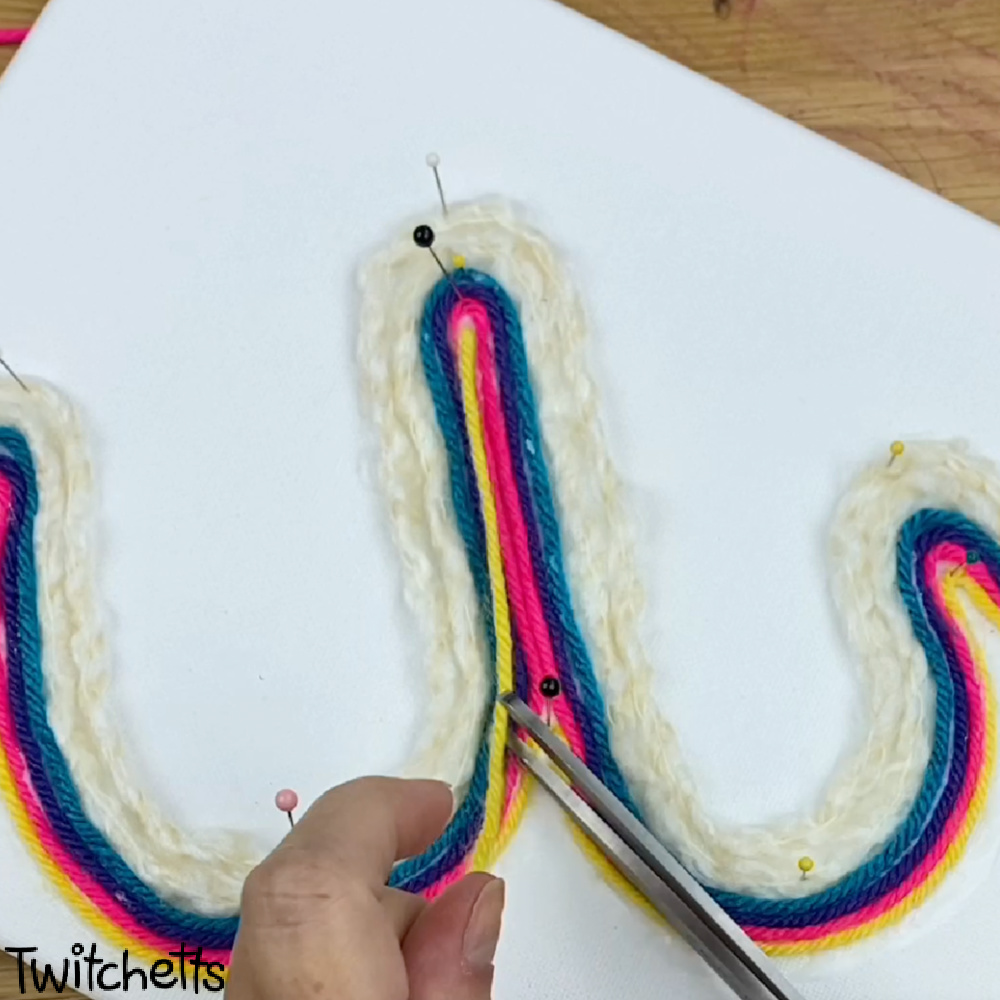
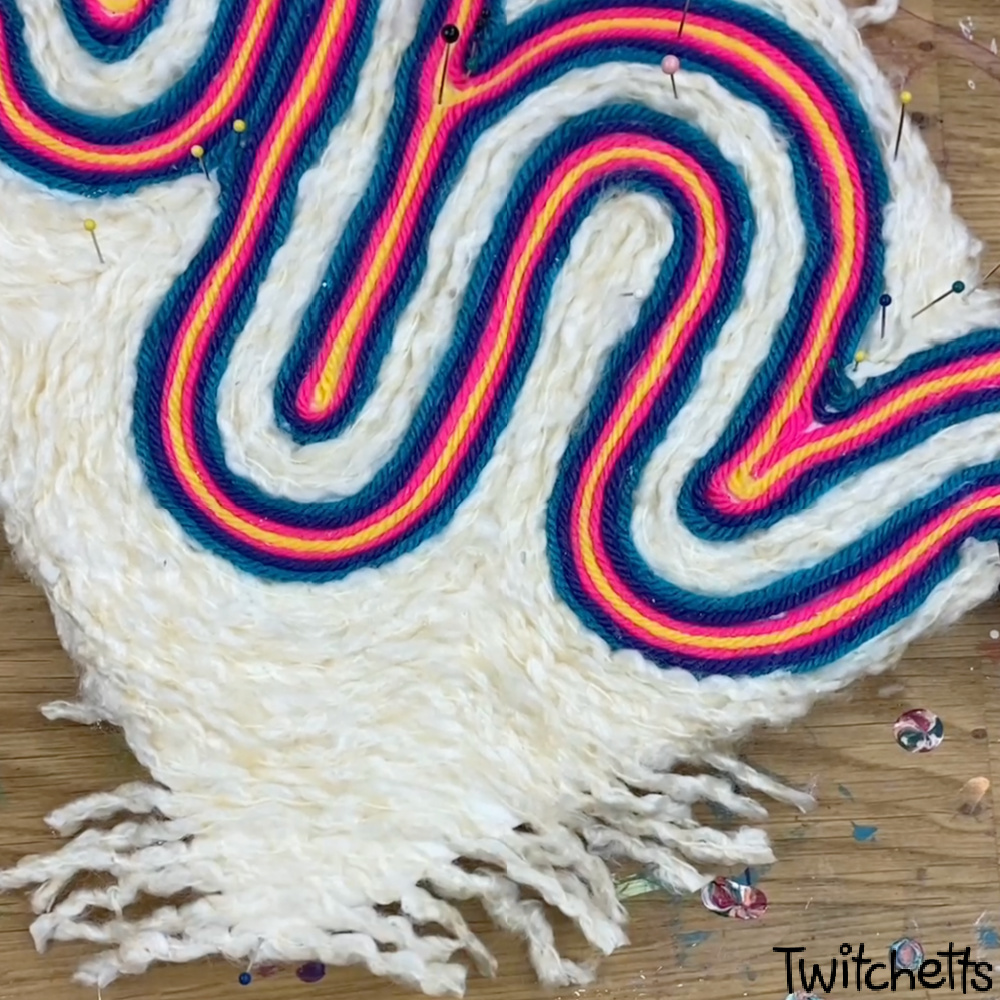
- When the yarn can no longer follow the original curve lay it down across the whole design.
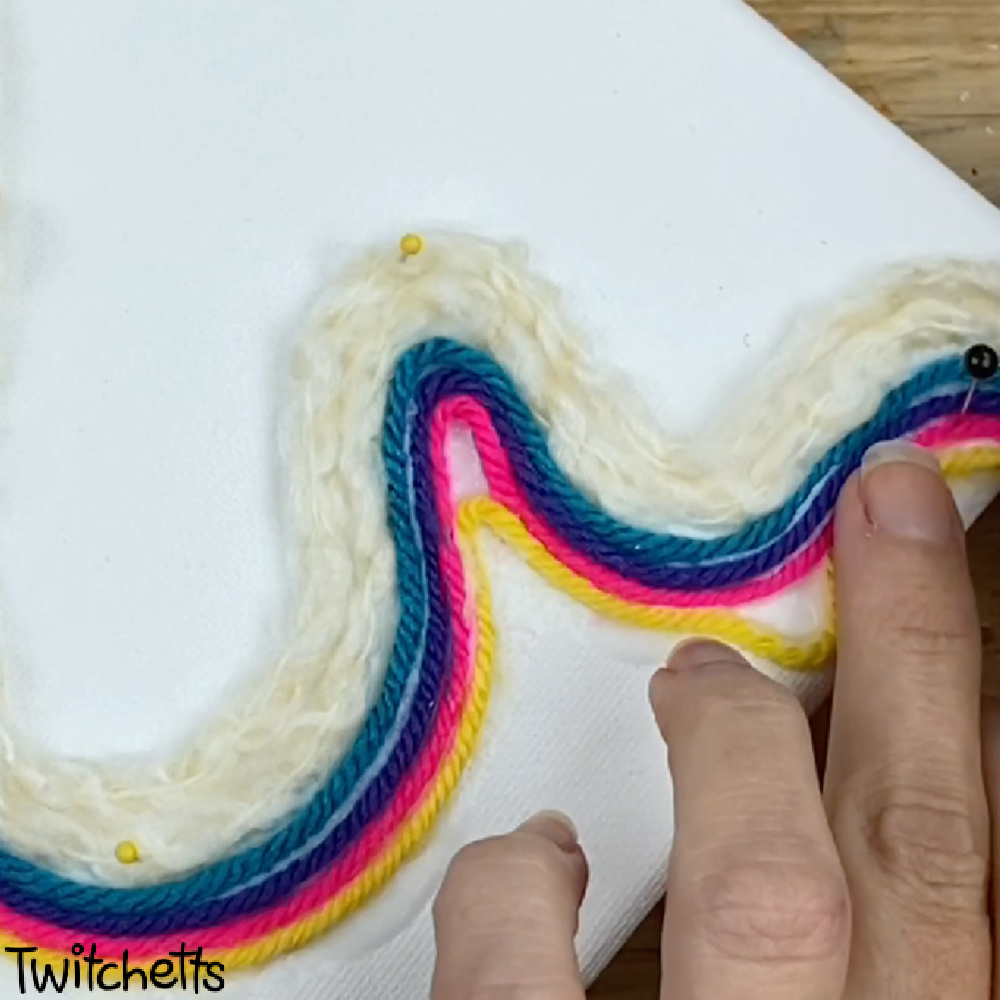
- Then go back and adjust so you can get it as tight as possible.
- If you can't get 2 pieces of yarn into the space, cut a single strand.
- Use the back end of the pin to press it down. Then pin the arch to the end of the single string.
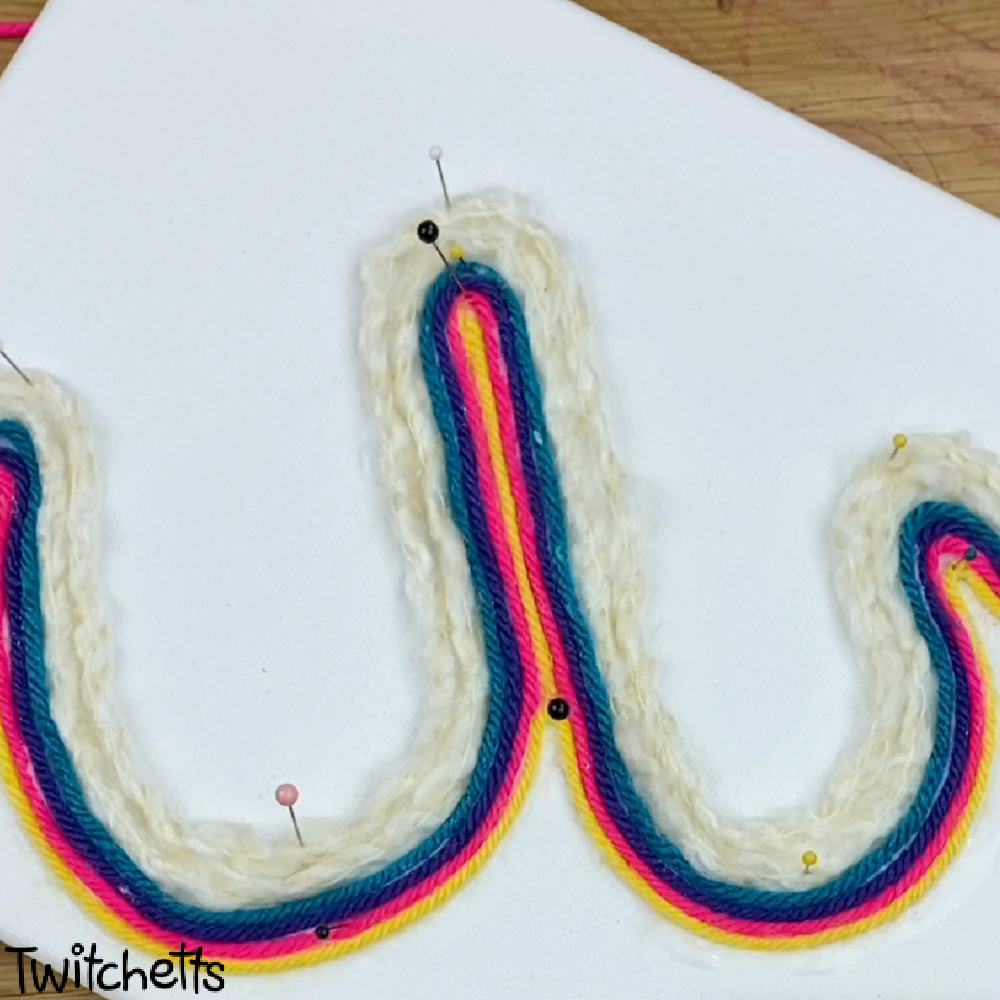
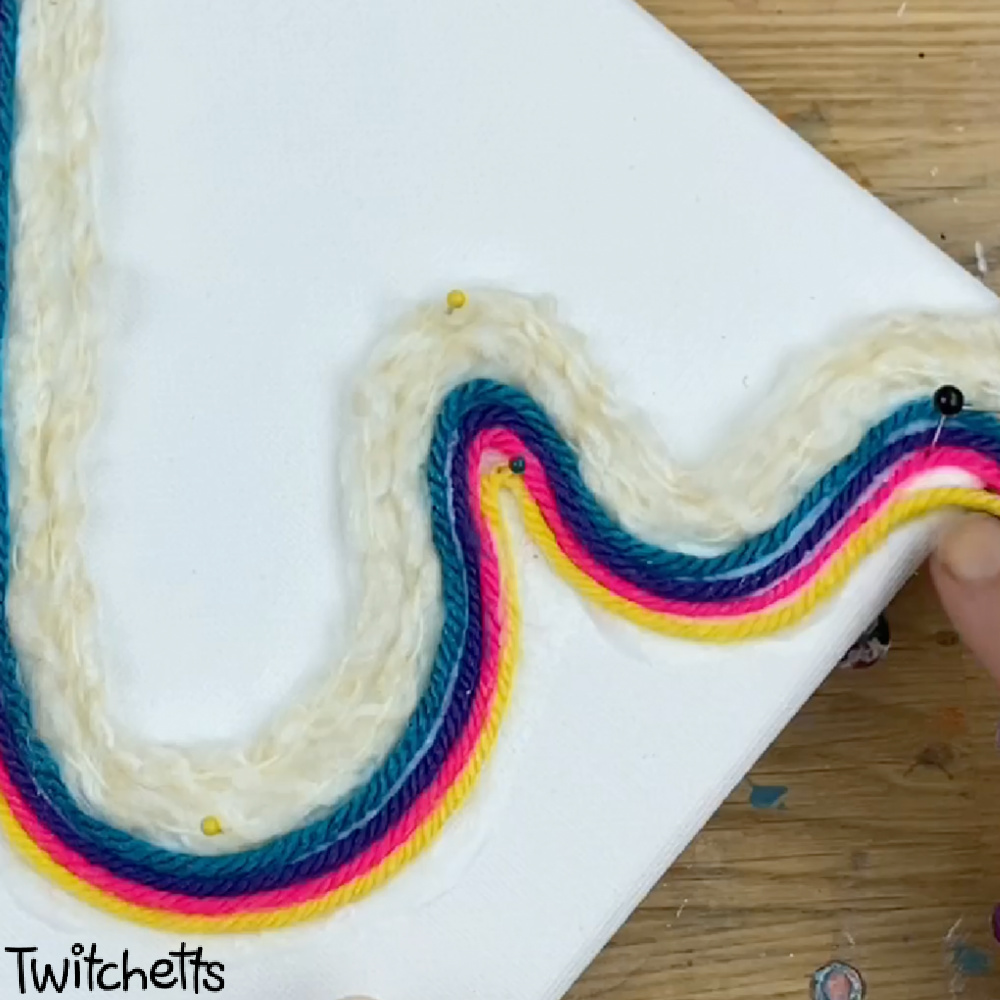
- To replicate this design, work towards a center color and then back to the first color.
- Then fill in the extra space with the cream (base color) yarn.
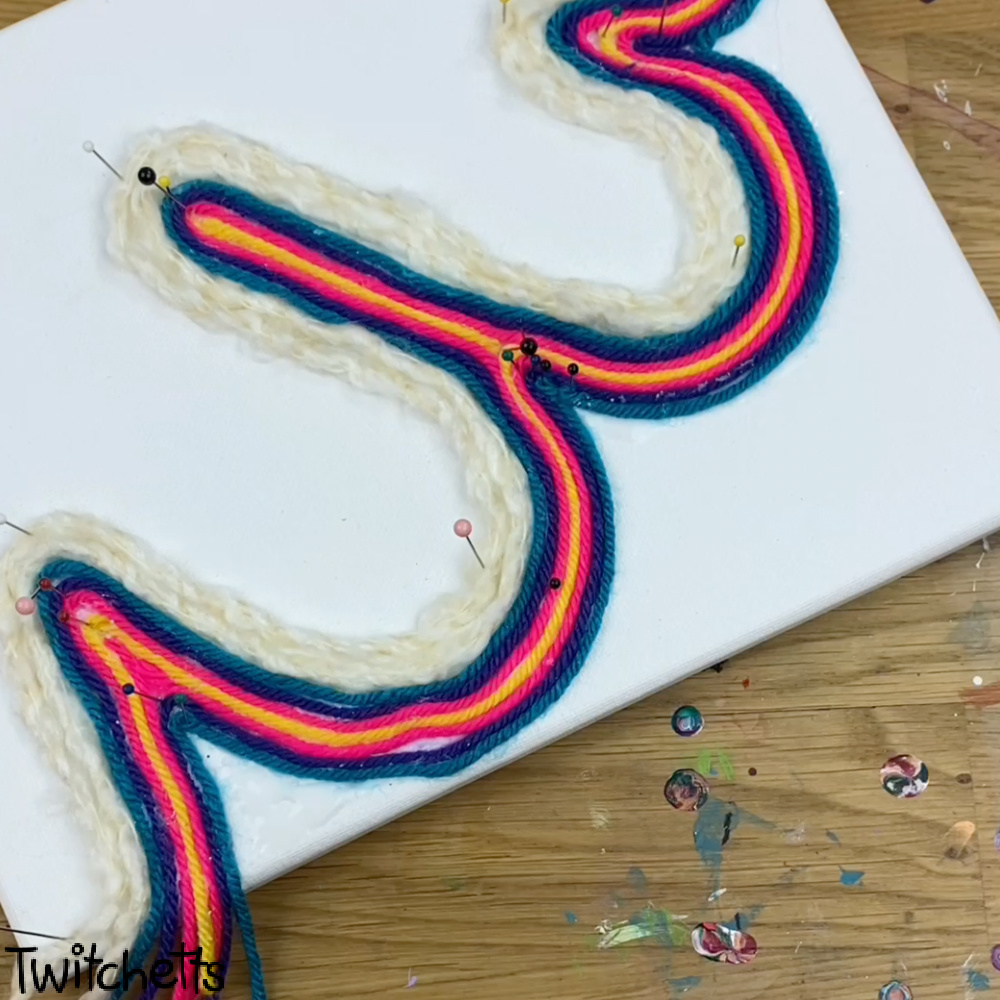
- Repeat the same pattern on the opposite side of the original first curve.
- Fill in all remaining canvas with your base color string. SET ASIDE TO DRY.
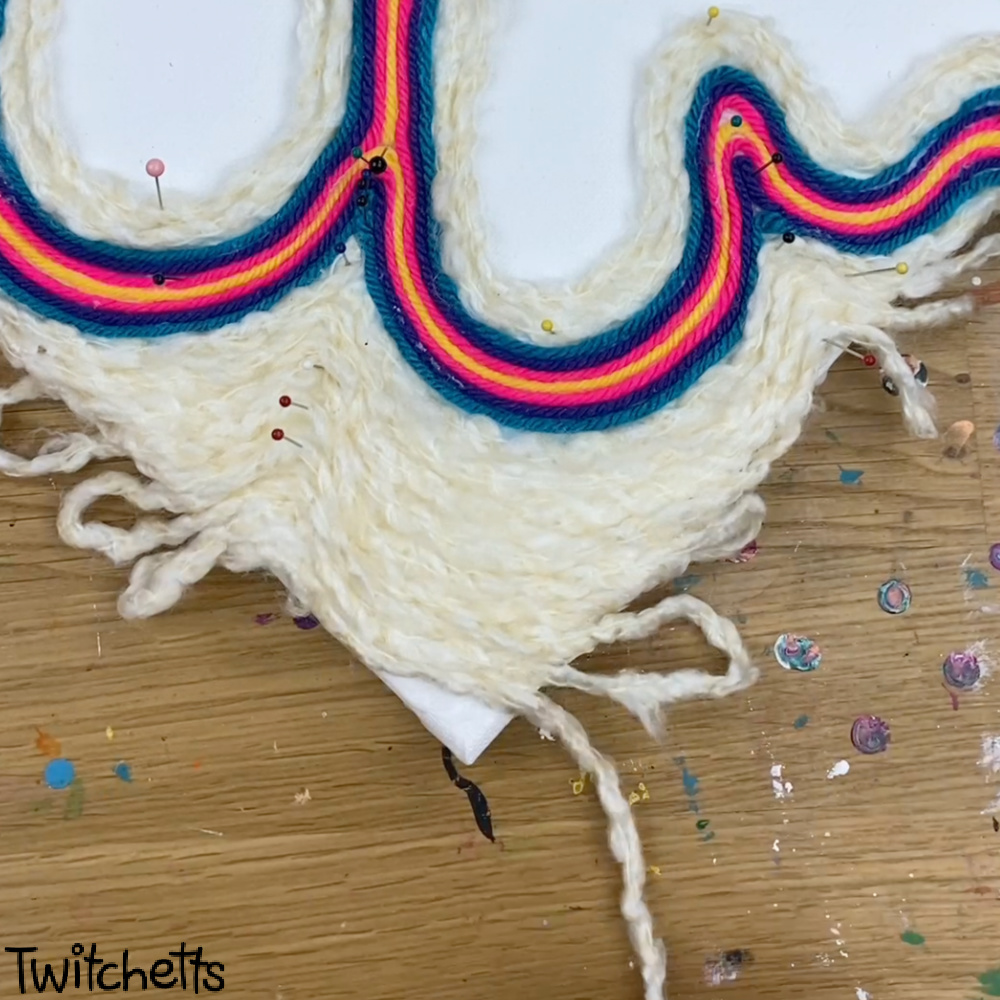
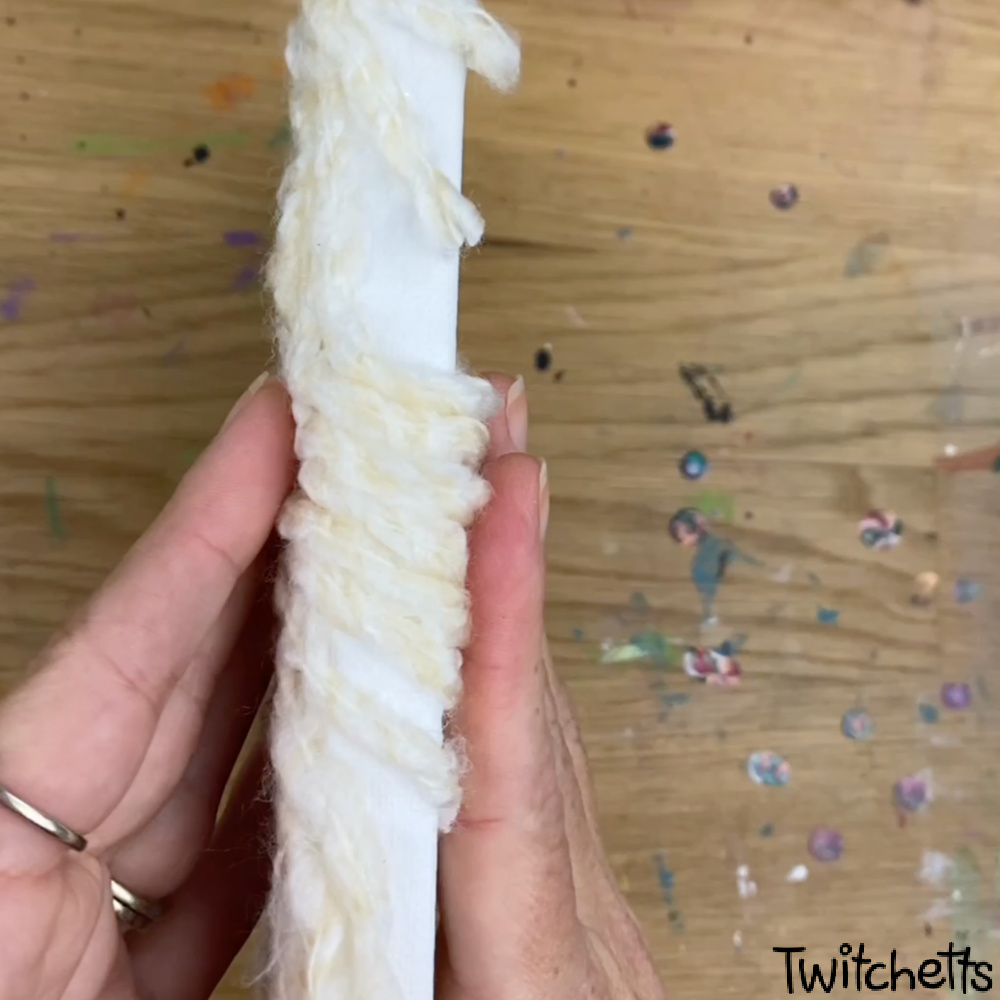
- ONCE DRY. Remove all of your pins. Then start working one side at a time, lift the yarn that is over the edge, and glue it to the edges
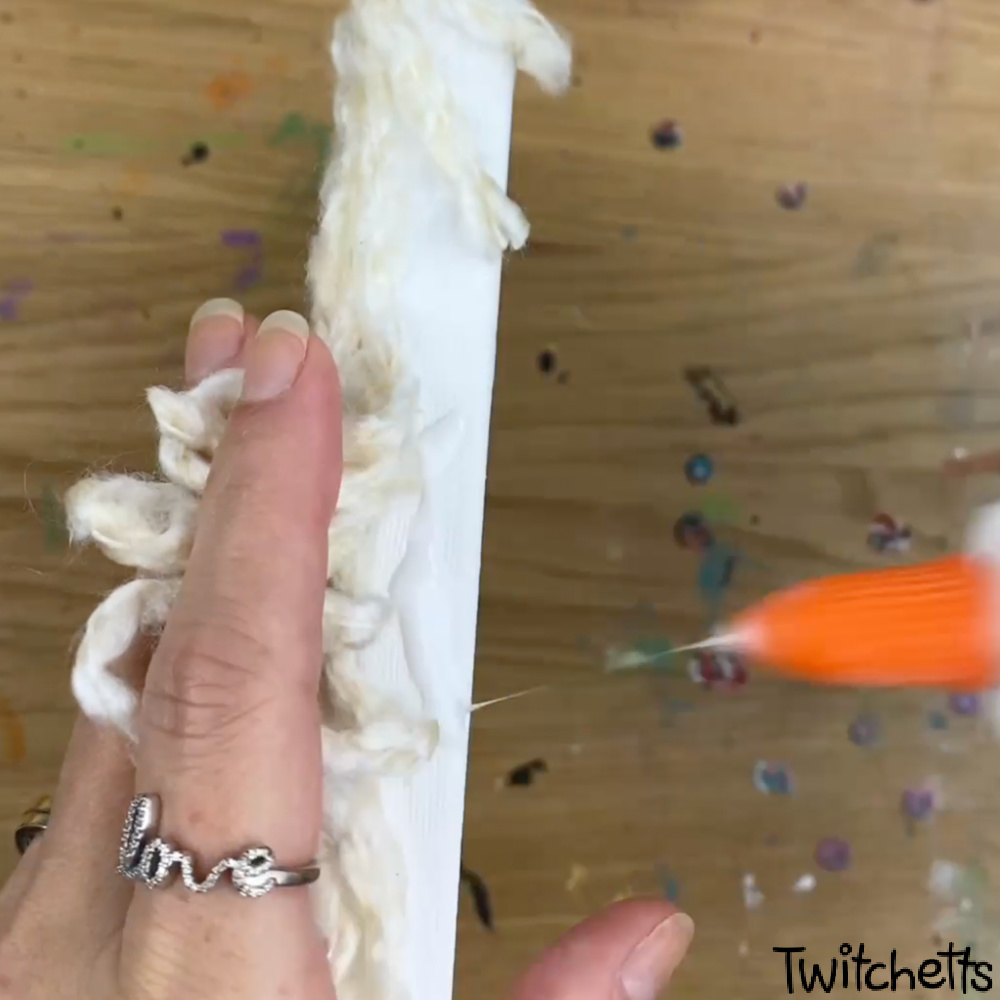
- Press into place. You can use pins here if you need them!
- Trim off any remaining yarn.

- Use trimmings to fill in on the sides anywhere you have a large amount of canvas exposed.
- Display Proudly!
More crafts for tweens
- DIY Charger Cord – Make your phone charger stand out with this tutorial.
- Flower Bracelet – A more challenging bracelet pattern.
- Chevron Friendship Bracelet Pattern – We gave this classic bracelet a 3D twist.
If you love easy this canvas art idea, share it by pinning it or sharing it on Facebook.
This site wouldn’t be here without shares from people like you, and we are so thankful that you took the time to visit Twitchetts.
Know a friend who is looking for yarn canvas art? Please share this tutorial on Facebook or save it to your favorite board on Pinterest.
