Here’s how to create a DIY Stick Horse. Because these were going to be a party favor, I knew that I needed an inexpensive version. So I headed to the dollar store.
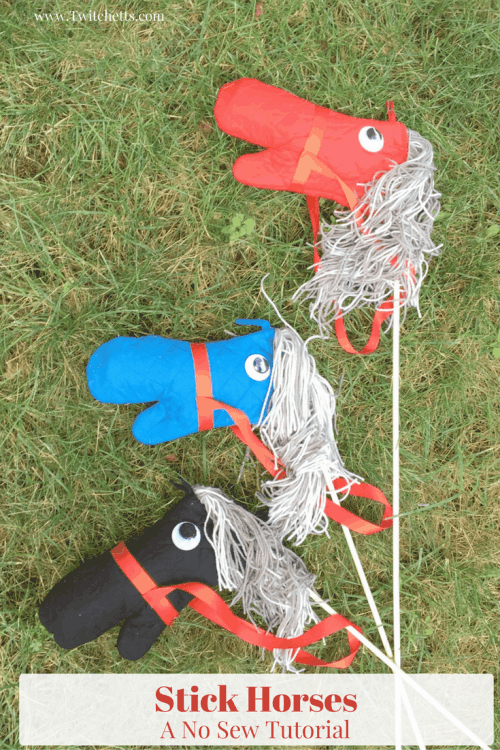

DIY Stick Horse
Let me start by saying that I can not sew. So these DIY stick horses are no-sew.
One of the activities in Mr. Monster’s Justin Time Party was a horse race. I needed to create a dozen stick horses quickly and inexpensively.
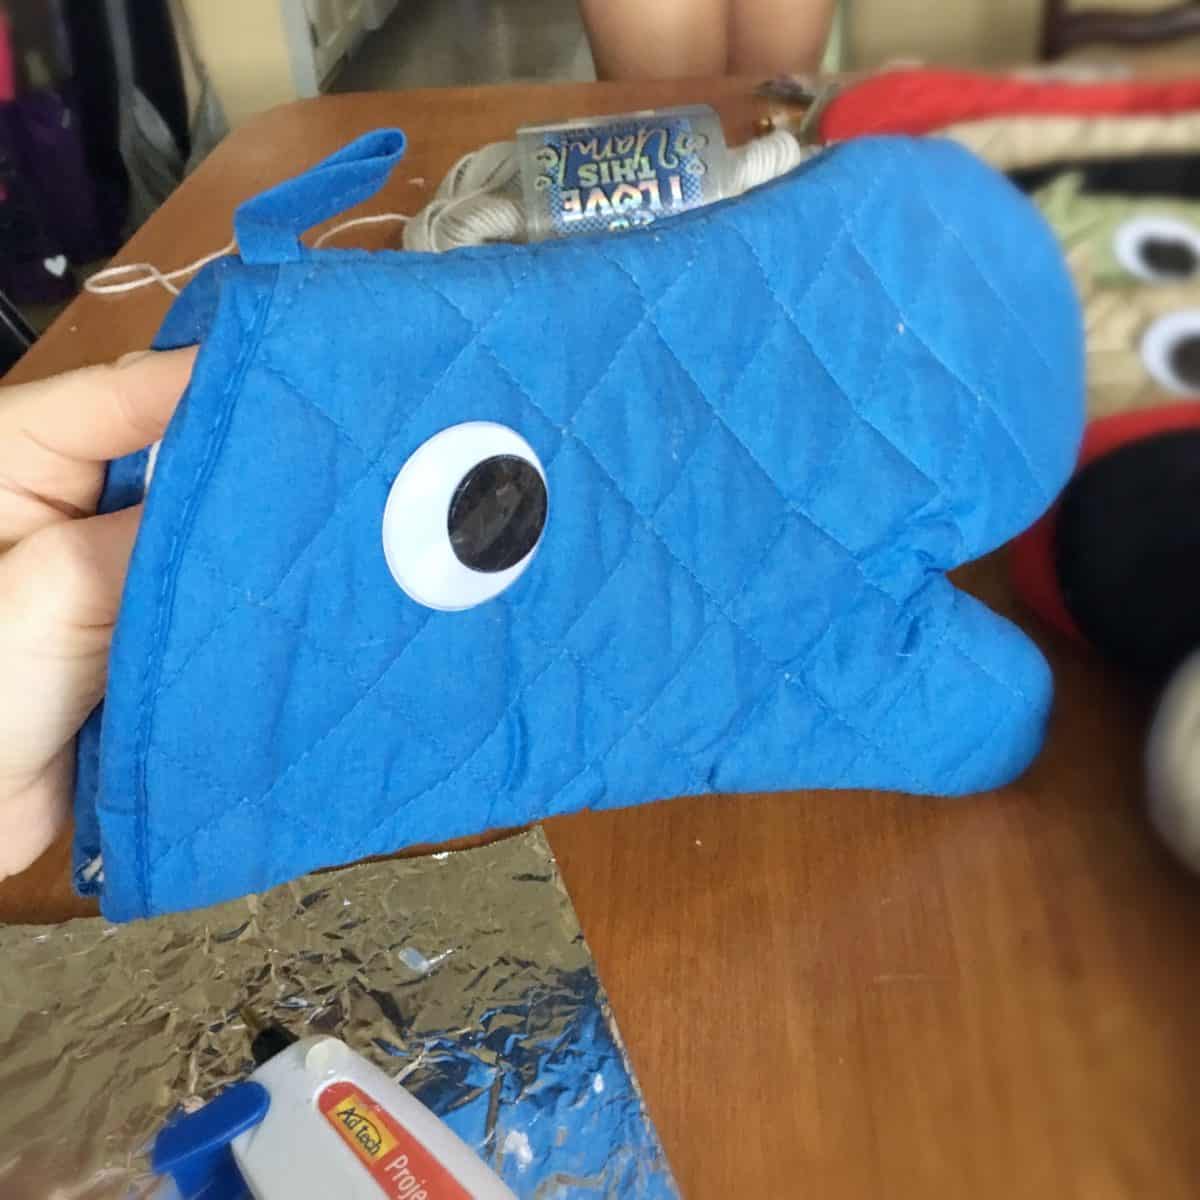
So we headed to the dollar store and grabbed one dozen oven mitts. Then we headed to the craft store and grabbed a few other inexpensive supplies.
**Edited to add: Over 2 years later and these oven mitt stick horses have held up. Mr. Monster “rides” his through the house at least once a day.
Don’t miss these other stick horse ideas!
Disclosure: Some of the links in this post are “affiliate links.” This means if you click on the link and purchase an item, we may receive an affiliate commission.
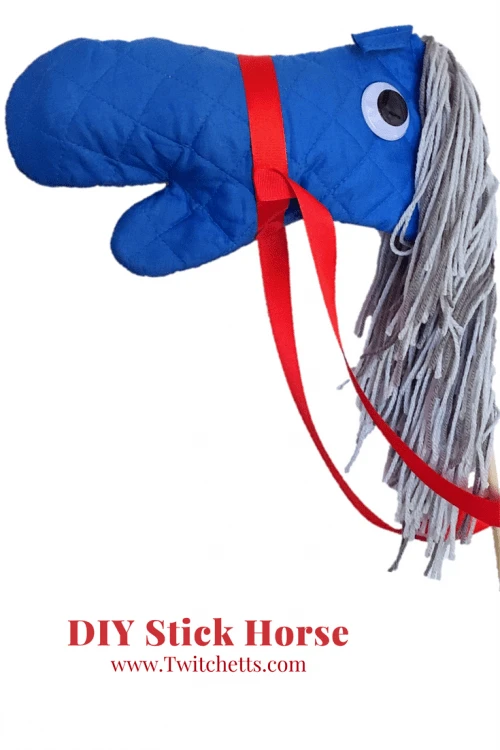
How to create a no-sew stick horse

Create a simple no-sew hobby horse with this step-by-step tutorial.
Tools
Instructions
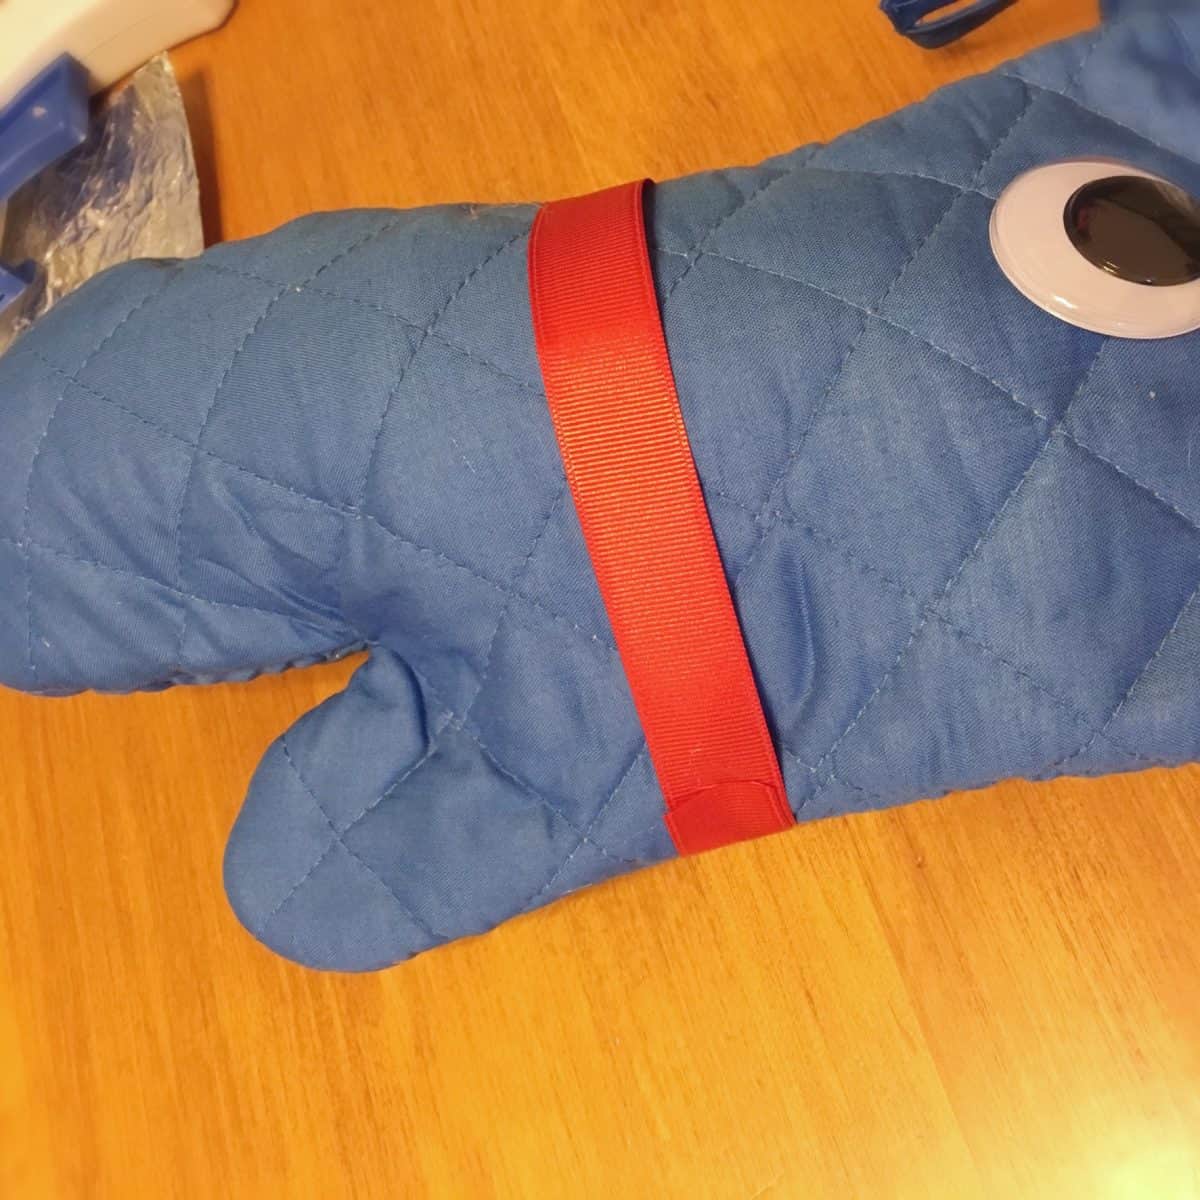
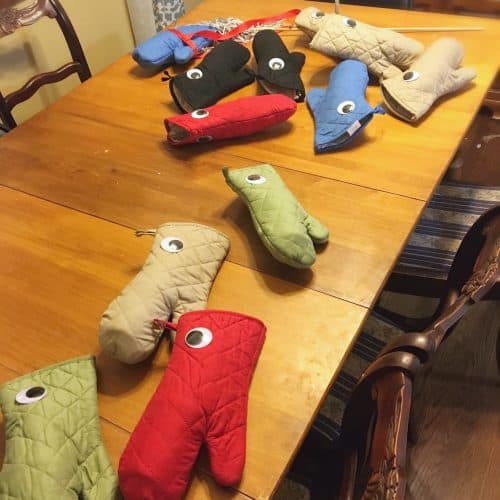
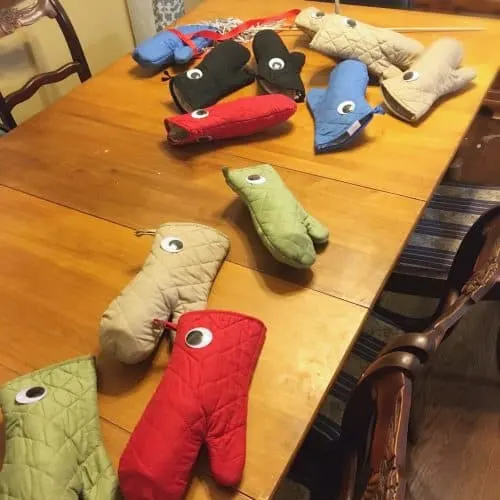
- Start by attaching an eye to each side of your oven mitt using hot glue.

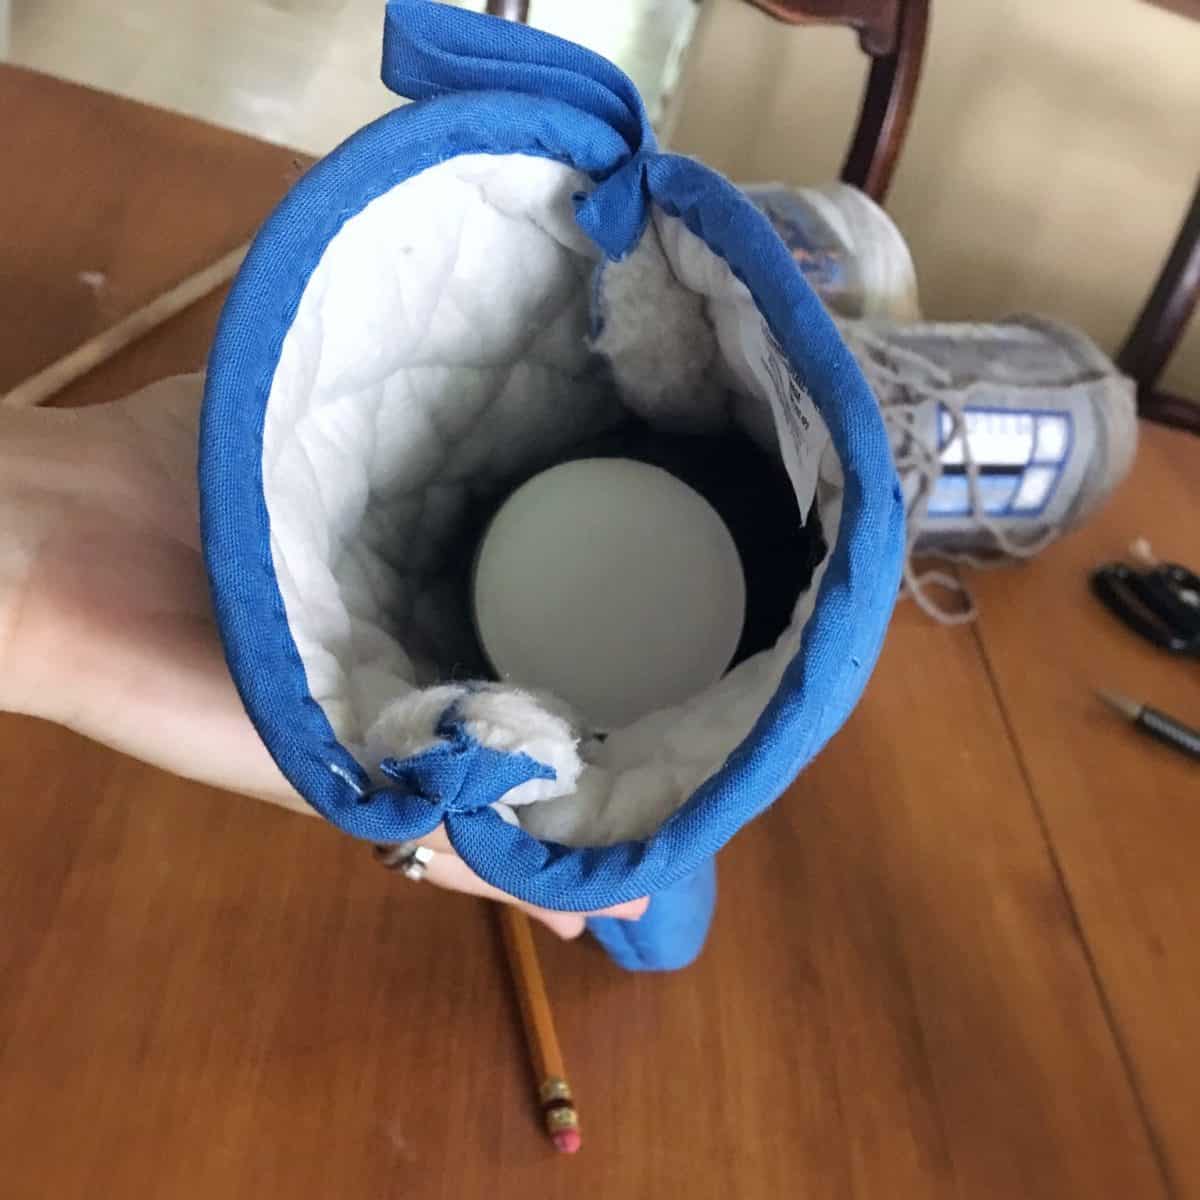
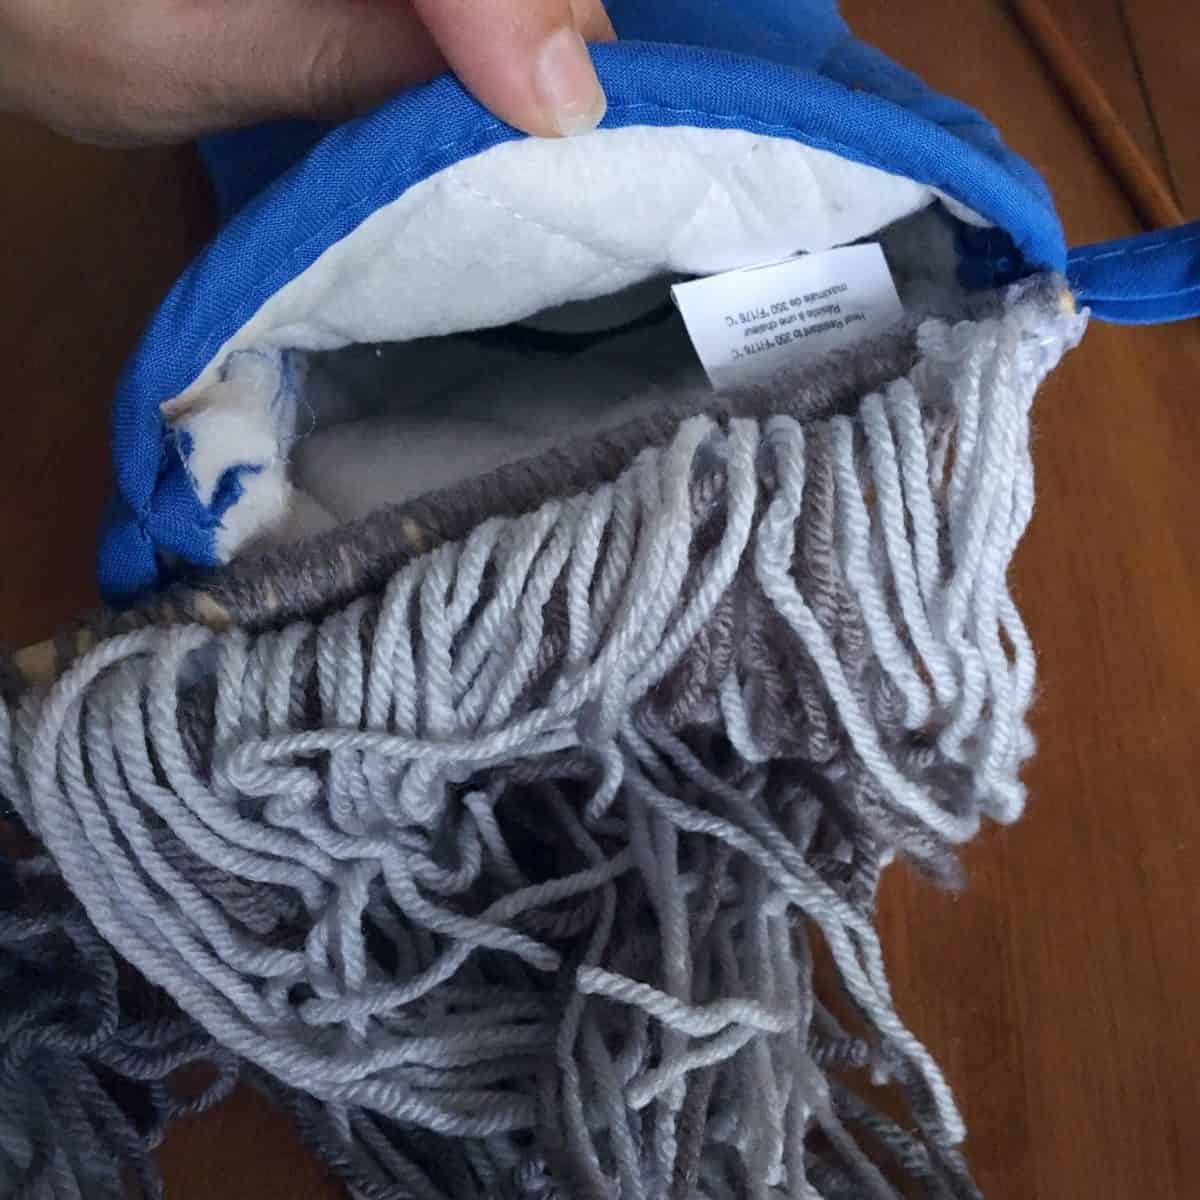
- Next, glue together the two cups at the openings.
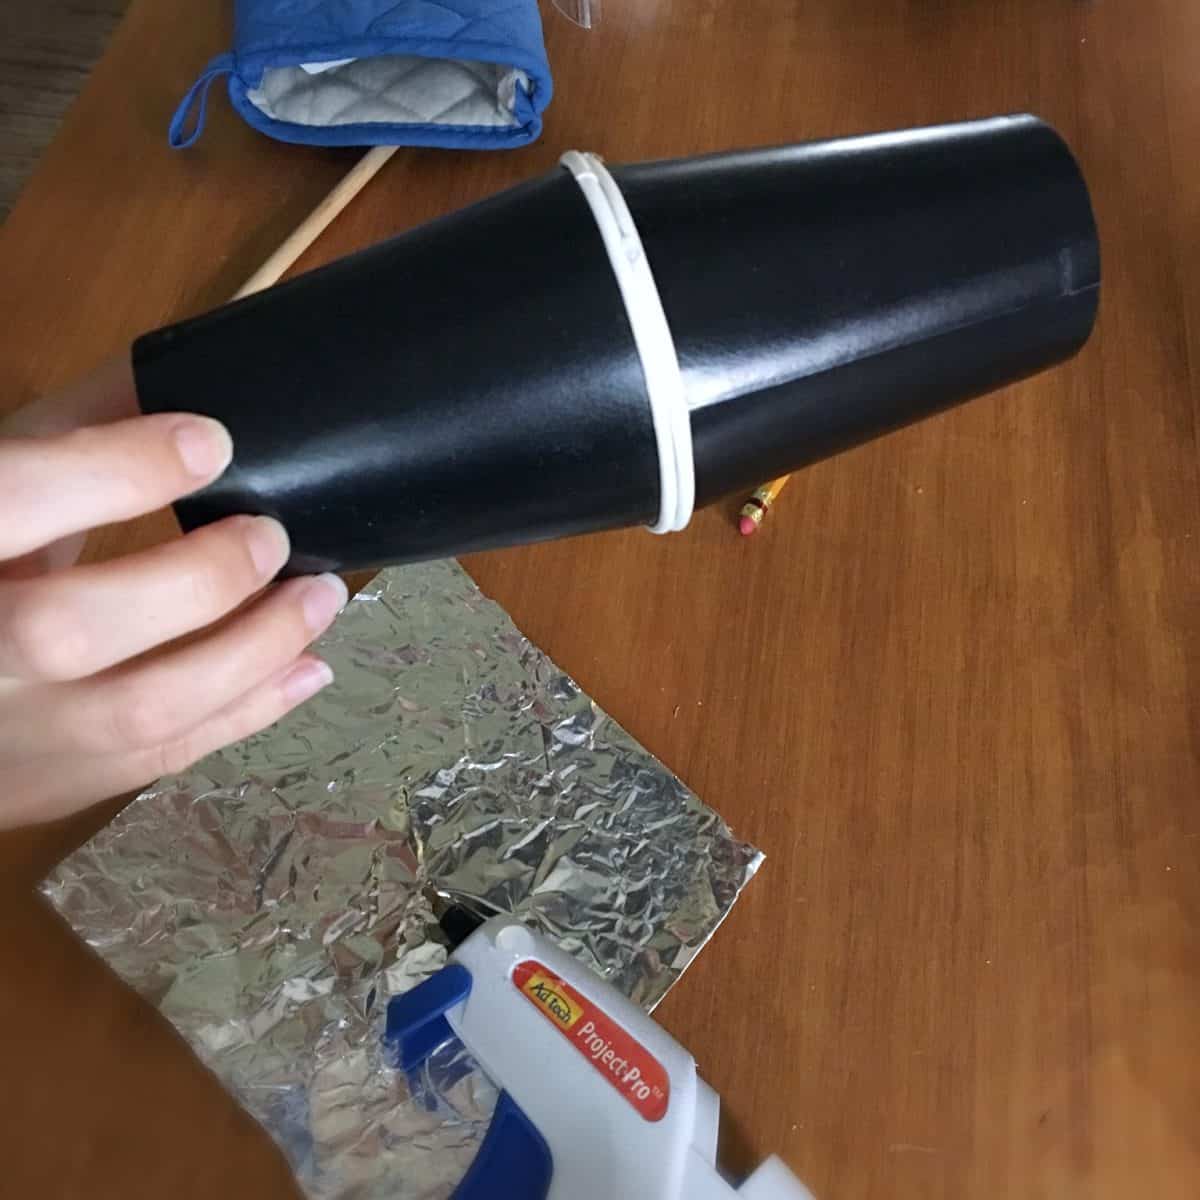

- Push the cups into the large section of the oven mitt. This helps your horse keep its shape.

- For the hair, start by measuring the length of the oven mitt onto your dowel and adding a few inches. Mark that spot with a pencil.

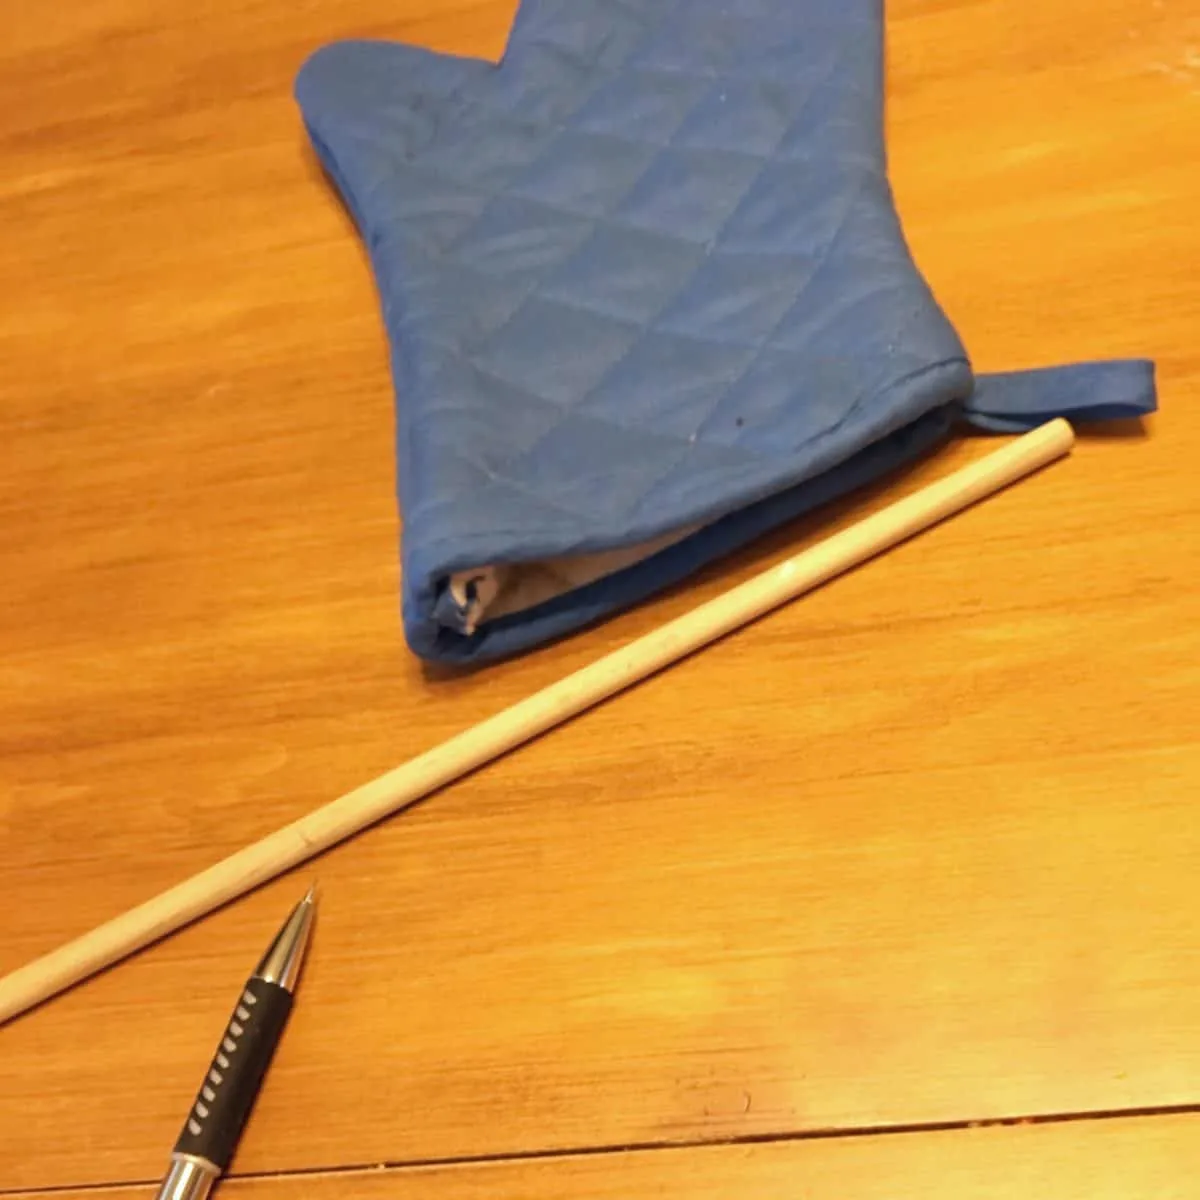
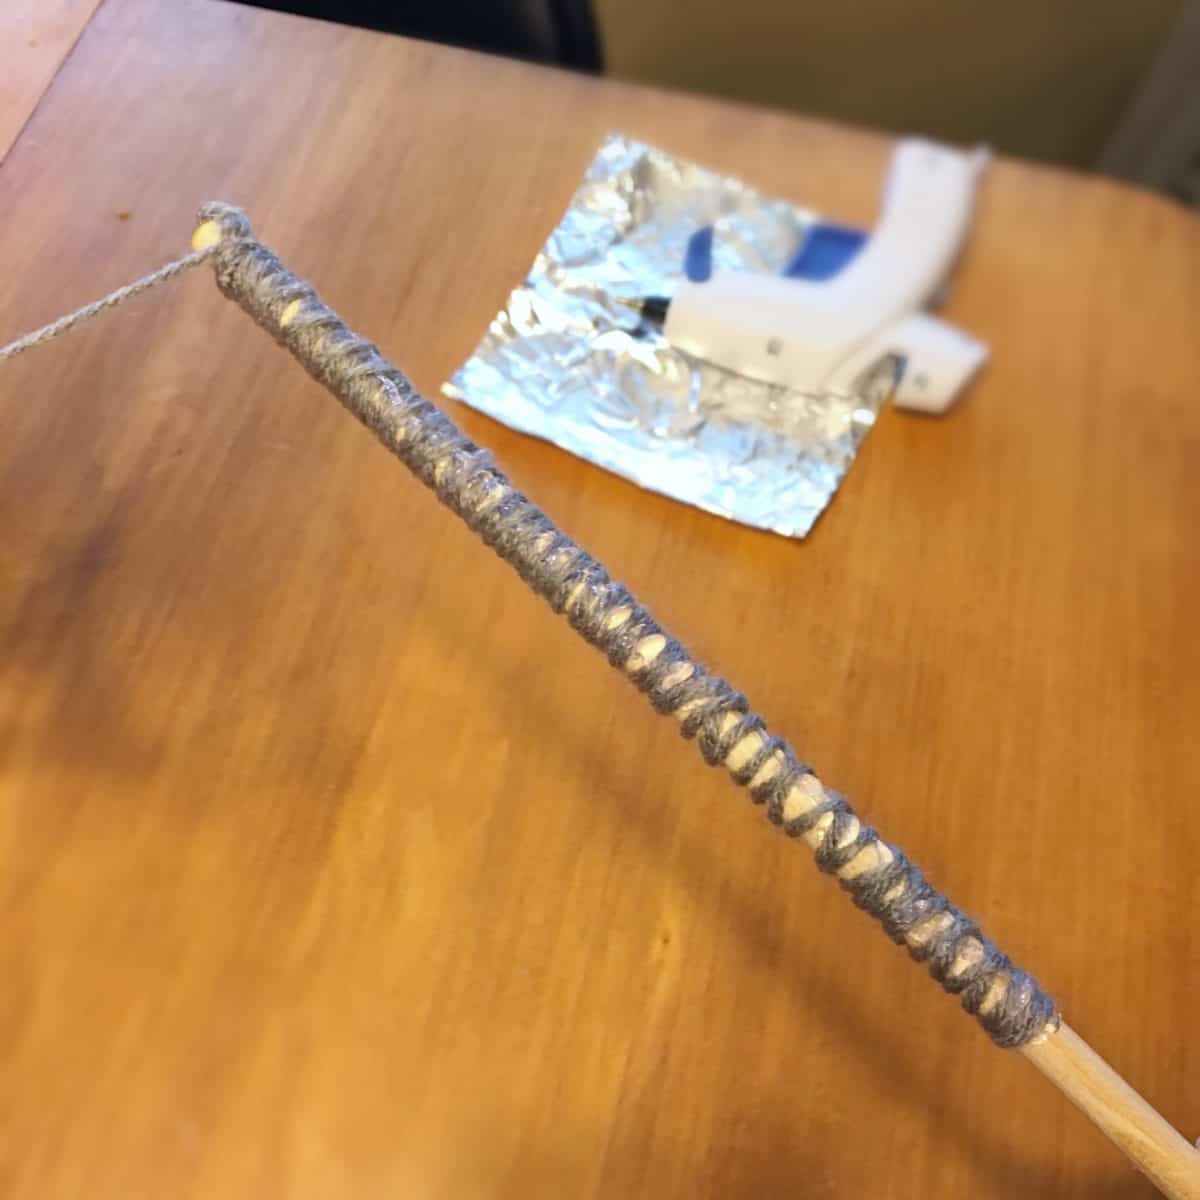
- Then wrap the dowel in yarn up to your mark. Secure the yarn with a bit of hot glue.

- Grab a piece of cardboard that is the length you want your hair to be. Then wrap your yarn around the cardboard about 50-60 times.
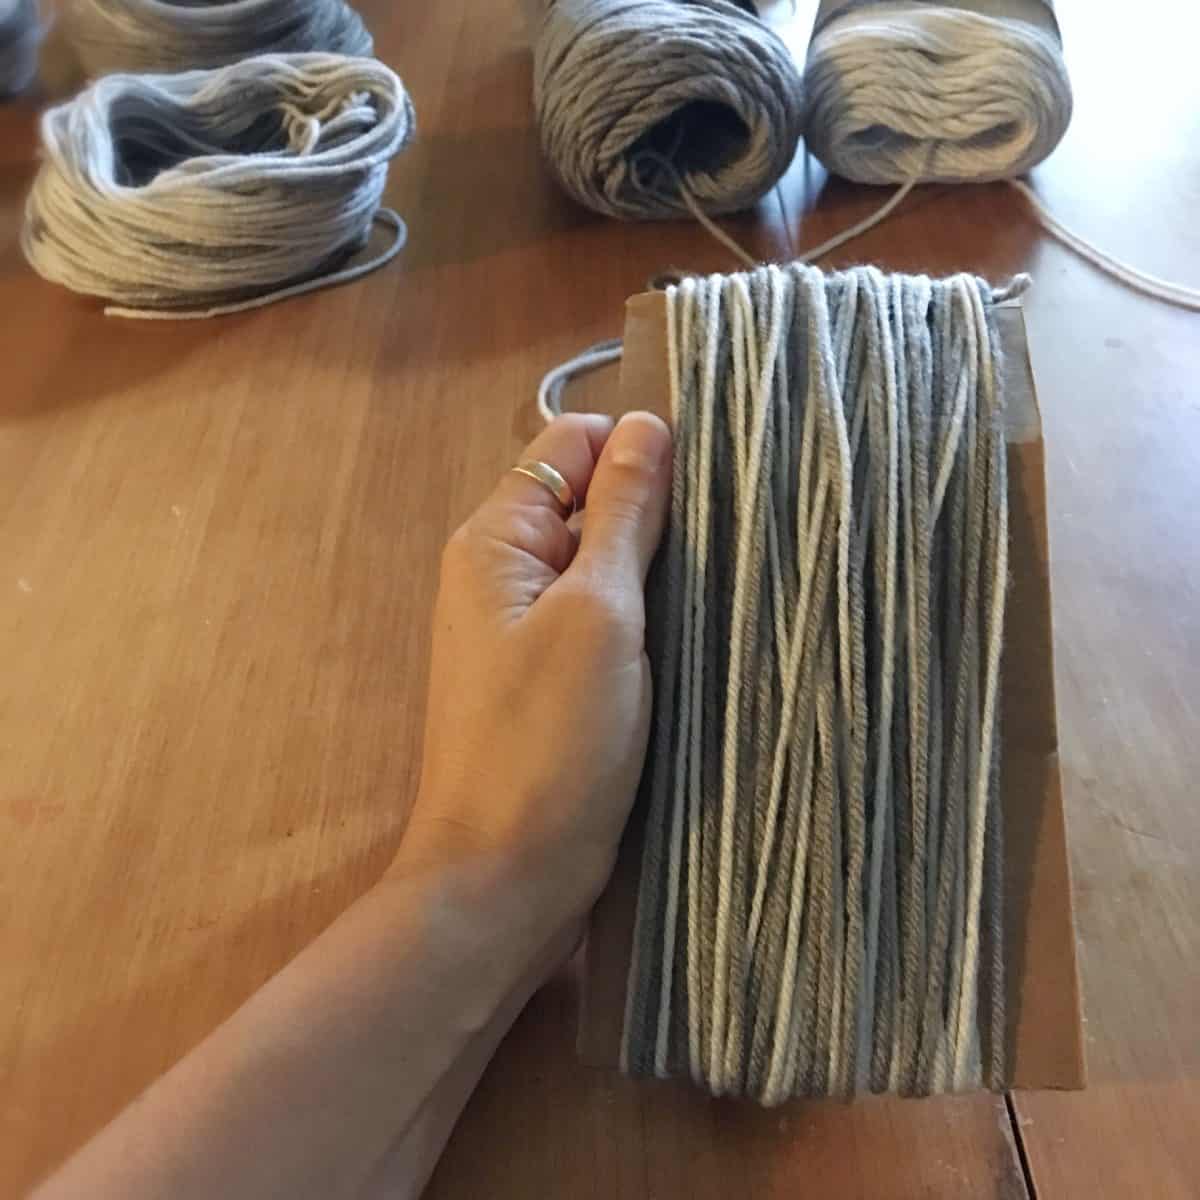
 Remove the yarn from the cardboard and place it around your dowel. Start spreading the yarn across the wrapped portion of the dowel. Try to make the top of your dowel have more hair than the rest. Once the yarn is in position, run hot glue along the yarn and wiggle the yarn in the glue to create a good hold. Last, snip the loops so that they turn into strands.
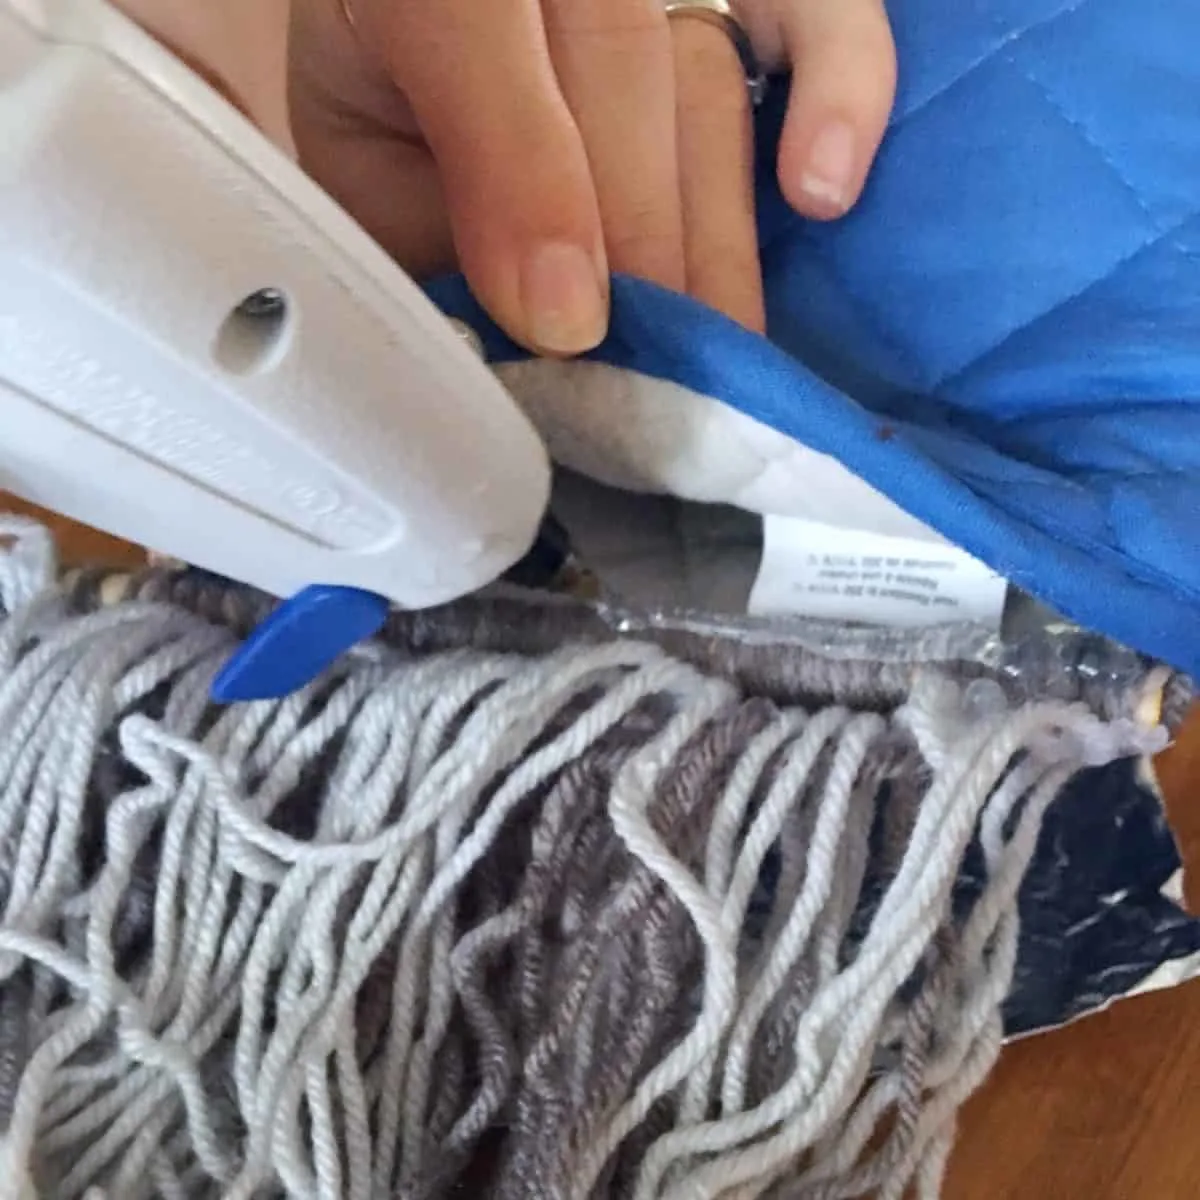
 - To attach the head to the stick, run a bead of hot glue down one end of the dowel and push it down onto one side of the open oven mitt. Repeat on the other side.

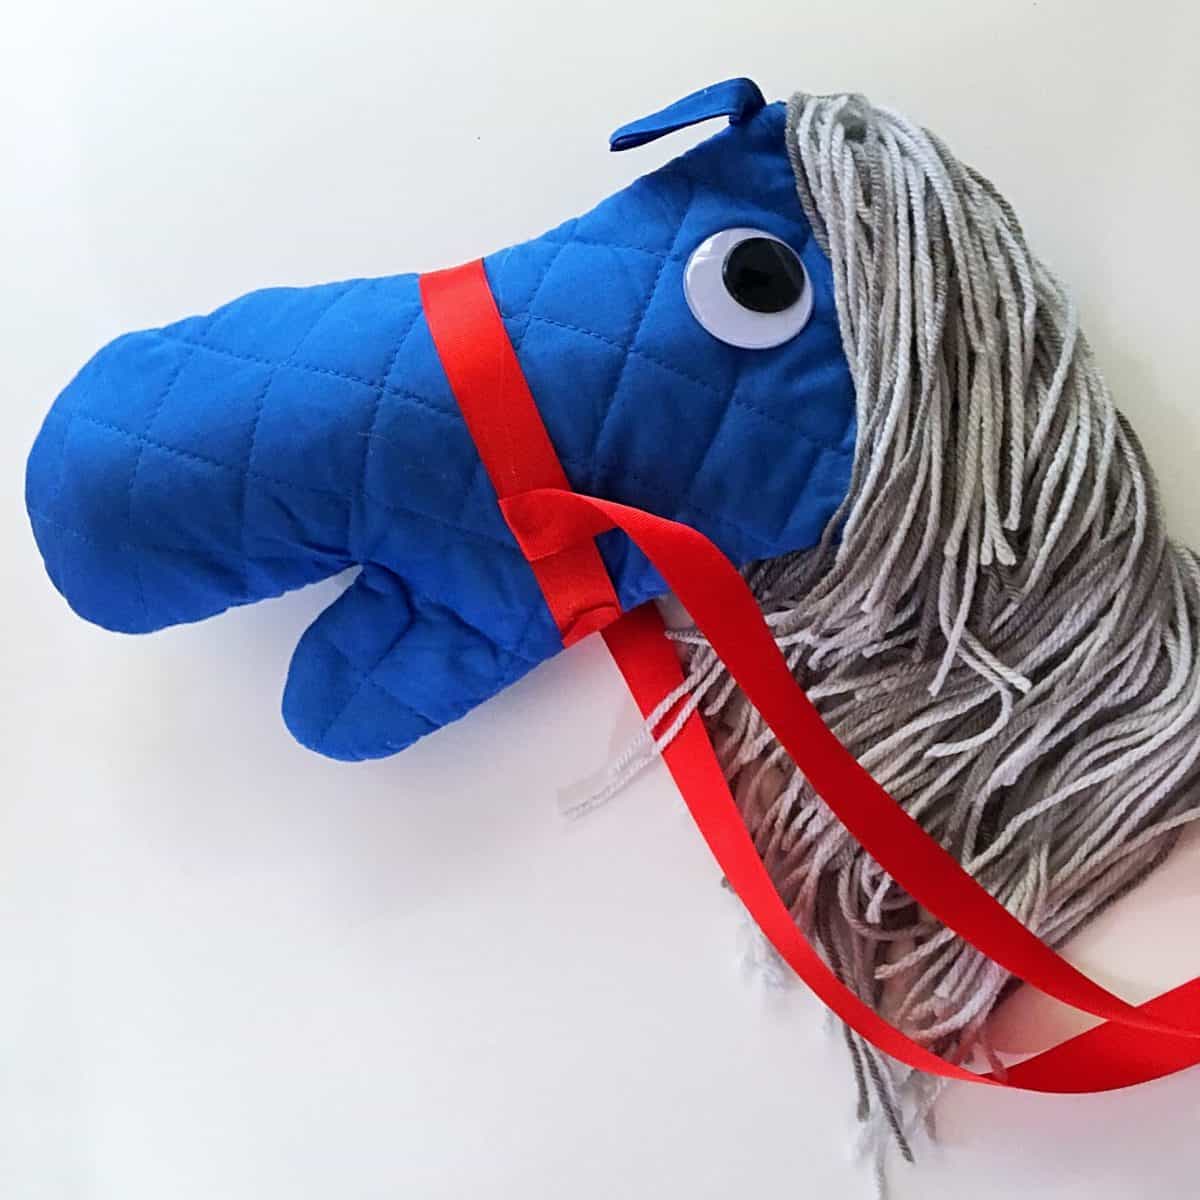
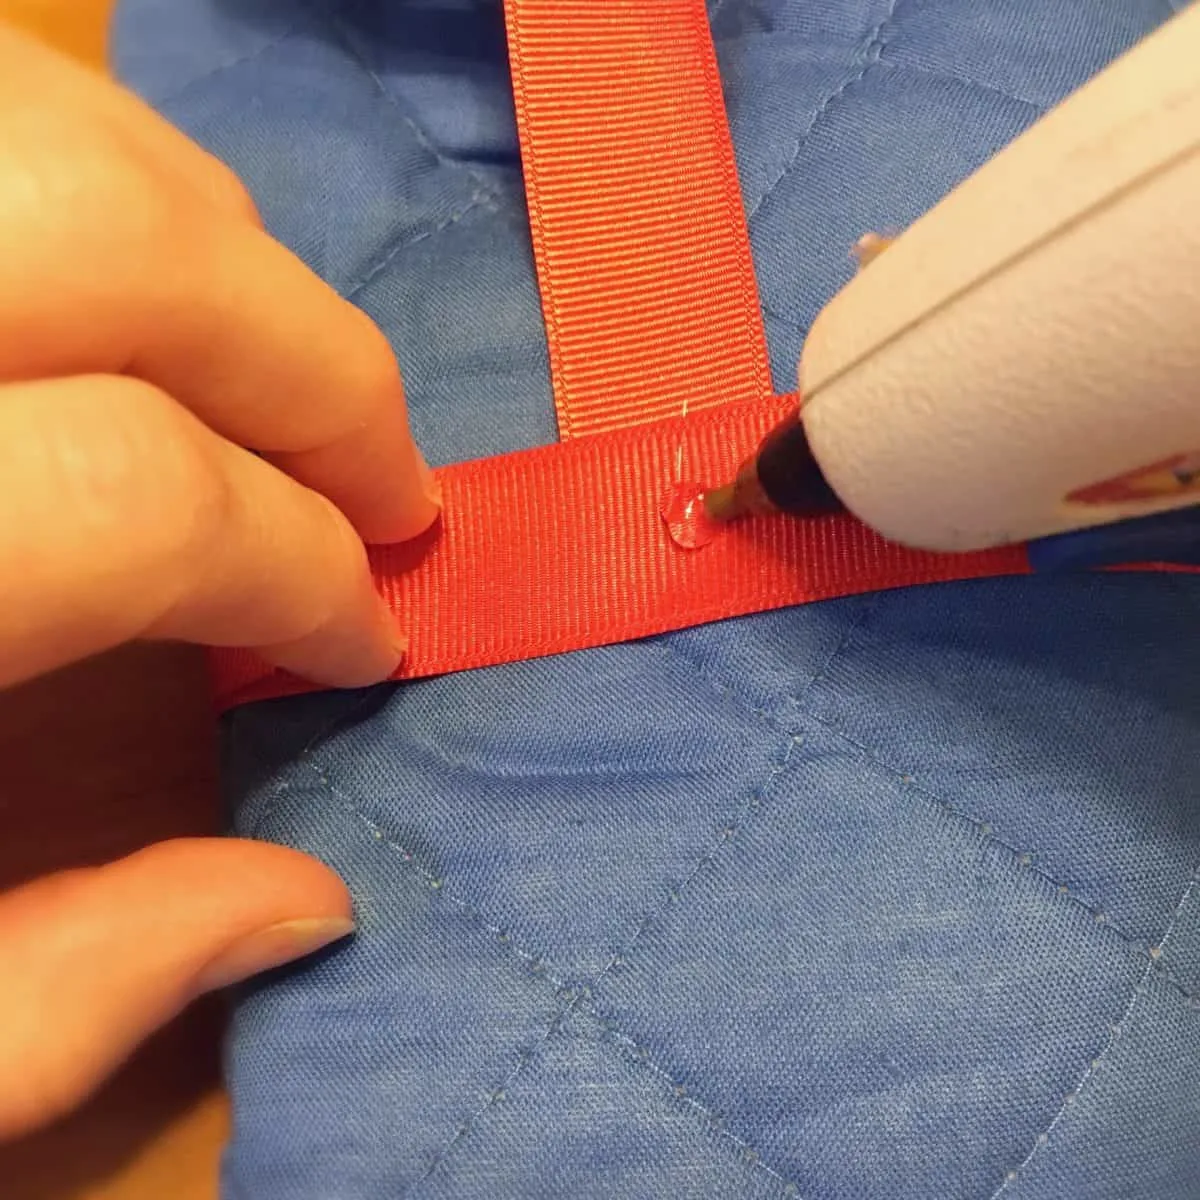
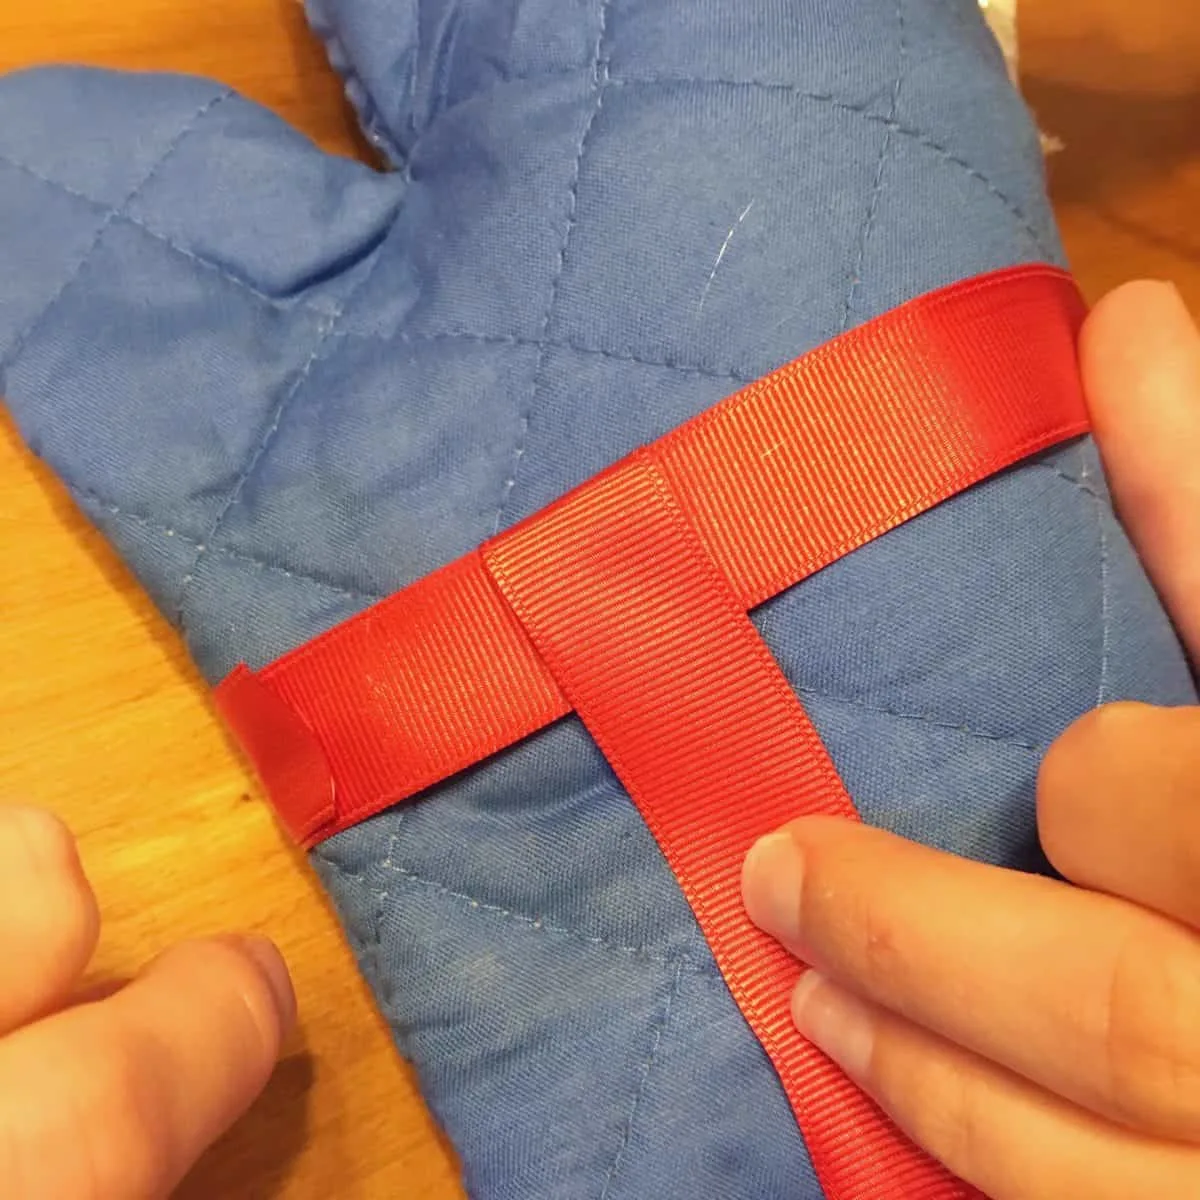
- Attach a piece of ribbon around the nose of the horse.

- Finally, attach a long piece of ribbon to either side of the head.

If you want to create this in bulk, I recommend completing each step for each of your horses before moving on to the next.
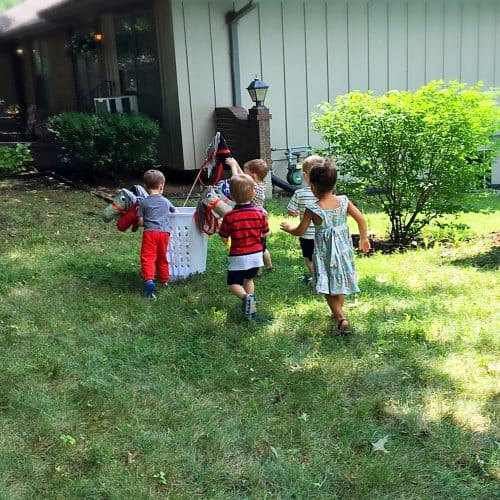
We placed all of our horses into a tall laundry basket and placed them at the start of the race.

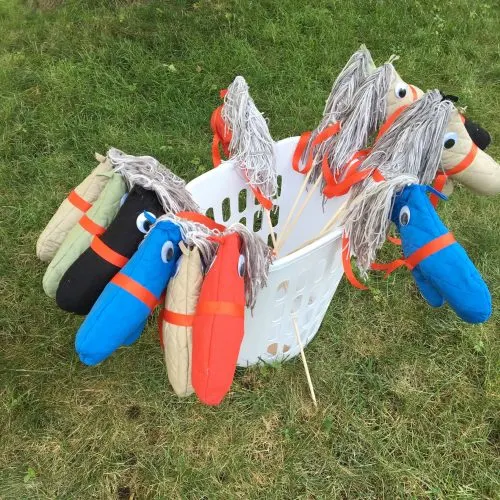
The kids went running when they saw all the stick horses. And they were off to the races.

More ways to make a fun hobby horse toy
- Create a classic sock stick horse
- Use up an old pool noodle from last summer
- Grab a free pattern for a felt horses head
- Grab these ideas and more in our collection of stick horse DIY ideas.
This project is great for making in bulk. Especially since there is no sewing machine required. It’s a fun project that will provide hours of fun for little girls and boys.
Tips for making a hobby horse.
The basic concept of attaching a horse head to a stick is not new. Kids have been playing with these classic toys for years. Here are some tips for making this easy stick horse.
- You can try adding a styrofoam ball or soft stuffing material to the nose, instead of the cups. It may hold up better.
- Make a more glamorous hobby horse by adding a fun feather boa or choosing fun colors for the hair.
- The wooden dowels will make up the base of the horse. Choose a size that is appropriate for the amount of use. After years of play, these were the parts that broke in the end. I still have a horse’s head in my house. horse eyes
- If you don’t want to buy a wooden stick, find an old wooden broomstick instead.
- You could swap the ribbon for a thicker brown cord, for a more realistic look. Or you could use a beaded necklace for a fun twist.
- Make sure the position of the eyes matches on each side of the face.
Don’t forget to pin these stick ponies to your Crafts Pinterest board!
This site wouldn’t be here without shares from people like you, and we are so thankful that you took the time to visit Twitchetts.
Know a friend who is looking for a DIY stick horse? Please share it on Facebook or save it to your favorite board on Pinterest.

3 easy forts to make at home in 5 minutes or less - Twitchetts
Thursday 5th of March 2020
[…] Ah, flashbacks to some Laura Ingalls fun. The horse was a fun addition from my son. If you don’t have one handy, you can whip one up with our stick horse tutorial. […]
Giddy Up For Some Fun Horse Crafts – Crafty Like Granny
Sunday 7th of July 2019
[…] Take a look at the tutorial. […]
5 Tips for Throwing a Horse Themed Birthday Party from Gifts to DecorGemma J
Monday 18th of February 2019
[…] you’re trying to plan a budget-friendly party, you can have the kids make their own DIY stick horses with some dollar store […]
Patty
Wednesday 2nd of May 2018
I just reread your supply list...is said paper cups, not paper clips! Lol!
Patty
Wednesday 2nd of May 2018
What were the two paper clips for? They are in the supply list. I love your stick horses! So cute!