Week three of my wall project took me to into Hubby’s turf…Home Depot.
This is a project that I’ve been wanting to do for a while. Turns out, it’s a pretty easy project! I can see myself making more of them.
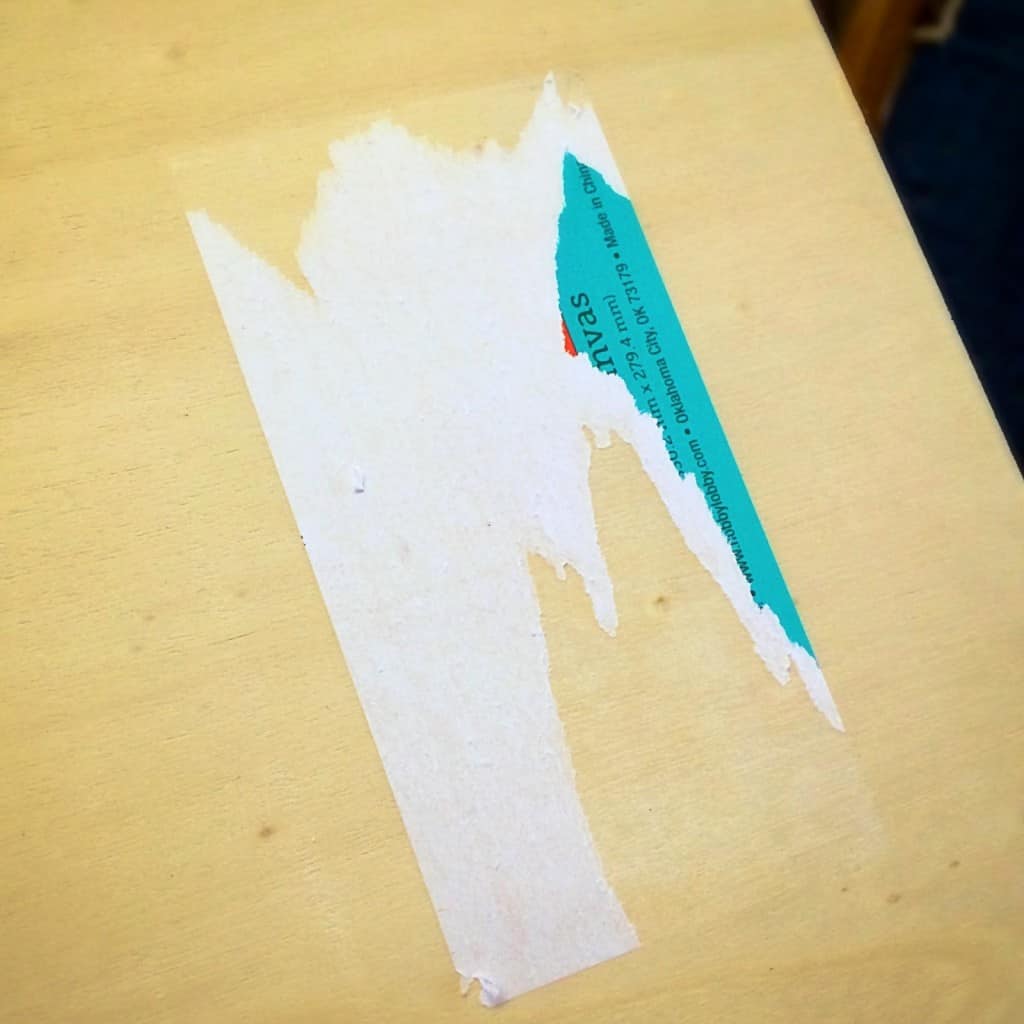
I started with a wood board that I purchased from Hobby Lobby, a store much more up my alley.
But can I say, whoever thought it would be a good idea to put a sticker on the front of a board meant to be decorated needs a good poke in the eye. So irritating.
But can I say, whoever thought it would be a good idea to put a sticker on the front of a board meant to be decorated needs a good poke in the eye. So irritating.
I put a coat of stain on the board and a few lines showed up. My mom later informed me that a good sanding before I stained it would have prevented those lines. Lesson learned.
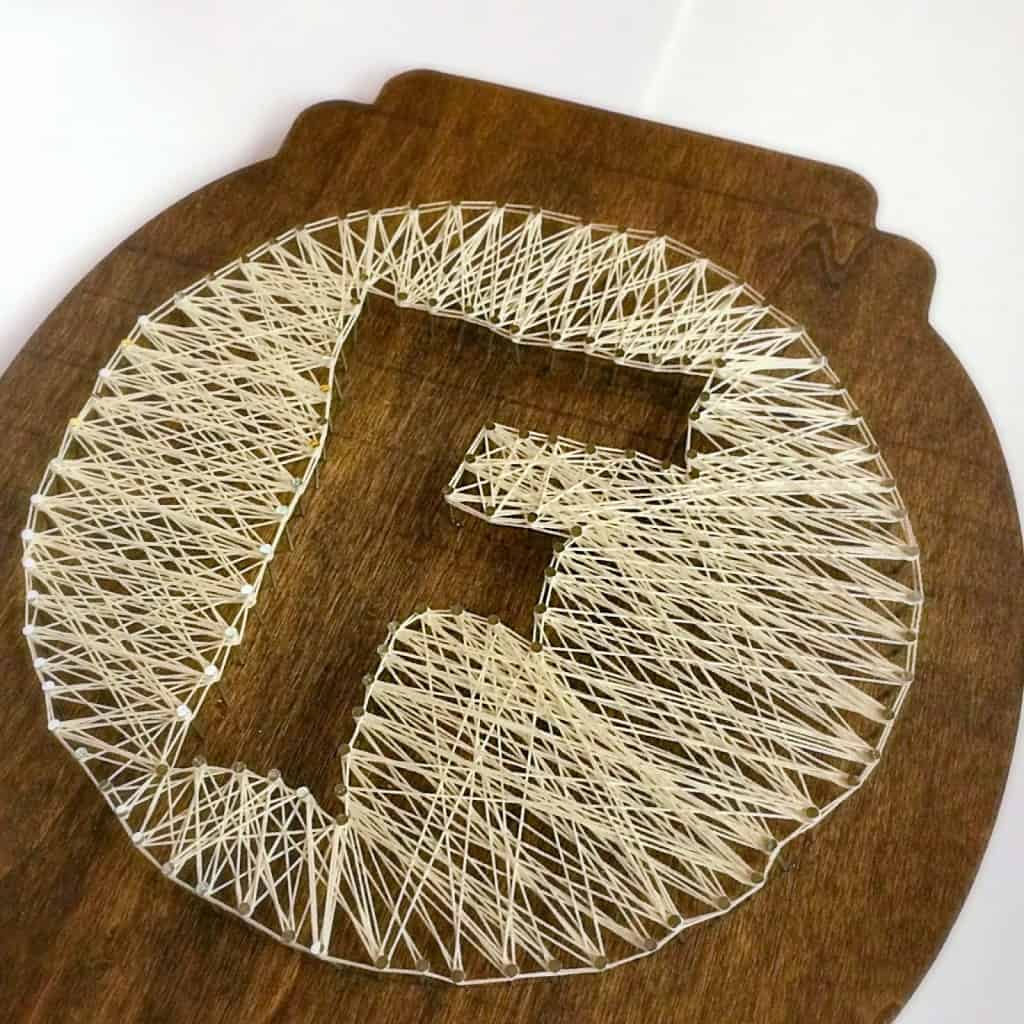
Next, I drew out my guide lines. Like my stencil? I drew my “F” free hand.

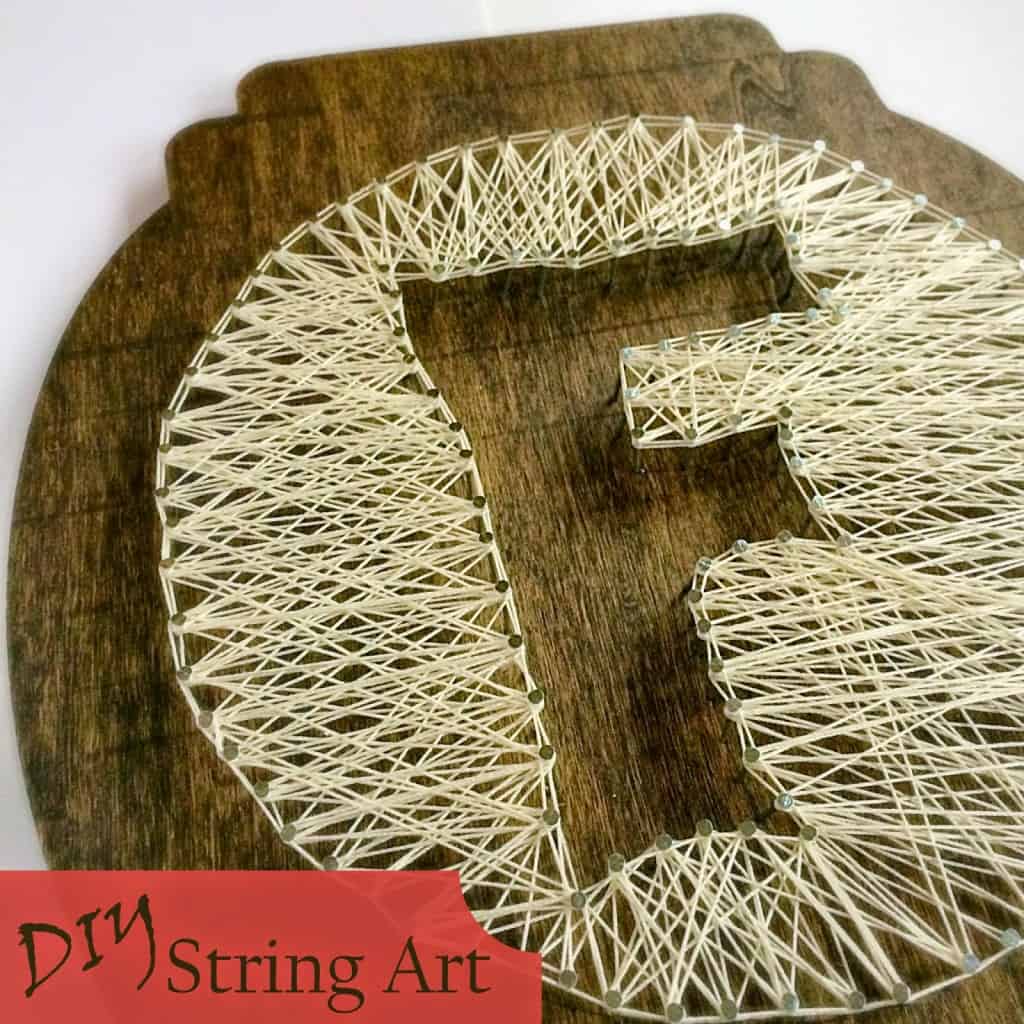
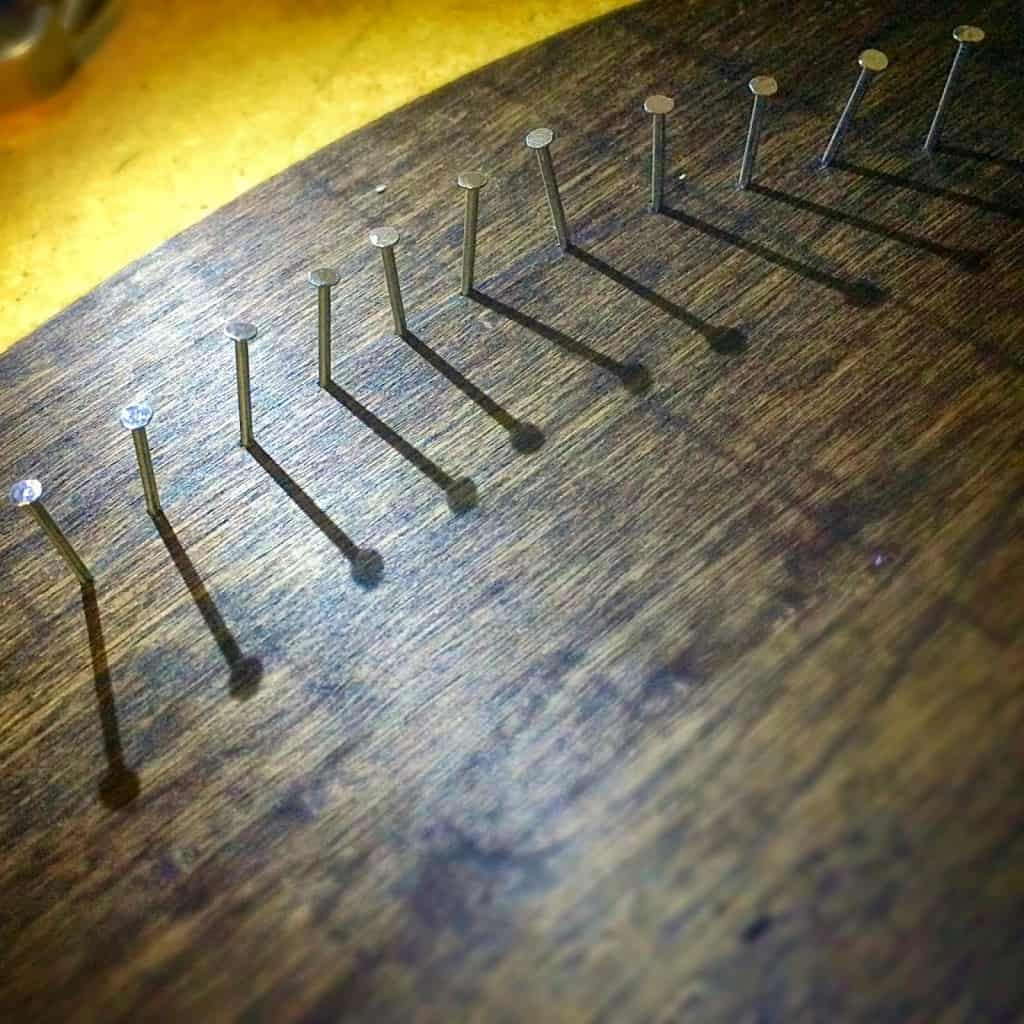
Then I started adding nails. I used 1″ nails with a decent sized head.
I tried to keep them spaced fairly evenly. About a 1/2″ apart.
I tried to keep them spaced fairly evenly. About a 1/2″ apart.
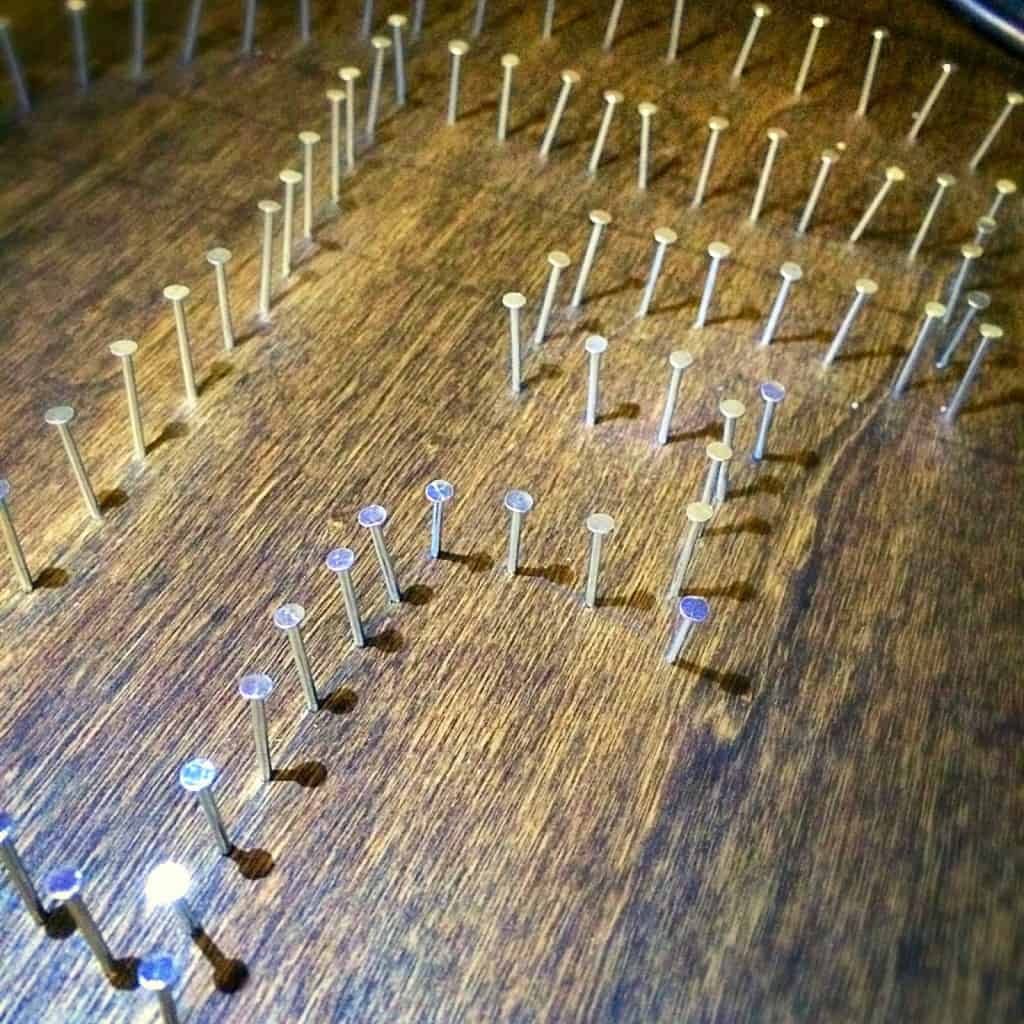
Can we all agree that I will never be responsible for nailing anything important?
Cause I am awful at it! I don’t think there’s a single straight nail in the board.
Cause I am awful at it! I don’t think there’s a single straight nail in the board.
Next, I took my string and started wrapping. I did a lap around the outlines first. This process was pretty easy. Almost relaxing! Play around with it. Find what pattern works best for you.
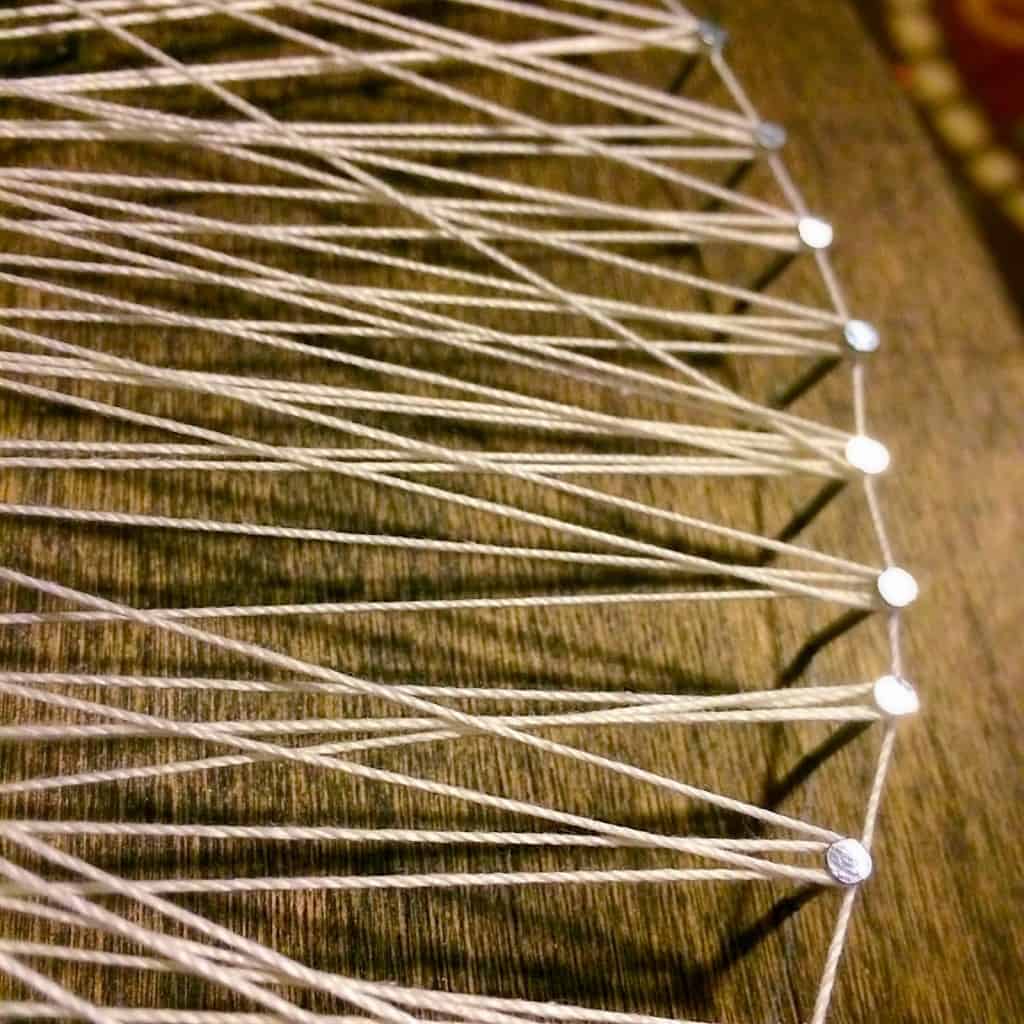
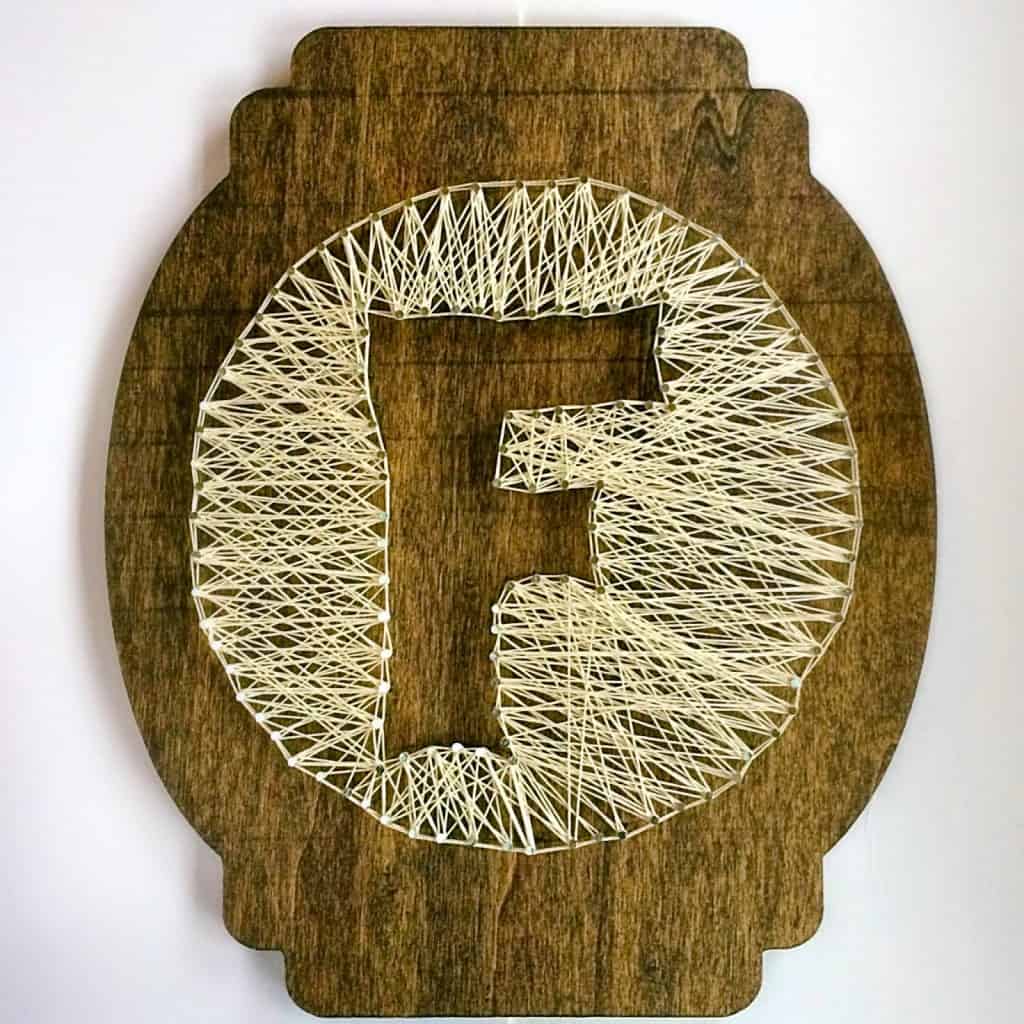
I did one last trip around the outlines. Tie off the ends and you’re done! Nothing to it!

If my nails would have been straight the edges would have been better,
but I still think it looks pretty cool!

The collection of stuff for the wall is starting to fill up! I’m half way through with my projects.
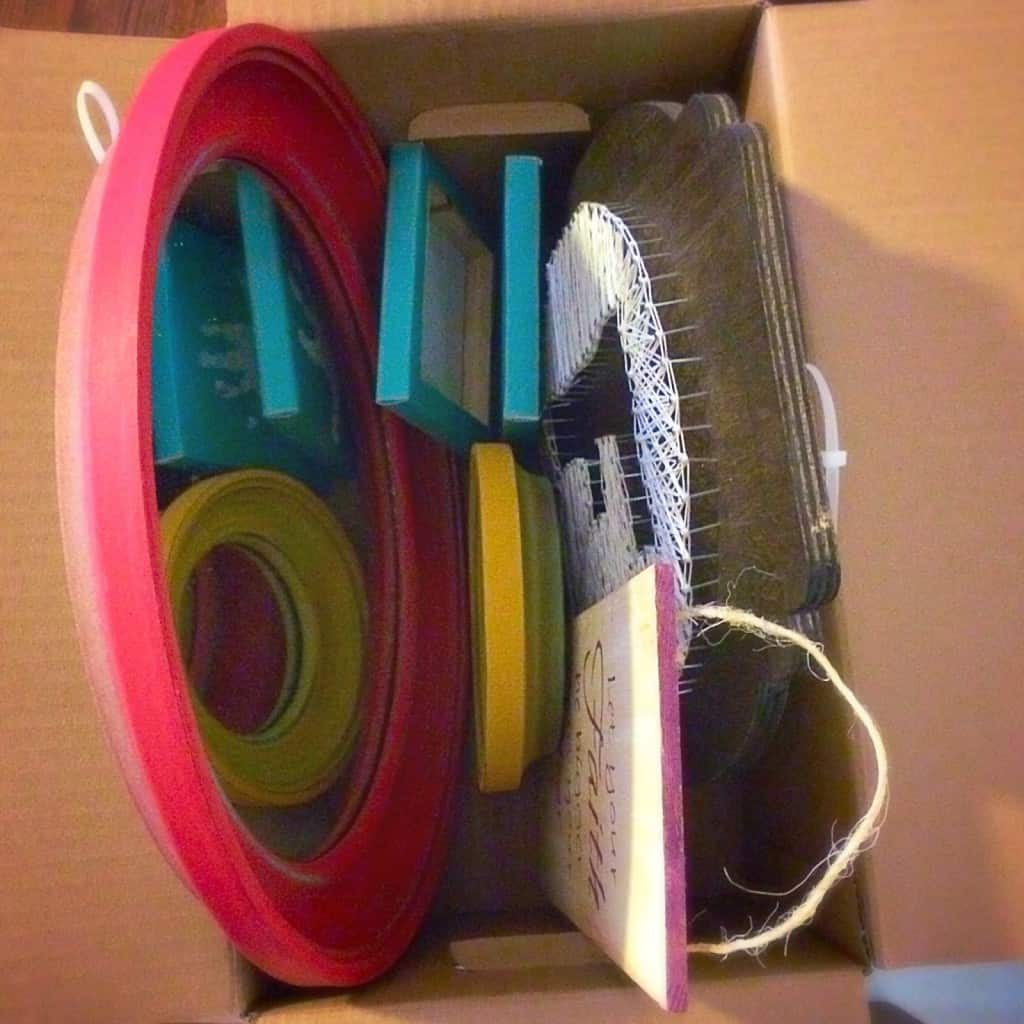

Next week I’m upcycling something I’m sure every mom has in her house.
Living Room Wall – The Beginning of a New Project | Twitchetts
Sunday 24th of May 2015
[…] DIY String Art […]
Puzzle Piece Art | Twitchetts
Saturday 23rd of May 2015
[…] DIY String Art […]
Naturally Racheal
Friday 6th of February 2015
This turned out great! I may attempt lol but we'll see
Ai LTM
Friday 30th of January 2015
Wow! You did a great job! I can see how a project like this can be relaxing.
Tricia Goodmama
Thursday 29th of January 2015
Very cute! I like how easy it looks to make. I know I would have a tough time keep the nails straight though! haha