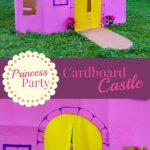

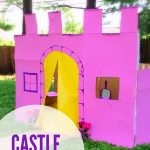
This tutorial will teach you how to make a cardboard castle using boxes you may have around your house. This cardboard project is perfect for a birthday party, a playroom, or an afternoon activity!
Cardboard Castle
Building this cardboard play castle reminded me of my mom. Our ability to create with cardboard is completely hereditary.
Do you think Susie would be able to create Minecraft swords without training from a cardboard master?
Our mom created puppet show stages, giant trees, castles, and an old west town with refrigerator boxes and paint.
When I popped open that bottle of pink tempera paint, I was flooded with memories of watching my mom create backdrops for our school plays.
For all those who don’t have paint fume flashbacks to help you out…here is a step-by-step guide for how I made the cardboard play castle for Little Miss’ princess birthday party.
Disclosure: Some of the links in this post are “affiliate links.” This means if you click on the link and purchase an item, we may receive an affiliate commission.
No time to make this cardboard project? Pin it for later!
If you’re currently in the middle of researching what to make with old boxes, save this pin and come back to it when you’re ready to create. That way you’ll be able to grab all the fun crafts when you’re ready!
Tips for making a cardboard castle
- Make the majority of your project before the event. Then assemble the pieces in their final resting place.
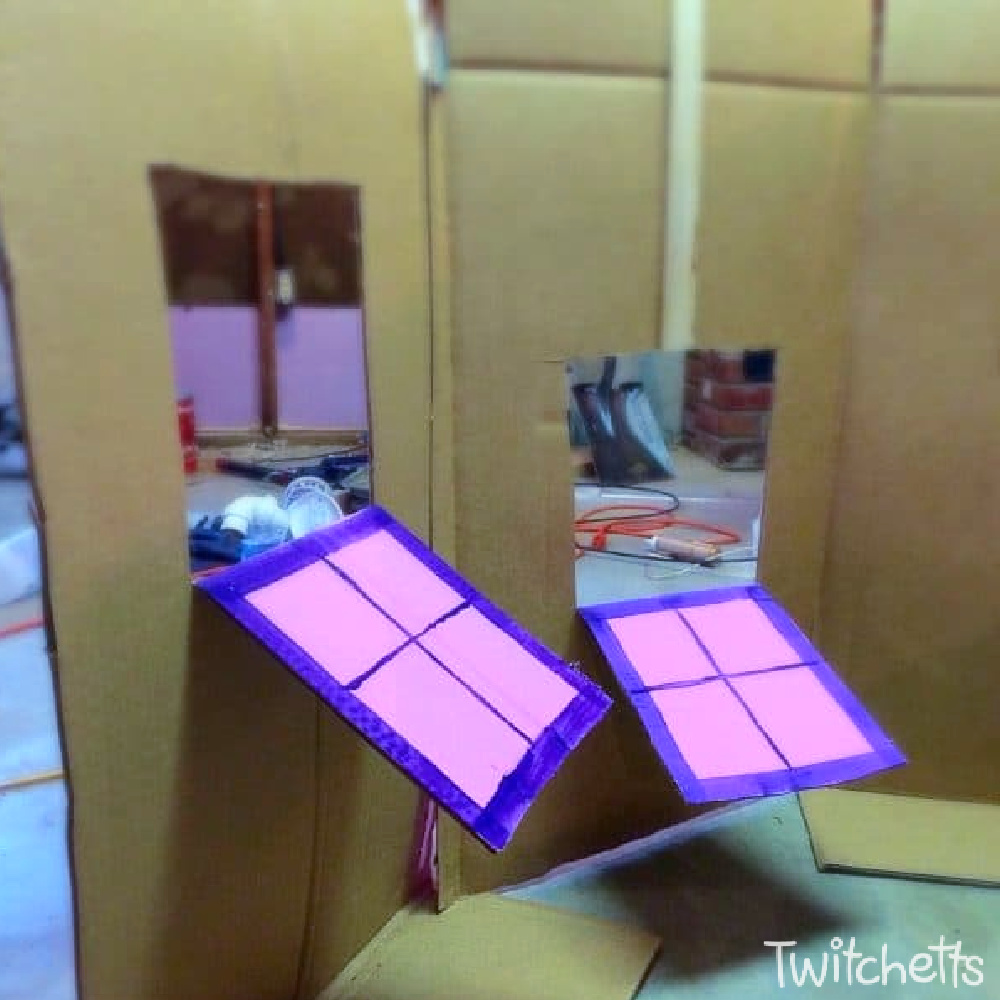
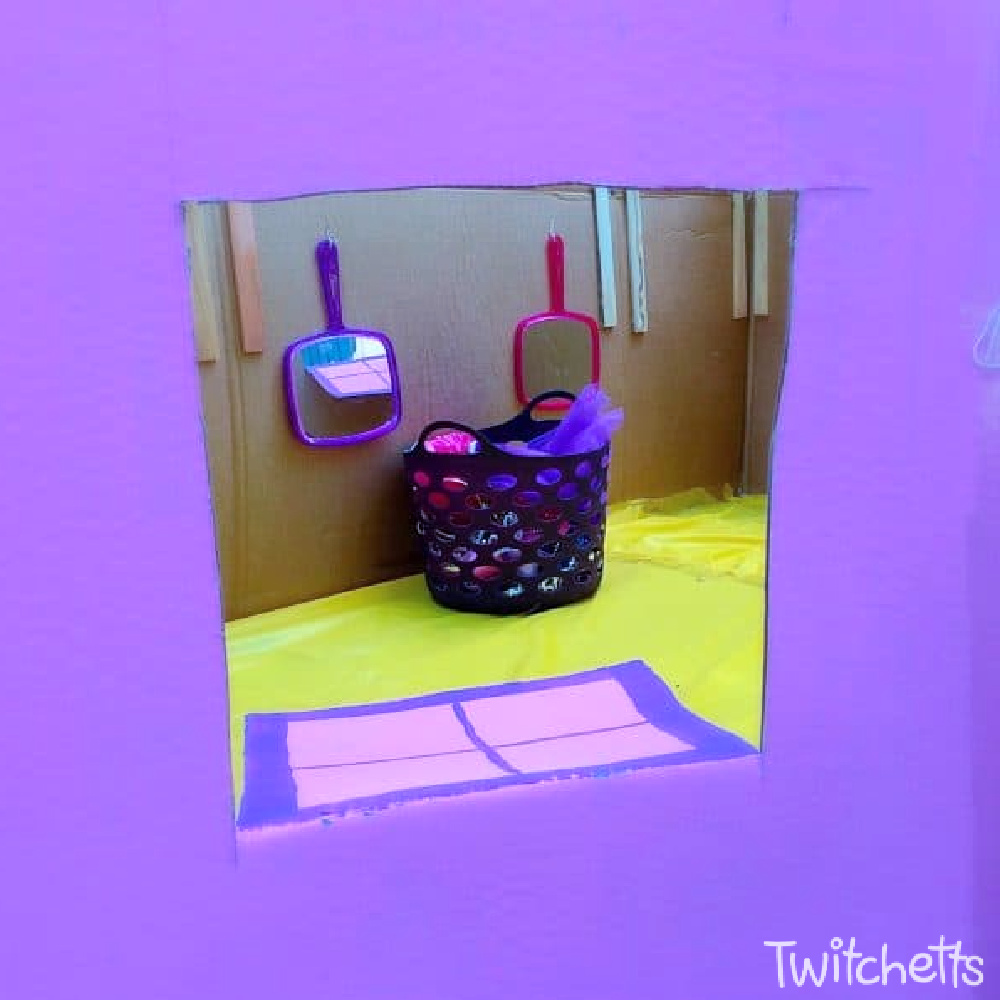
- Determine what you want to happen inside the castle. We added mirrors and jewelry so that the kids could play princess.
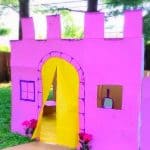
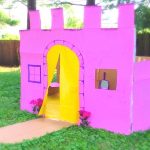
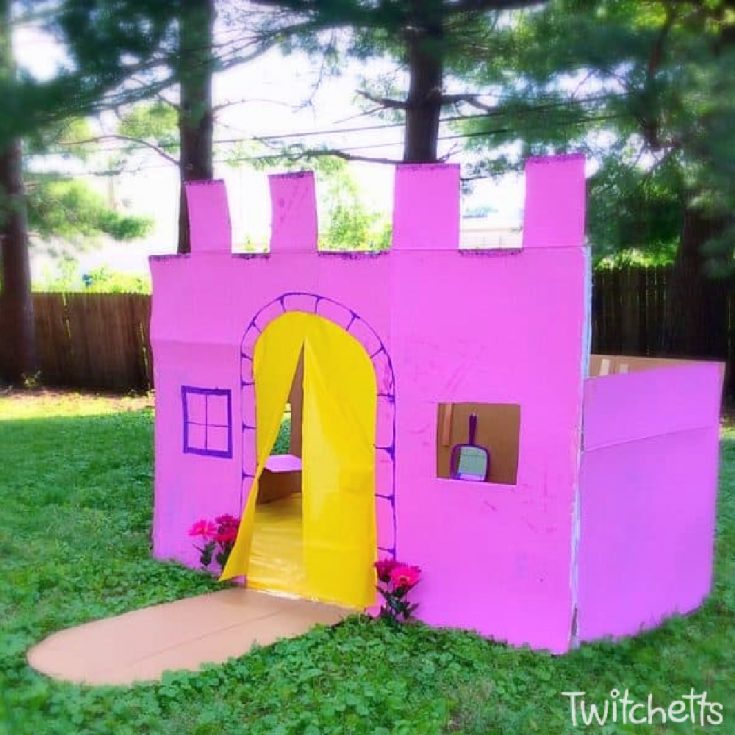
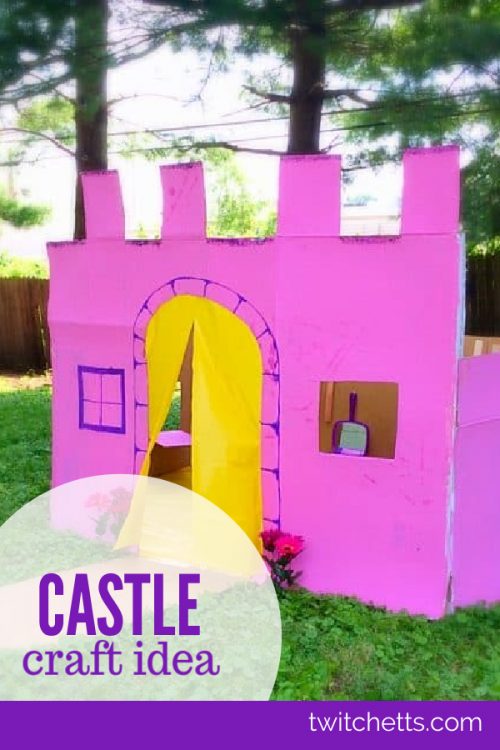
- You can make your castle any color you want! We chose pink because it is my little girl’s favorite color.
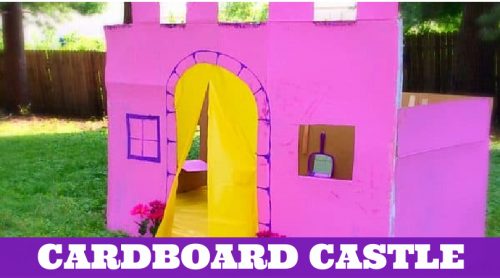
Cardboard Play Castle Tutorial
This castle was much easier to create than it looks. It all started with three large boxes
Materials
- Large cardboard boxes
- Tempera Paint
- Shims or paint sticks
- Inexpensive Plastic Table Clothes
- String
- Packing Tape (or other strong tape)
- Glitter (optional)
- Hot Glue
Optional Items for playing in your castle
- Fake Flowers
- Costume Jewelry
- Small Mirrors
- Foam stickers
Tools
- Box Cutter
- Paint Brushes
- Something sharp to poke holes into the cardboard
Instructions
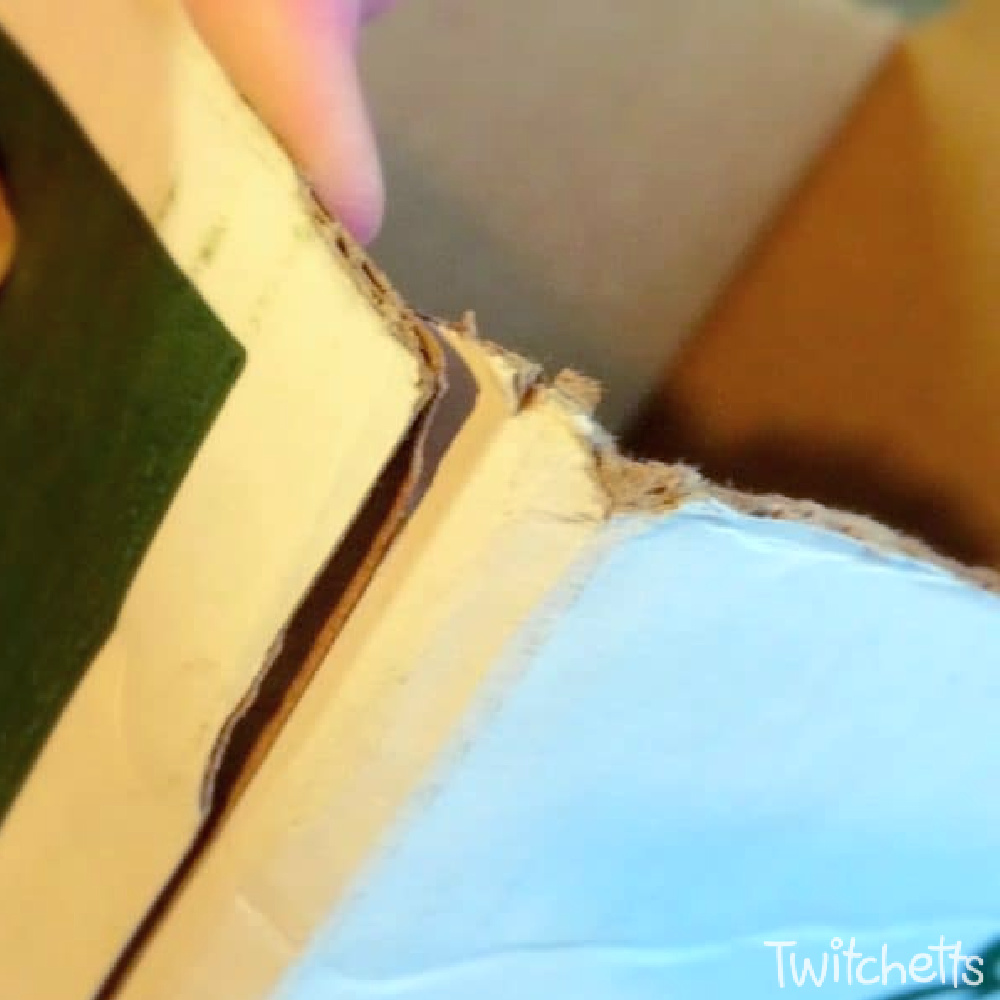
- Take apart all of your boxes along the seams

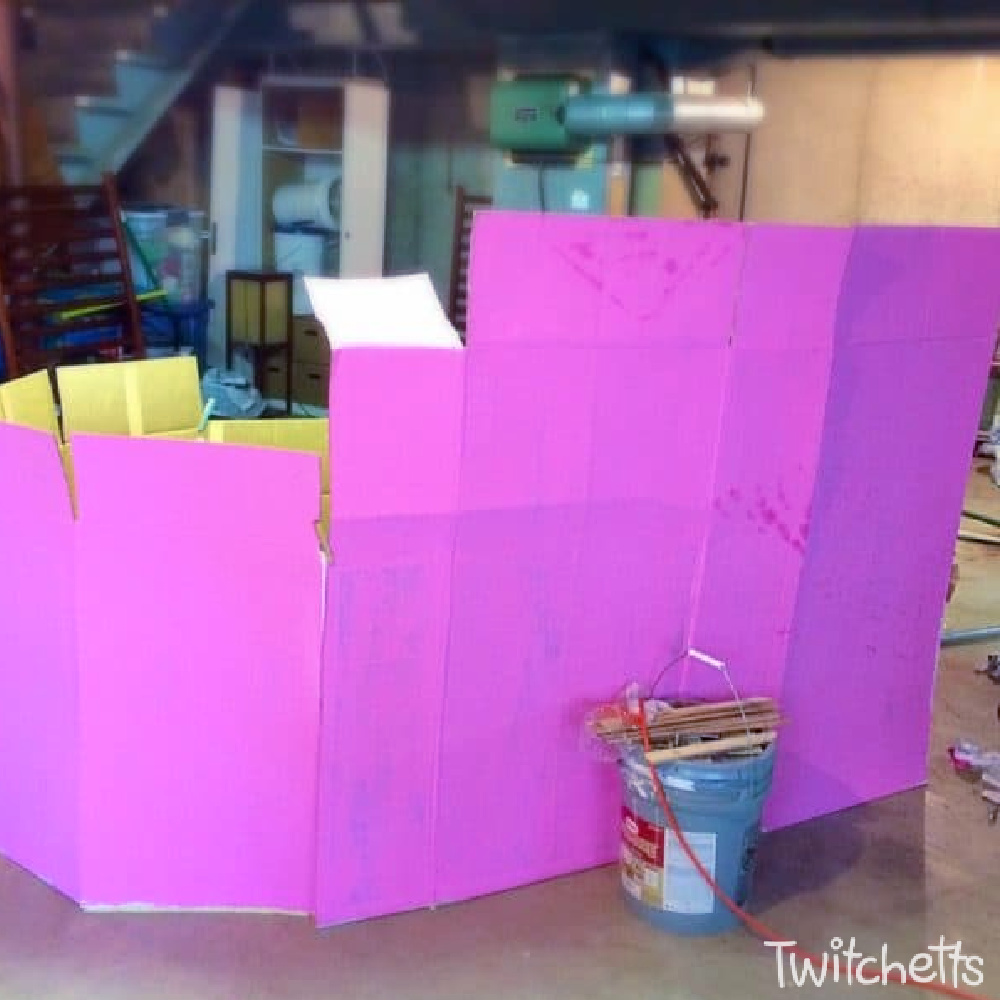
- Play around with arranging the boxes until you find a shape that you like that will stand on its own.

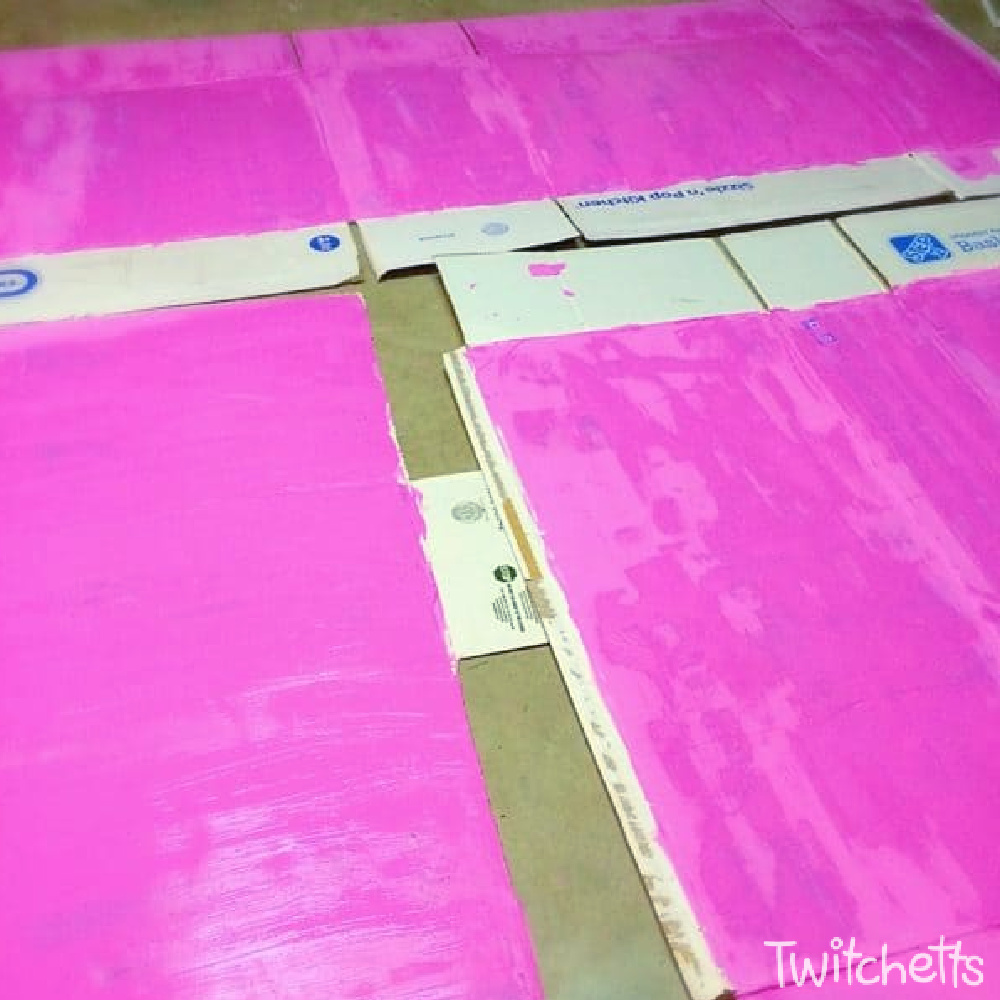
- Paint the outside of the boxes at least 2 coats of tempera paint. You may need a third coat if the print on the boxes is extra dark.
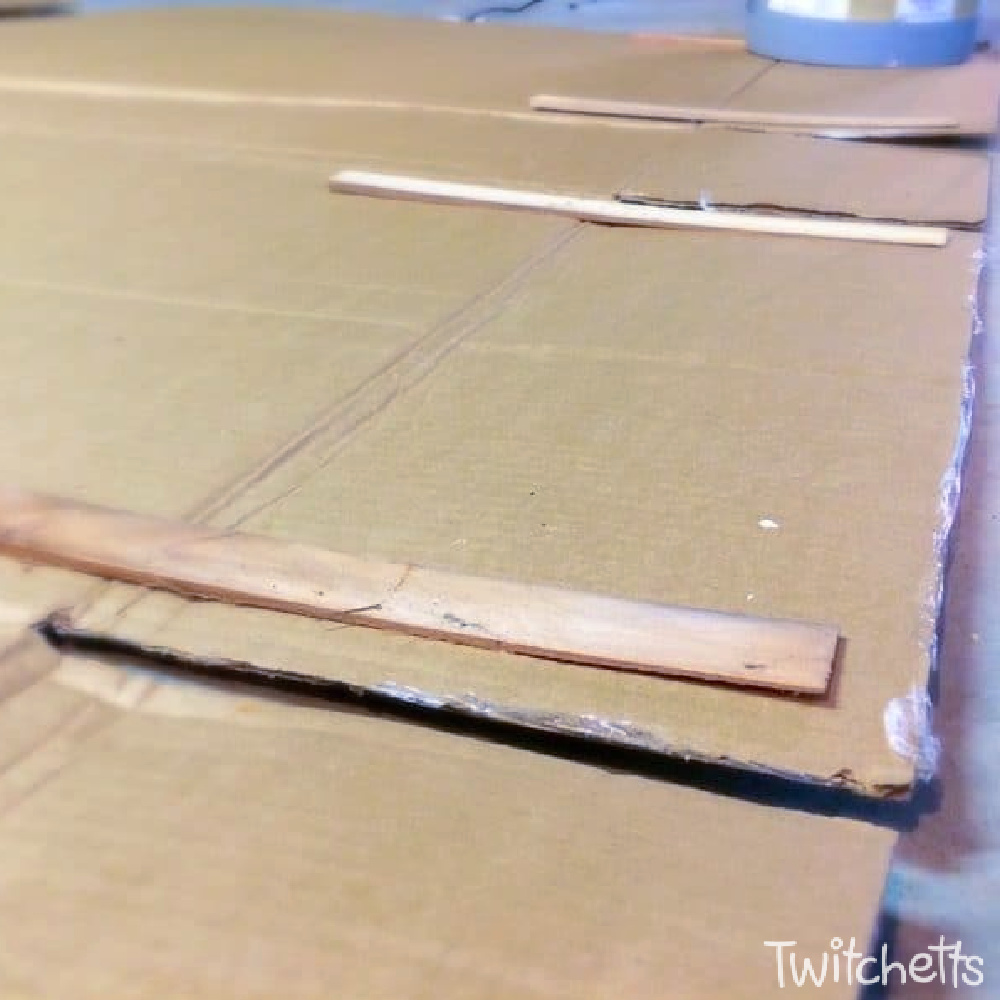
- To keep the box flaps upright, use hot glue to attach shims (or paint stir sticks) across the folds.
- Once the paint is dry, reassemble the boxes into your castle shape. If you are transporting your castle later, hold the pieces together using binder clips and or clothespins.
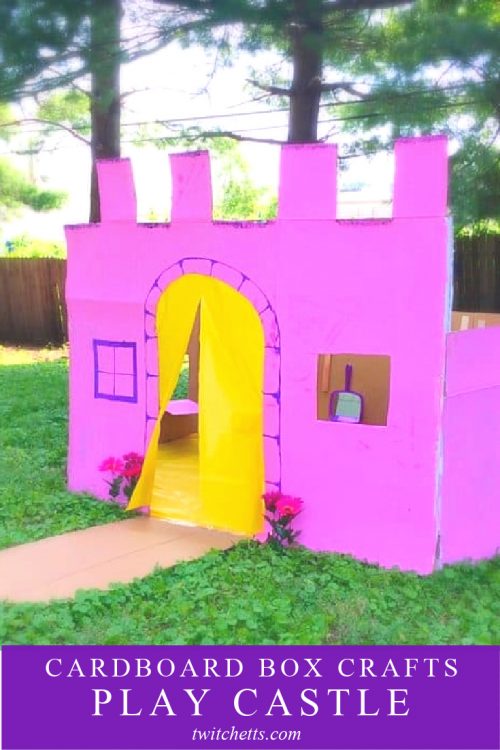
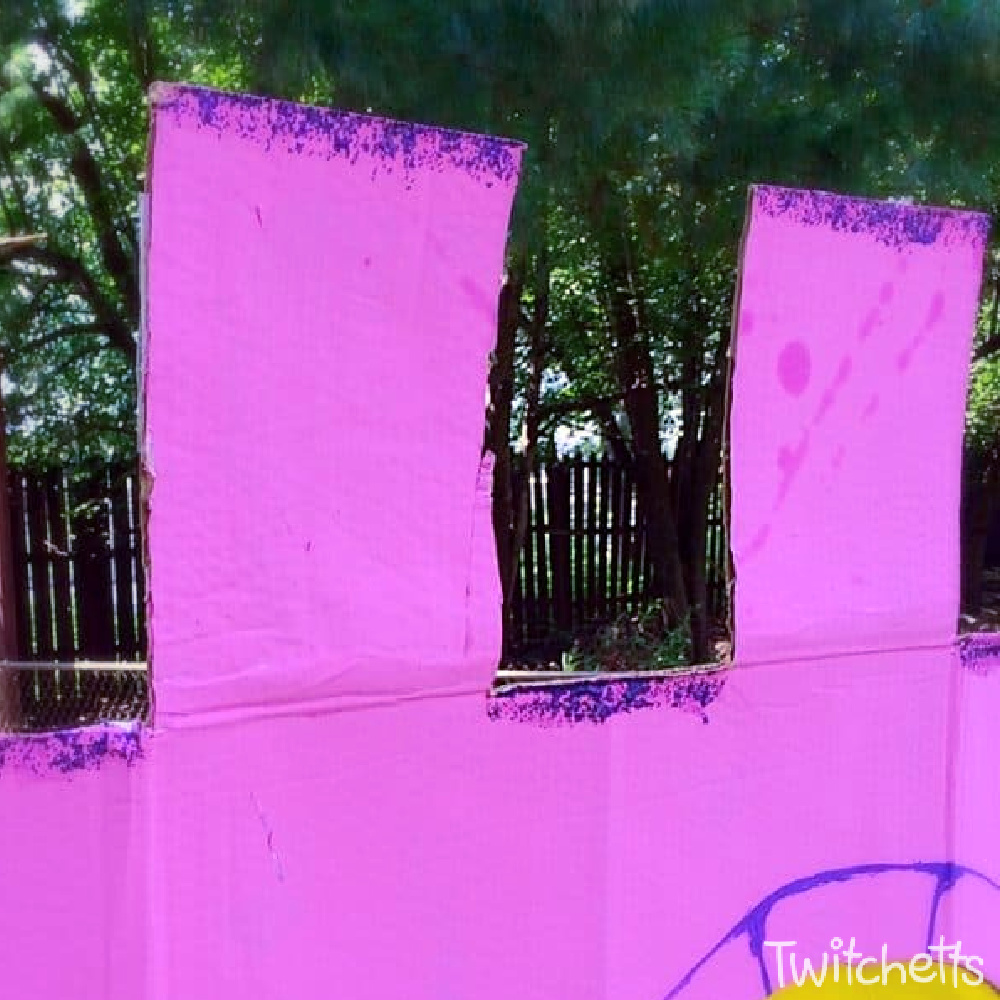
- With a sharp box cutter, cut out a door, windows, and whatever else you want to make your cardboard castle.
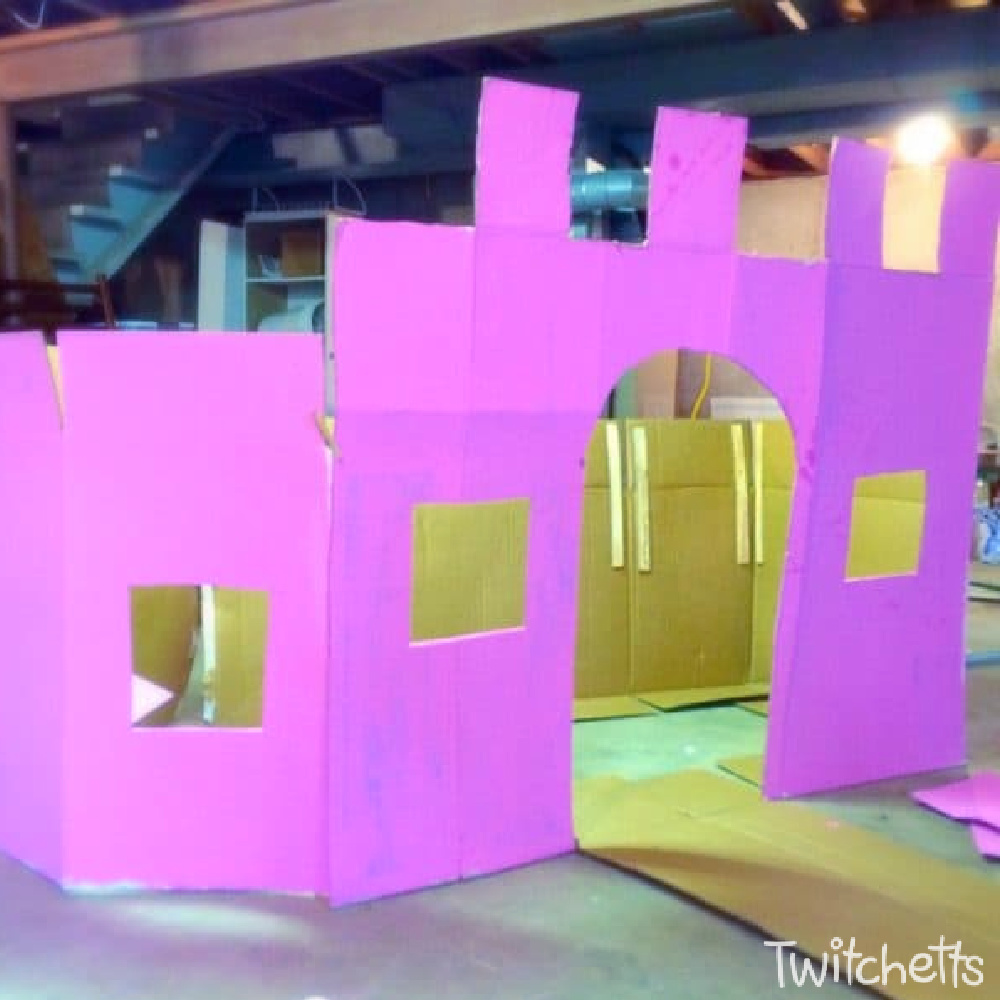
- I left the bottoms of the windows attached so that the kids could close the windows.
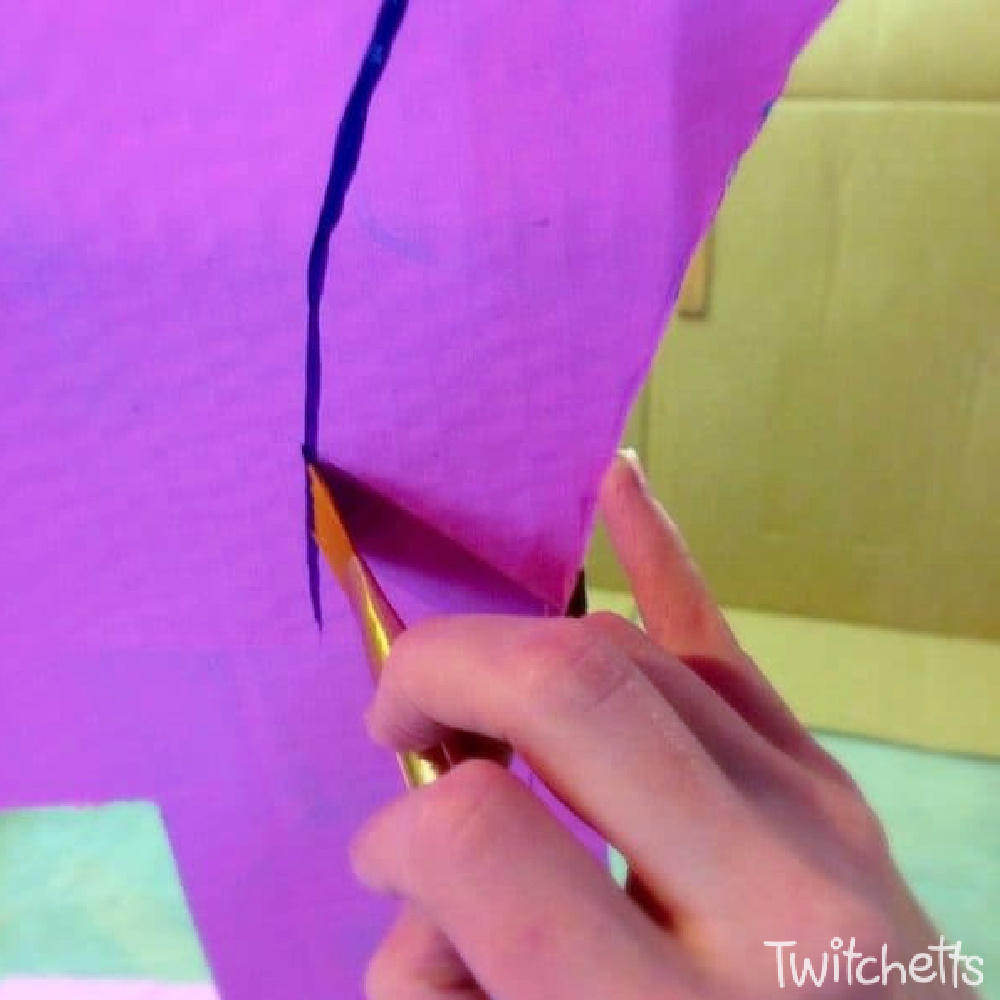
- Begin to paint the details. I used purple paint to paint the window detail and bricks around the doorway.
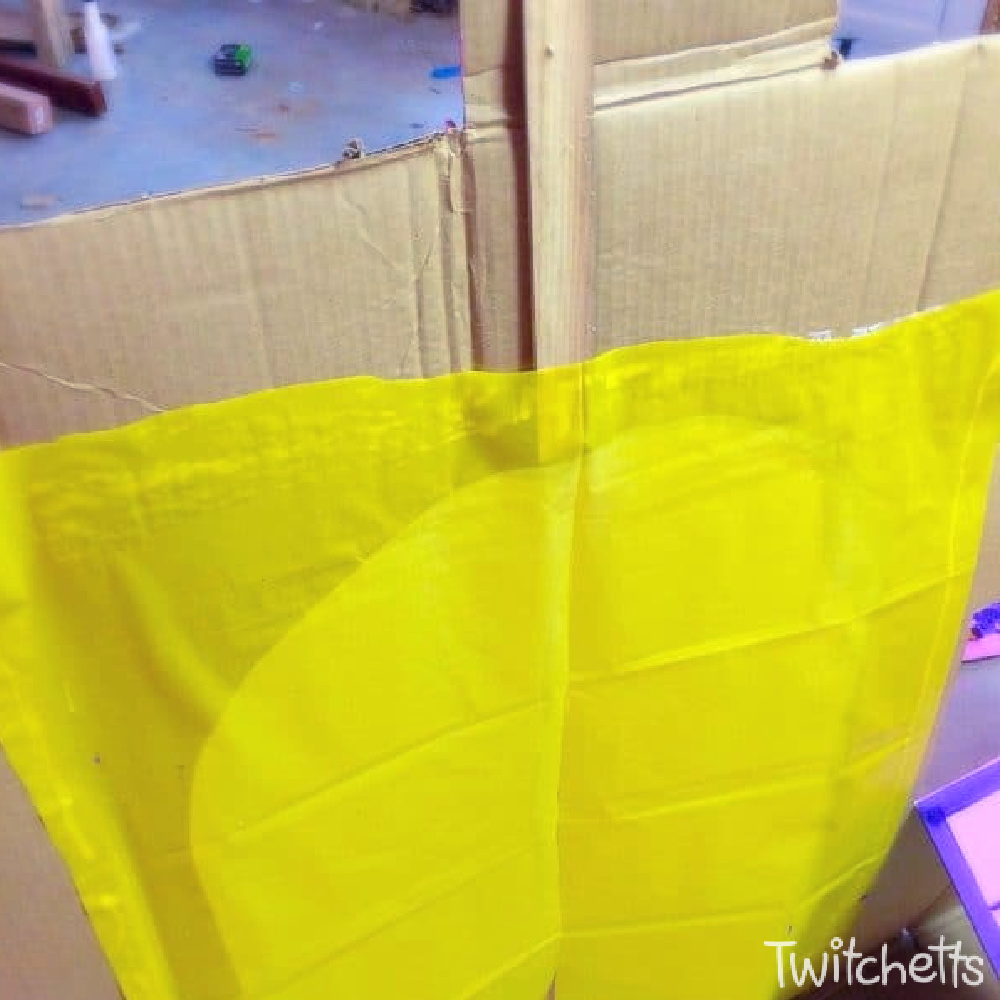
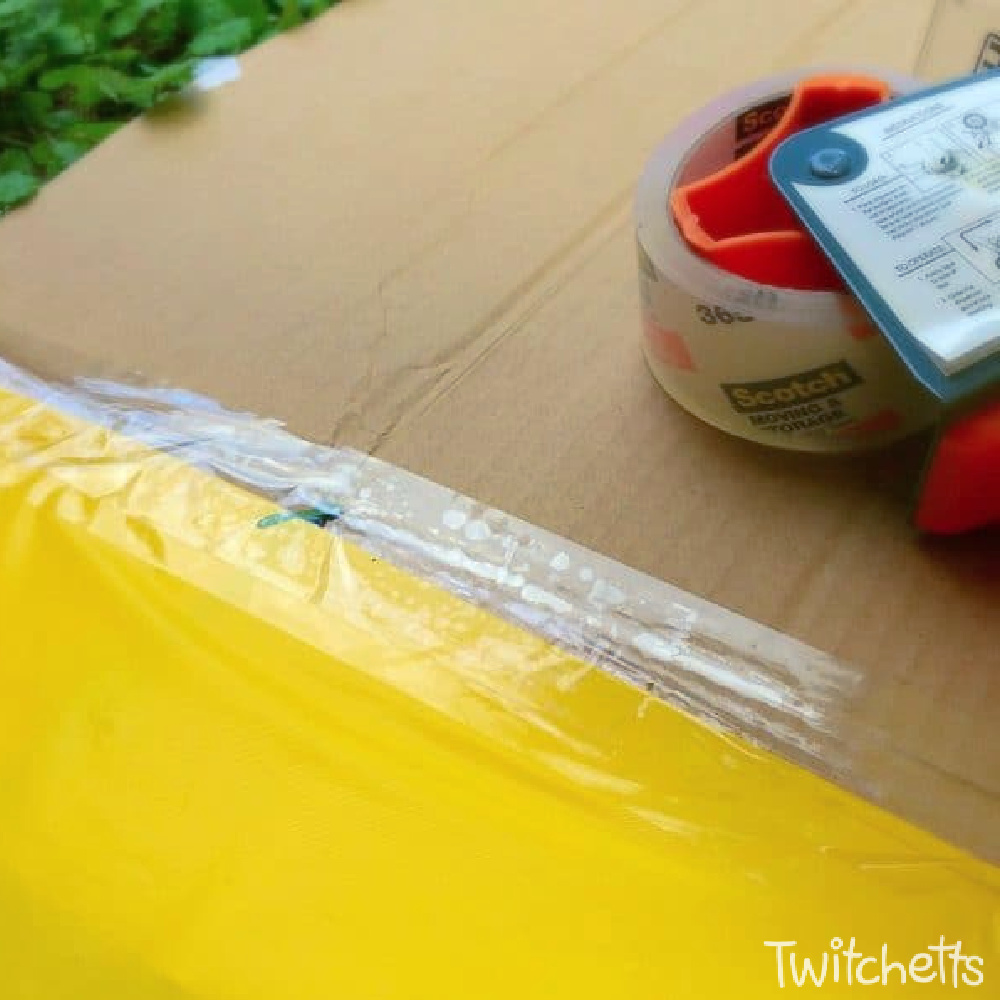
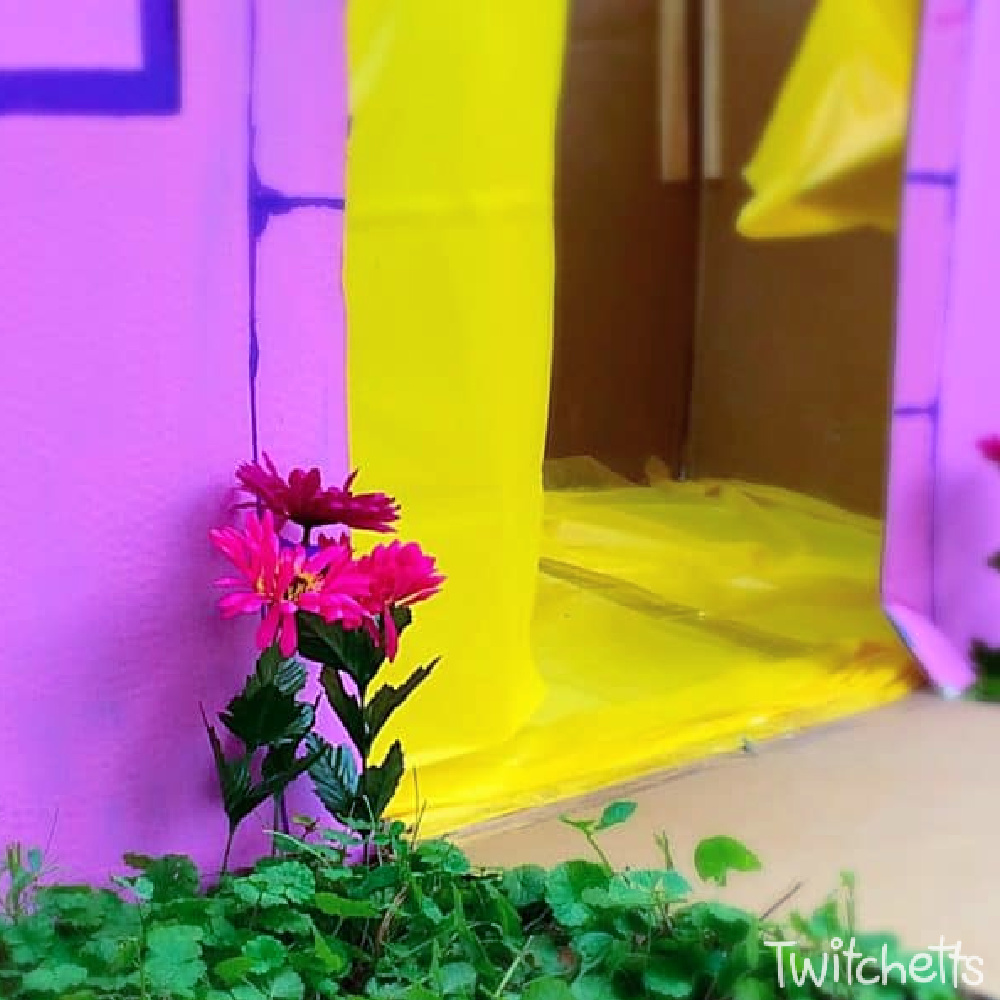
- Glue 2 pieces of the inexpensive table cloth to the inside of the doorway.
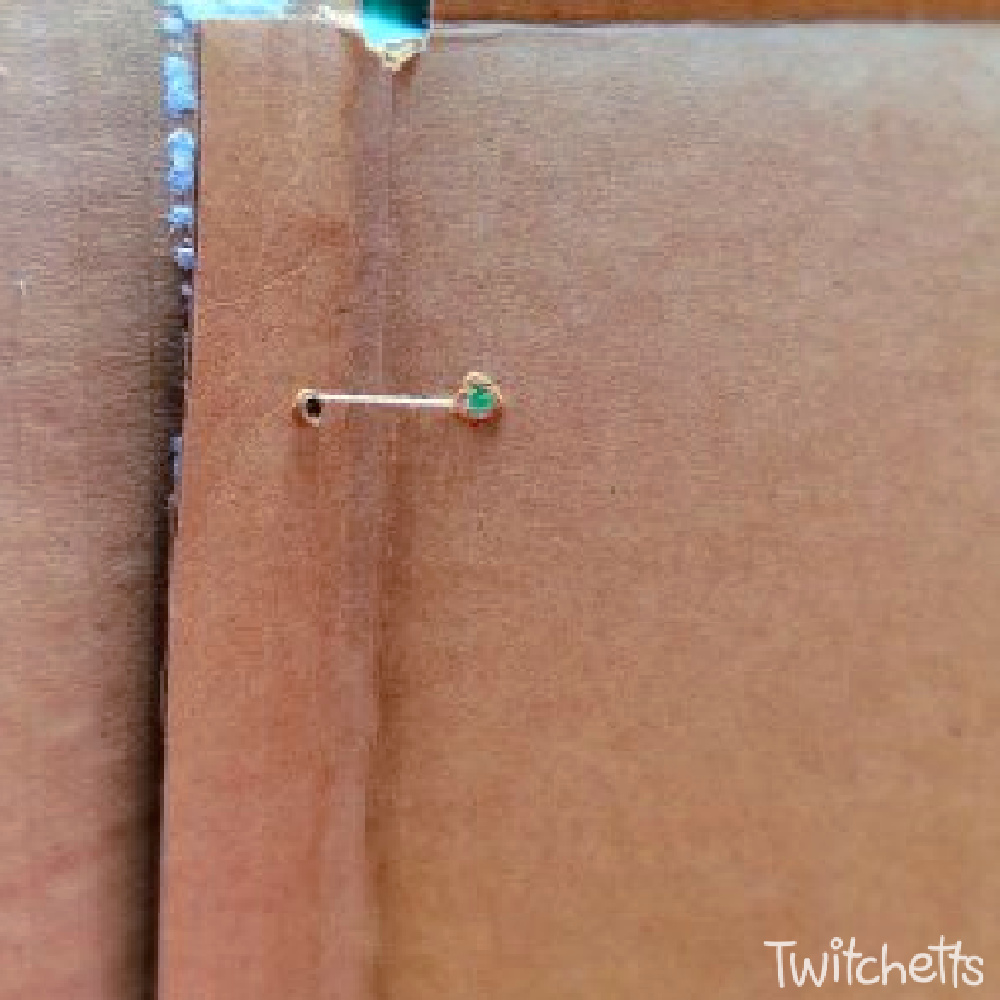
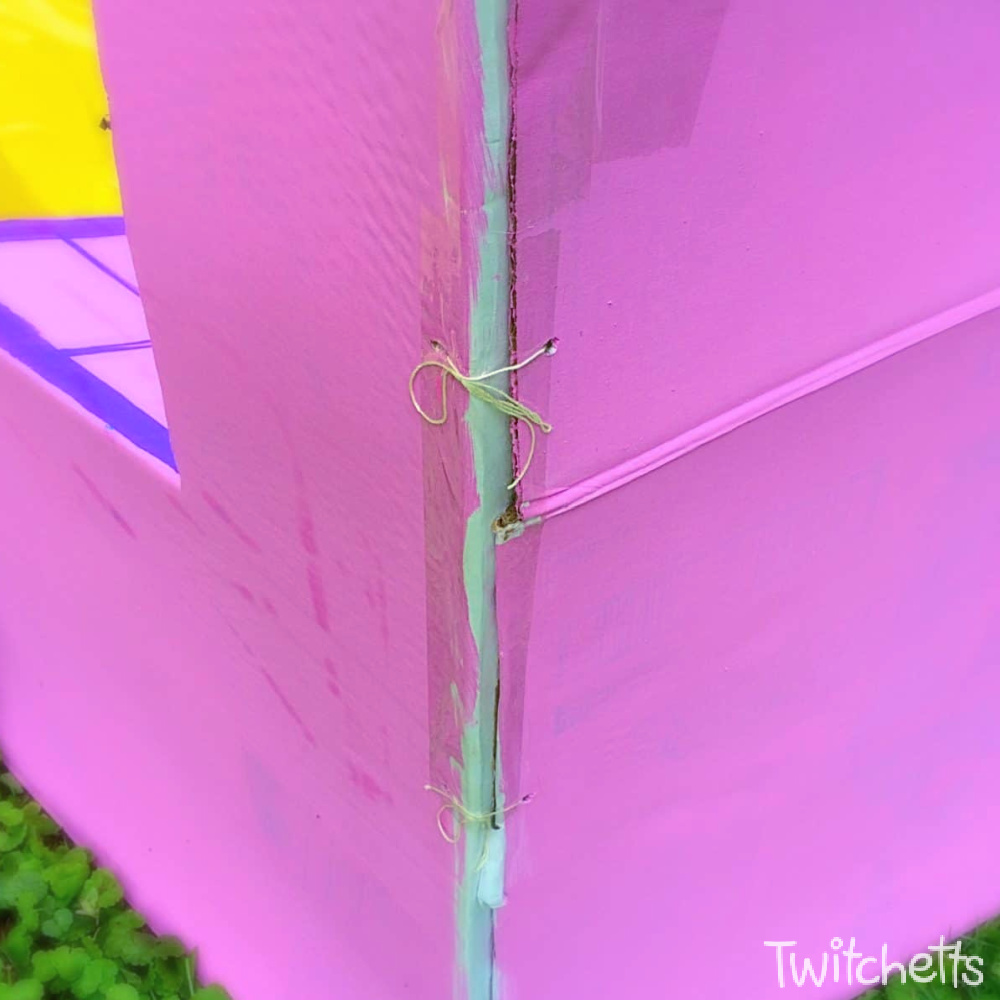
- Move your castle to its final destination to assemble it. Poke holes in the corners and attach the boxes together using string.
- Line the floor with another unfolded box. Then cover it with an inexpensive table cloth. Make sure to tape the doorway down really well.
- We added some glitter to parts of the castle. This is optional.
- "Plant" some flowers around the doorway.
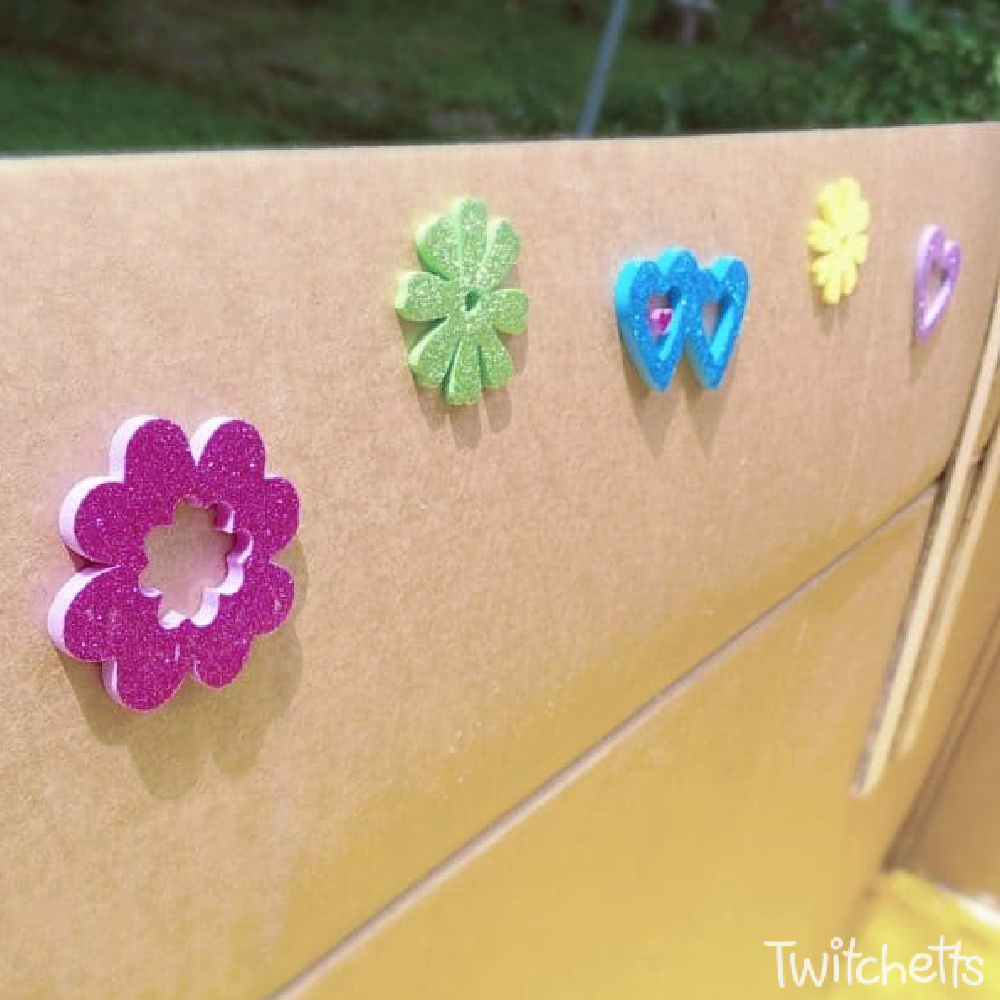
- Decorate the inside with things that you already have. I used some foam stickers that I had from Hobby Lobby.
- Hang some mirrors and add some dress-up items to encourage interactive play.

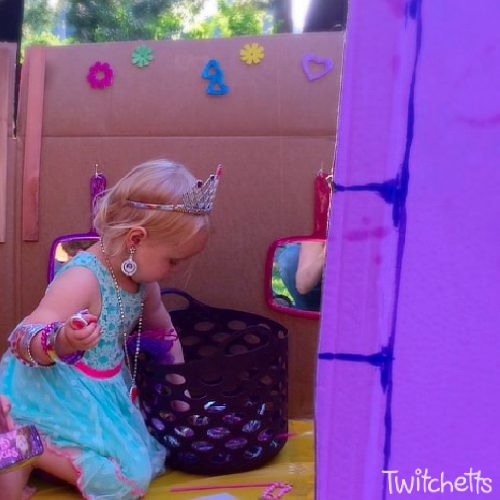
How to use this DIY princess castle
This giant castle is perfect for a lot of activities.
- Create a fun castle station in your classroom or daycare.
- Use it as a birthday party activity. It’s perfect for younger kids.
- Put in your basement for days of creative play.
More crafts you will love!
- Trolls Hug Time Bracelet – This button flower craft is perfect for imaginative play.
- Paper Tube Bracelets – This toddler craft is perfect for skinny wrists.
- Paper Bracelets – A free coloring page style printable.
If you loved this cardboard craft, share it by pinning or sharing on Facebook.
This site wouldn’t be here without shares from people like you, and we are so thankful that you took the time to visit Twitchetts.
Know a friend who is looking for how to make a cardboard castle? Please share it on Facebook or save it to your favorite board on Pinterest.
Easy Princess Birthday Party Ideas - Twitchetts
Tuesday 1st of March 2022
[…] Check out the step-by-step instructions for this giant cardboard castle. […]
19 Creative Cardboard House Ideas - DIYCraftsGuru
Friday 8th of January 2021
[…] twitchetts […]
60 Unique Cardboard House Ideas | Cardboard Houses for Kids
Wednesday 30th of December 2020
[…] You can even think of the cardboard in many different ways to increase the kids’ outdoor activities. Repurpose the old cardboard boxes from home, preferably the larger ones, to build this cardboard castle playhouse. That will provide hours of outdoor fun to your kids. The design is much achievable with a little creativity, precise cuttings, measurements, and painting. You need 2 cardboard boxes, an x-acto knife, paint, tape, Hobby Lobby flower interior decorations, and wood shims to build this cardboard fort. twitchetts […]
Justin Time Birthday Party ~ Mr. Monster's Third Birthday - Twitchetts
Thursday 8th of December 2016
[…] a fabulous pirates party. It was going to include an amazing cardboard pirate ship that rivaled the pink castle from Little Miss’ party last year. Two weeks before the party, Mr. Monster informed […]
DIYs Fit for Your Little Royal Princess | Nifymag.com
Sunday 1st of May 2016
[…] Take your kids’ royal playtime outdoors with this cardboard castle! An added bonus? You finally have something to do with all those boxes hanging around the house. (via Twitchetts) […]