It’s the 2nd project in my Wall Series. I’ve been wanting to make one of these wooden signs for forever.
There are tons of tutorials about how to make your own wooden sign. They all look super easy. Guess what, not as easy as they look. So I’m going to share the tutorial with you. The one that’s been done a few hundred times. But I’m going to be real and let you know where I stumbled in the process. Hopefully you can learn from my speed bumps.
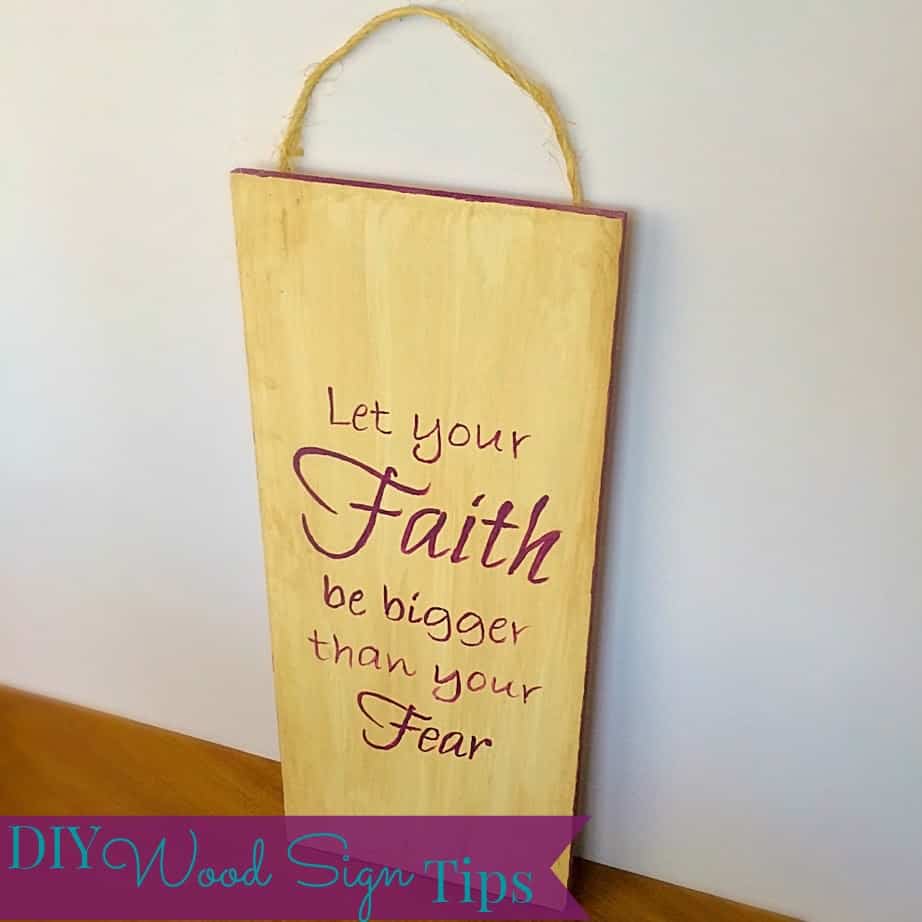
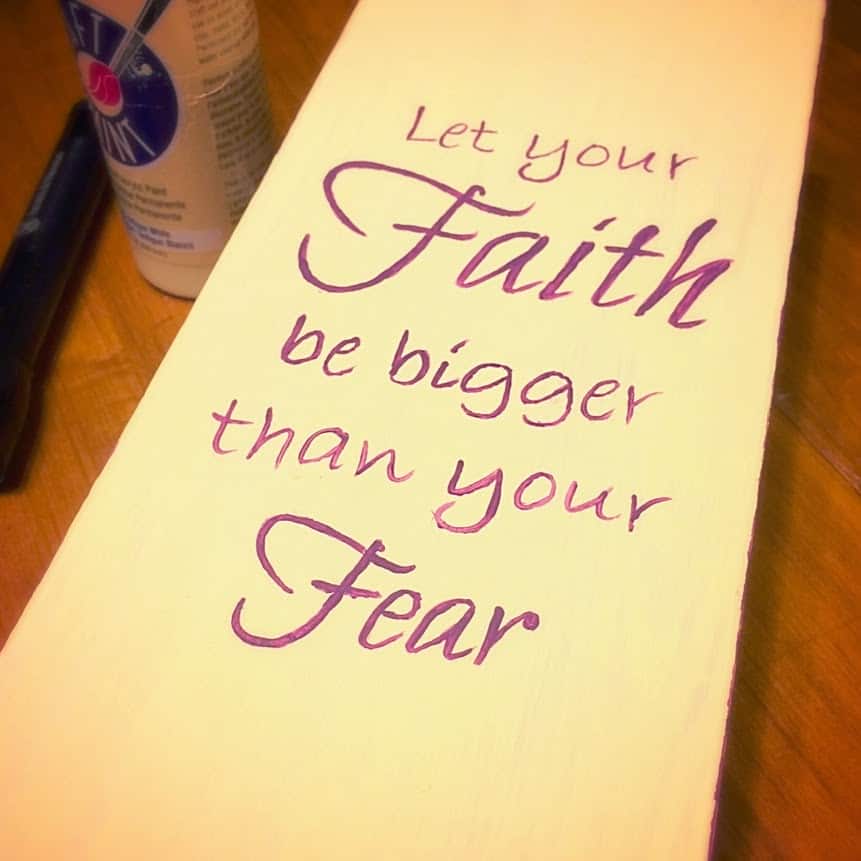
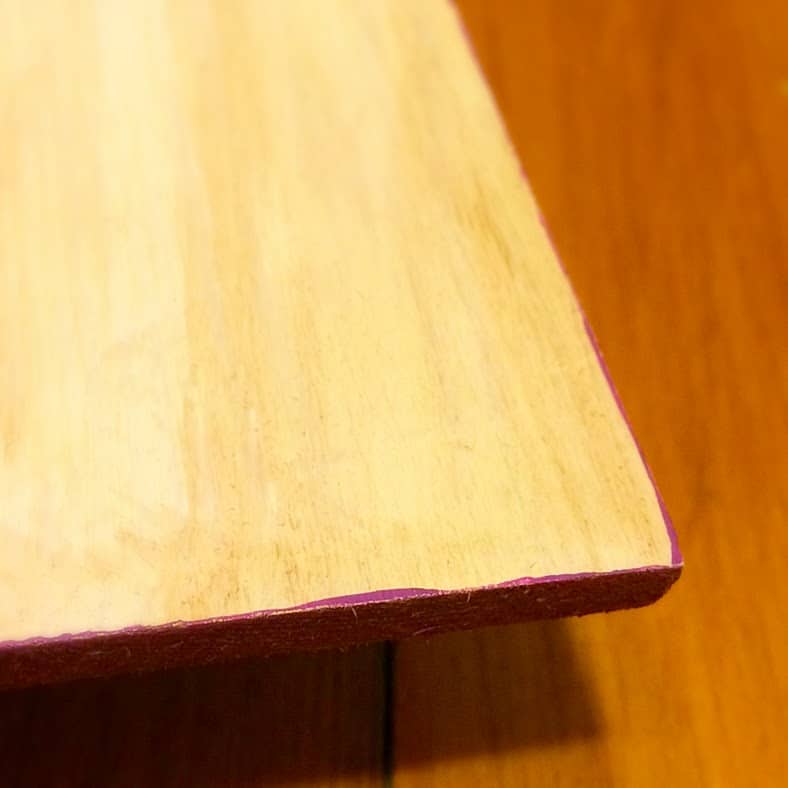
I started with a quick base coat of a neutral acrylic paint on my wood board.Then I found a quote that Hubby and I both liked. It’s short and sweet. Perfect for a rookie’s sign.
I typed it up using picmonkey.com. My first go had a Serif type font…not a good idea for a beginner. Those serifs were a pain. I switch to something that looked a bit easier.

I taped the printout onto my wood board.
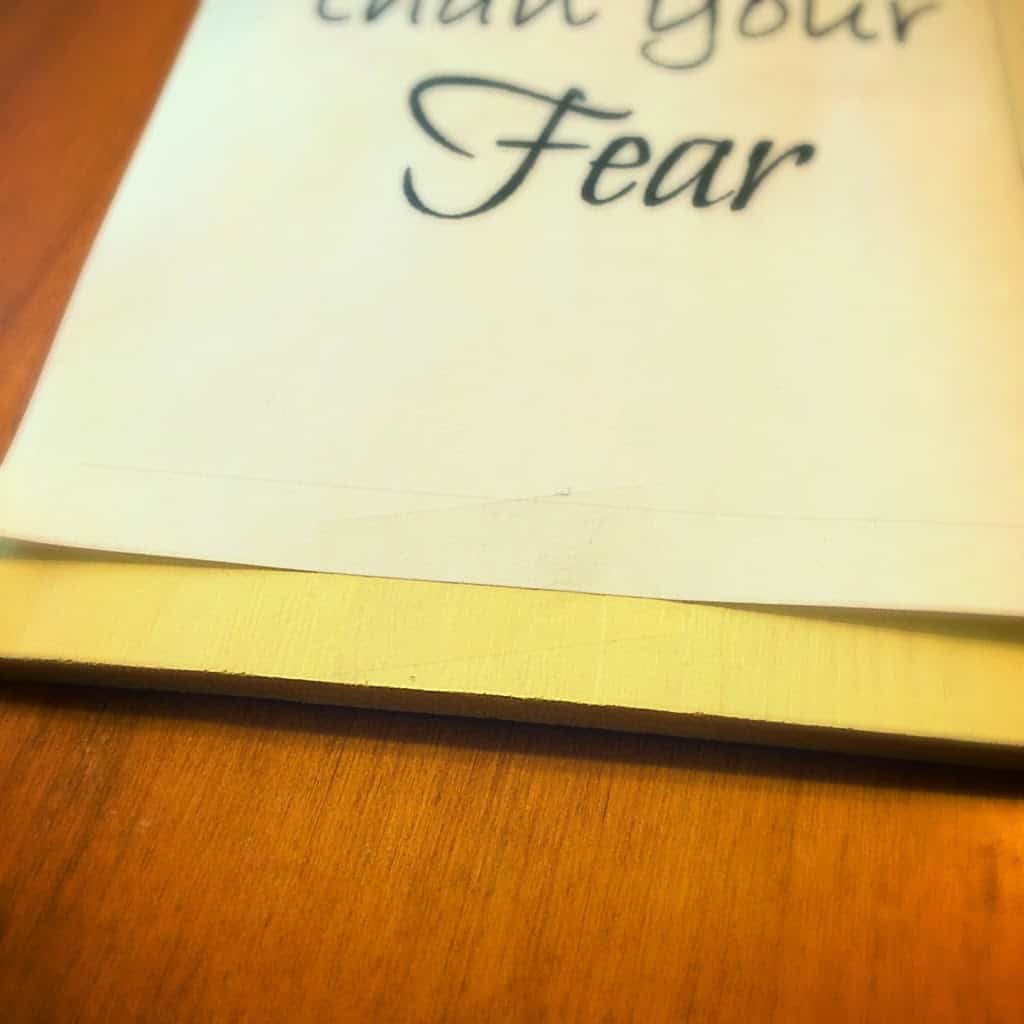
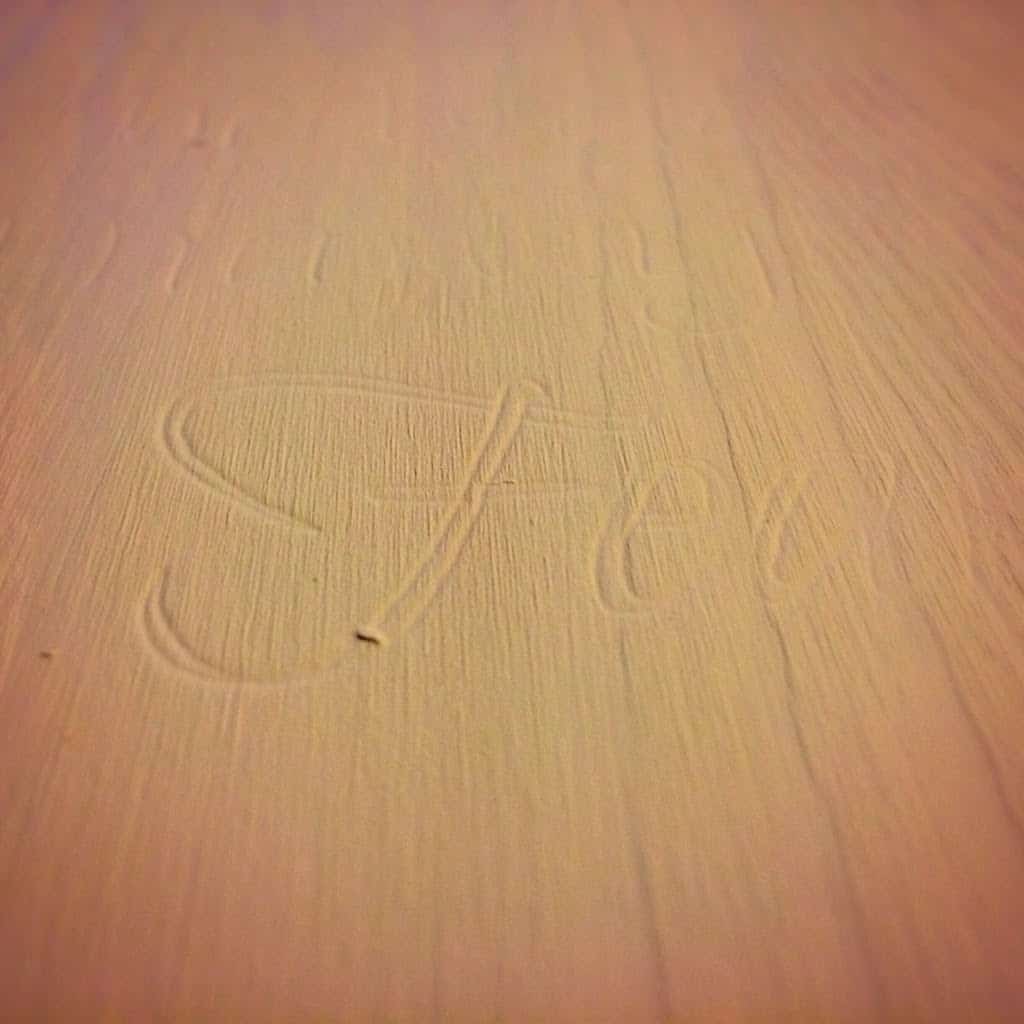
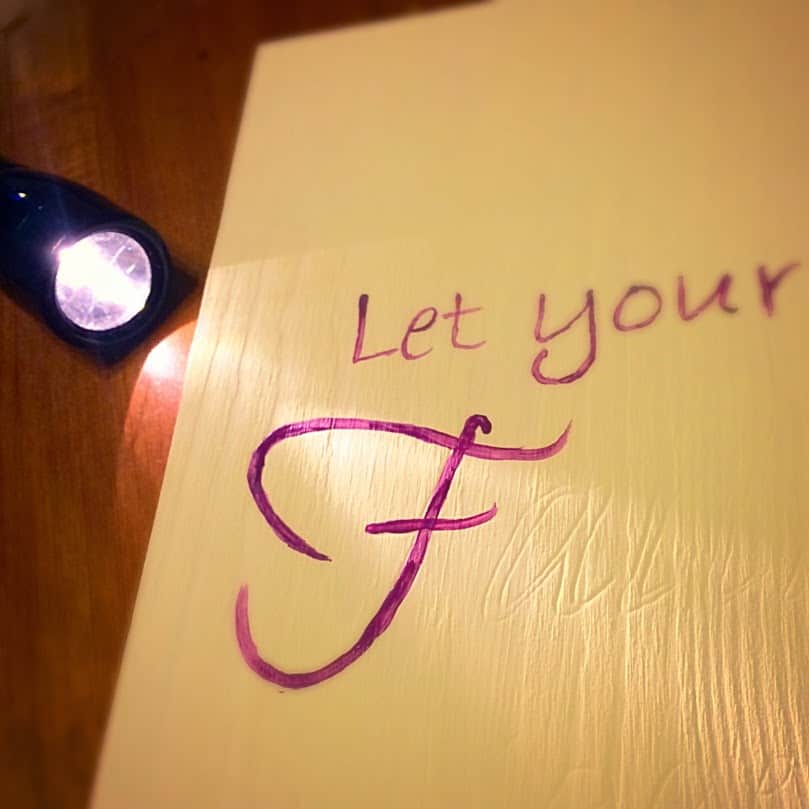
Then I traced the letters using a pen. I started by going over the outside of the letters. That was good for the larger font. But for the smaller font, just tracing the letter itself was good enough.
Make sure you press hard! Some of my lines didn’t show through very well. And it’s kind of a pain to re-line everything up!
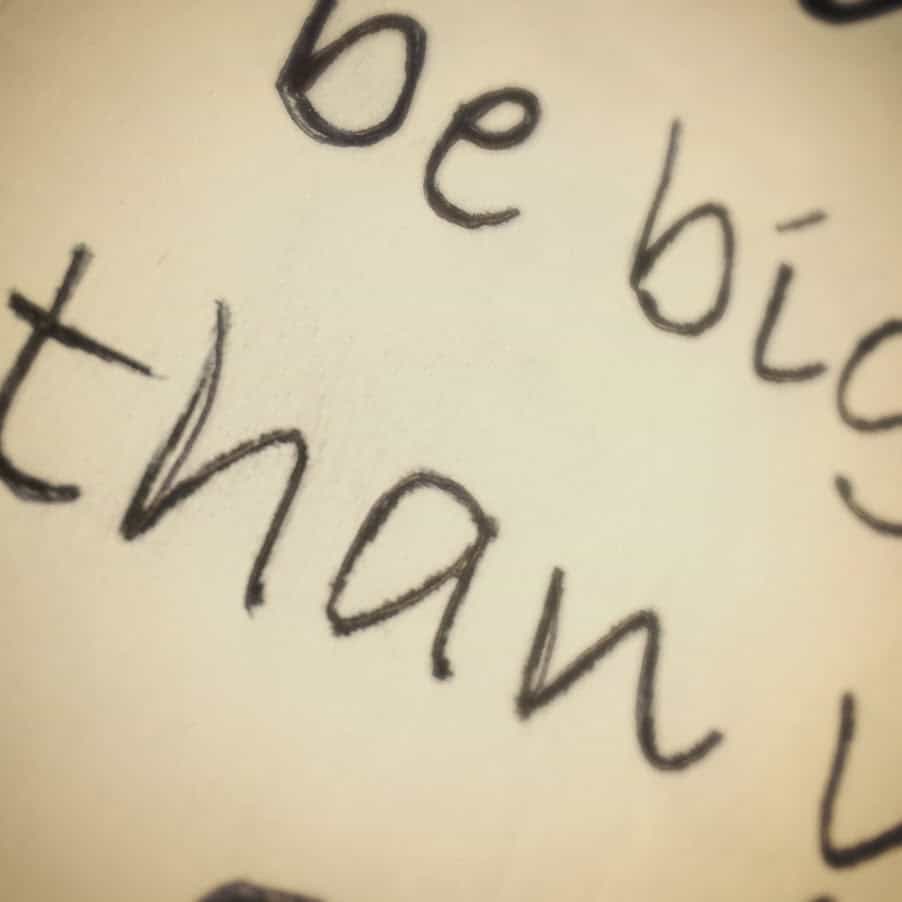
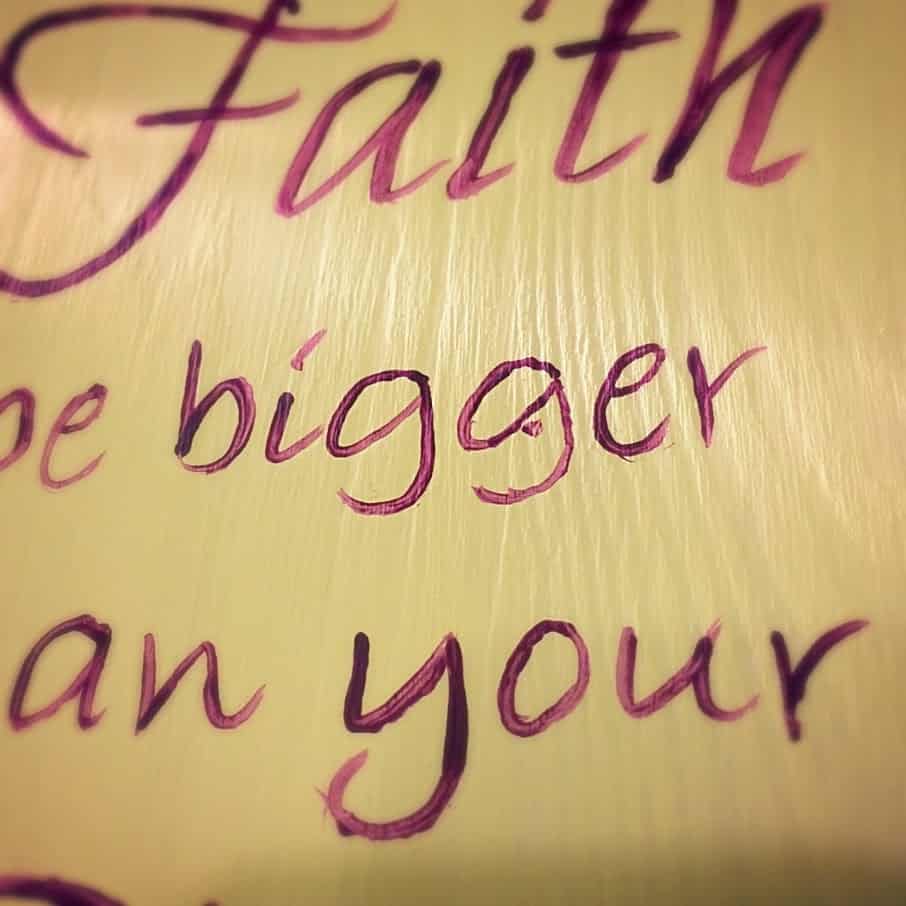
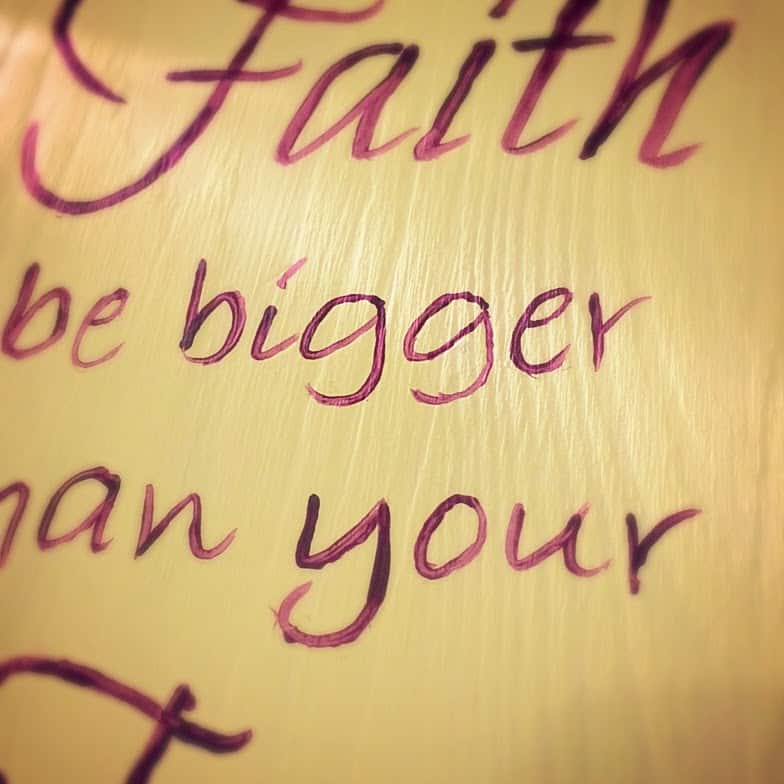
Next, you paint your letters. This is harder than it sounds. If you’re a skilled painter, then it’s easy. But I’m a novice for detailed painting. Normally I paint something and then glue paper to it.
A couple things I learned.
~Choose your paint well. I used an acrylic paint on a porous wood. So the paint didn’t flow evenly.
~You don’t have to follow the lines perfectly. My best-looking letters were the ones I just drew free hand using my pressings as a guide. When I tried to stick to the exact tracing, it looked to “forced”.
~Use a flashlight to really see what you’re doing. The shadow of my hand or the bad lighting in my house made seeing my guidelines difficult. I laid a flashlight down and boom. There they were!
~Drips can be corrected. Just touch them up with a bit of your base paint.
I think I did ok for my first try.
Next, I did a little weathering.
My weathering trick is to water down some acrylic paint.
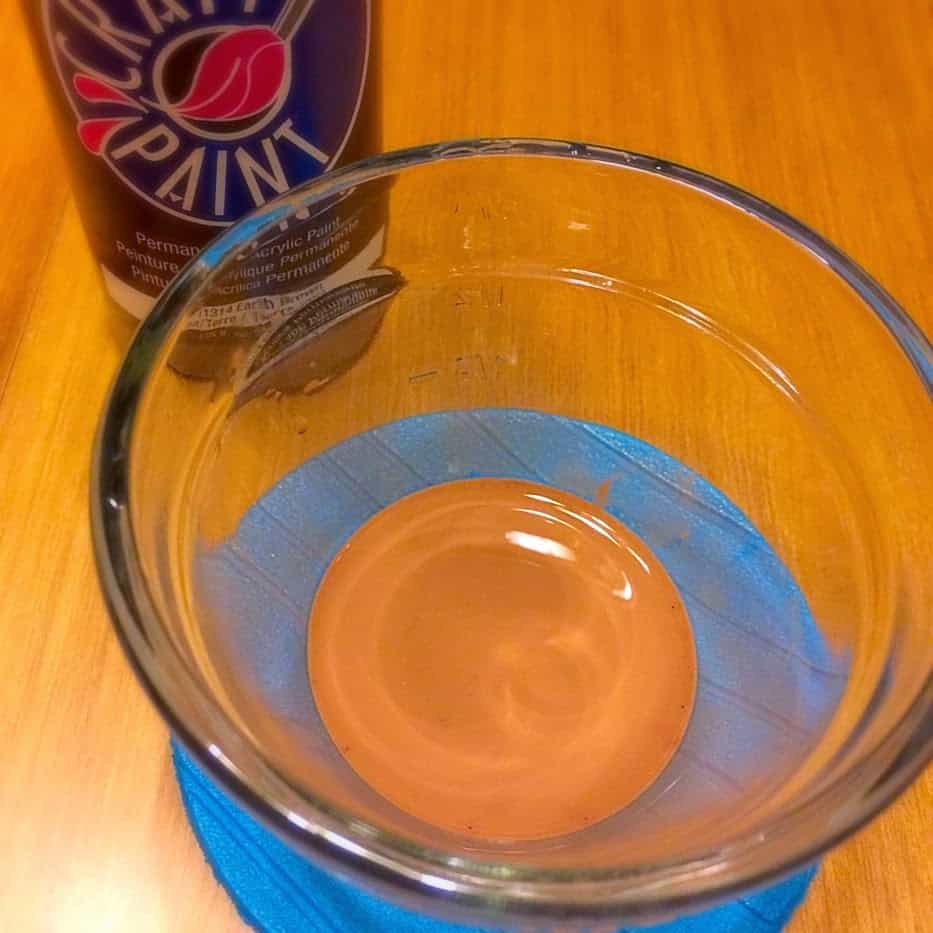
Next, I dip a paper towel.
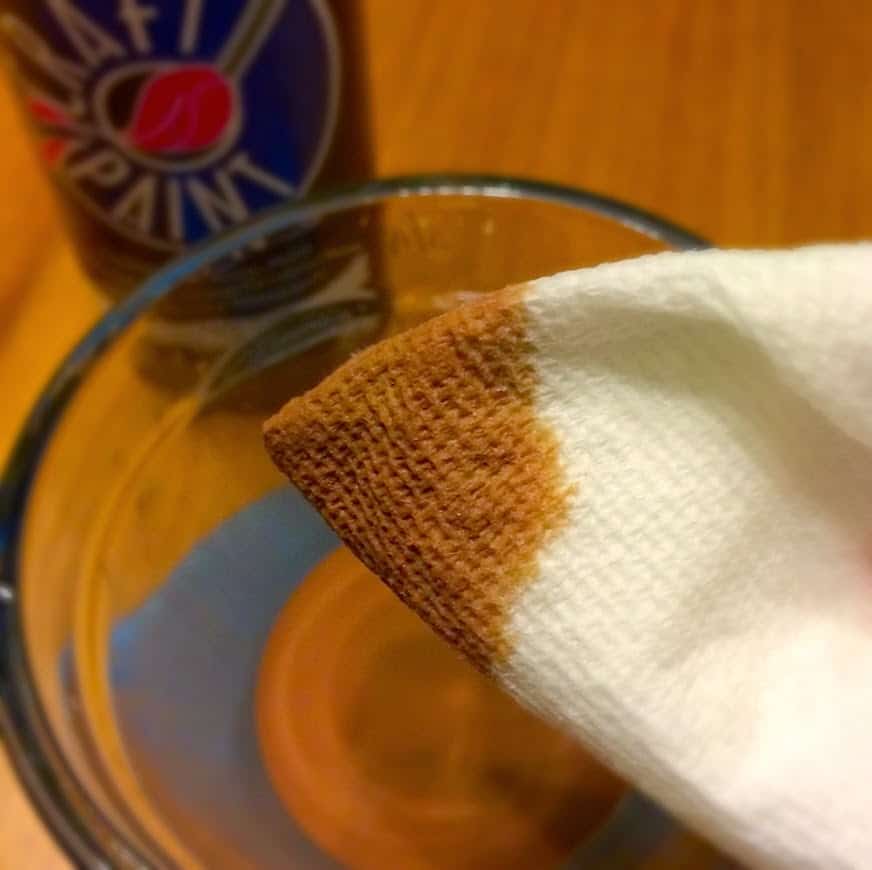
Start with your edges. I pull my paper towel across the edges and then blend into the wood.

After the edges, I wiped my paper towel across the whole board. It’s a quick and easy way to weather a craft.
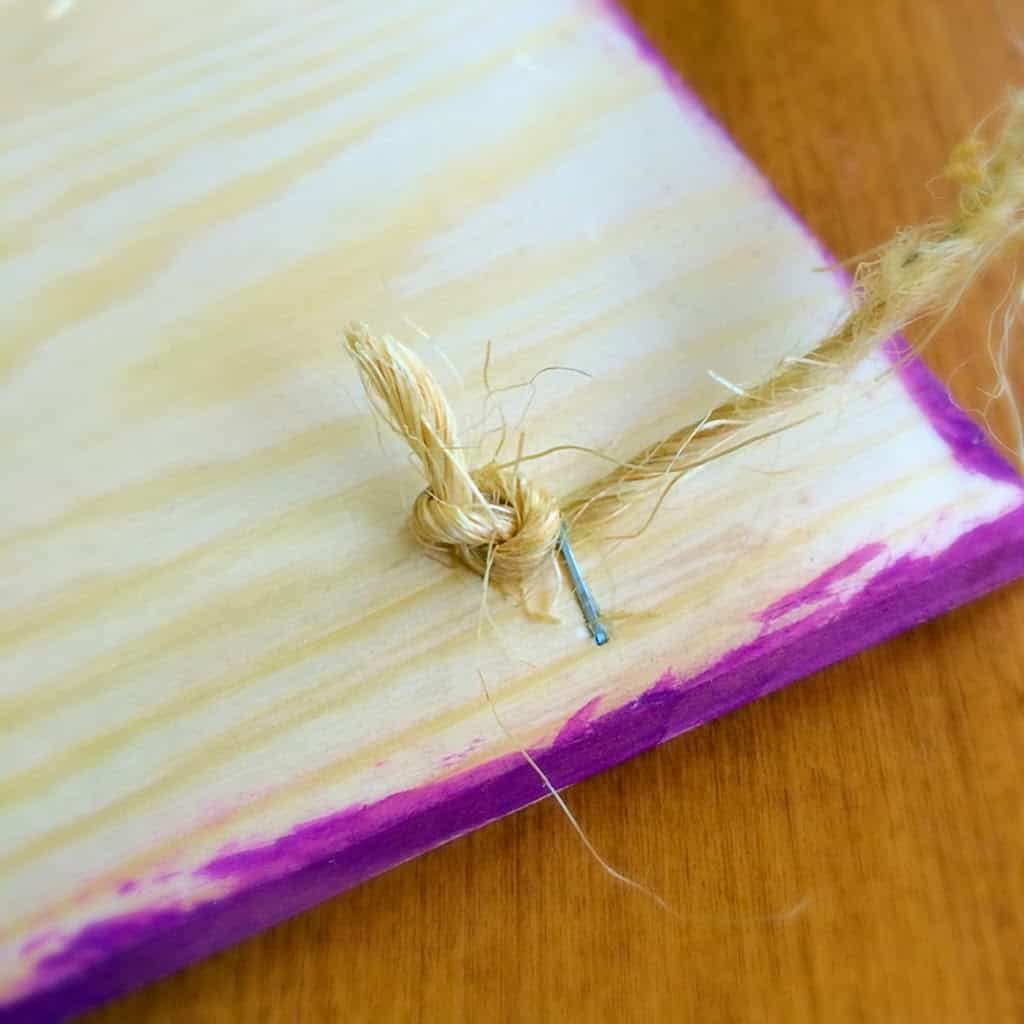
Finally, I stapled a piece of twine to the back of the board.
It may not be perfect, but I’m pretty proud of myself!


For next week’s project, I’m heading to the hardware store! Make sure you’re signed up for our emails so you don’t miss out on the reveal of my wall project!


If you don’t have any brown paint you can use coffee to weather wood as well!
Dianne
Friday 4th of March 2016
"It ain't easy being Prefect' is my favorite! Practice painting on paper, w/different brushes. Or a marker pen. That's the easiest yet. Sometimes you can get FREE wood scraps from your neighborhood lumber yard. And try tracing the words onto the surface to be painted, but use carbon paper. Use a pretty stencil for more than words. Trace inside the open areas for perfect designs. Use your kids' coloring books for picture ideas, again using carbon paper. There are special pens in the sewing notions area of fabric stores. These pens have disappearing ink for writing on fabric. Some pens require water &/or heat to make the marks disappear, some just take time & air. READ the labels!
Living Room Wall – The Beginning of a New Project | Twitchetts
Sunday 24th of May 2015
[…] DIY Wood Sign Tips […]
String Art | Twitchetts
Saturday 23rd of May 2015
[…] DIY Wood Sign Tips […]
Bree Talks
Sunday 25th of January 2015
Fun! That would make a great gift! Thanks for sharing!
Theresa Pickett
Friday 23rd of January 2015
This is really neat! I was just looking at buying some similar ones from Family Christian.